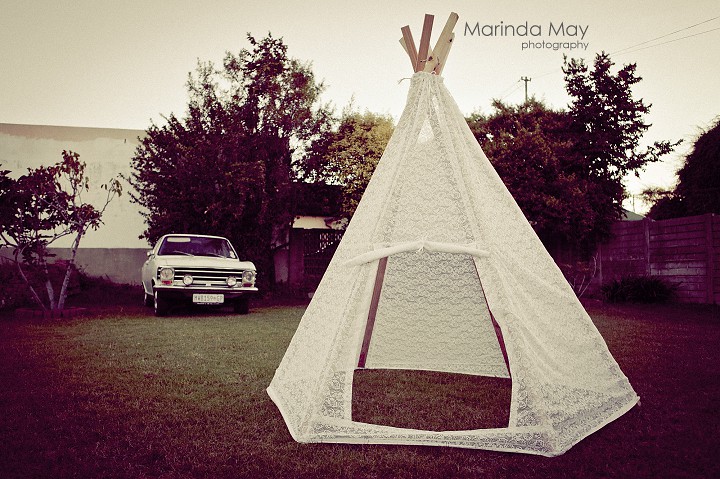
Have you ever wondered how to make a frame tent? As part of the ‘Sew in Love’ valentines photo shoot we did, photographer Marinda May decided to make a lace teepee for the occasion! Marinda took this take upon herself, and I must say. The results were mind blowingly LOVILEE!
The original tutorial was found on a blog called “A Beautiful Mess“. They used two types of lace where-as Marinda opted for one and was so kind to photograph the step-by-step instructions for me to share with you.
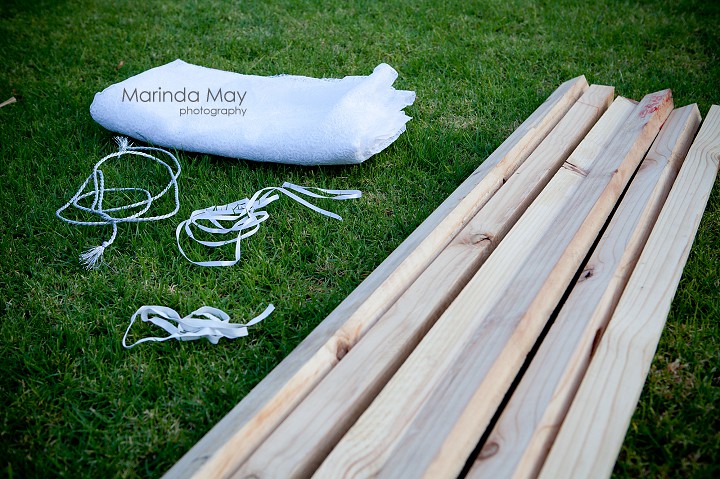
What you will need to make a teepee tent
- Buttons x 2
- Electric drill and 9cm wood drill bit
- Pencil
- Ruler
- Scissors
- Sewing machine
- Thread
- 8m of 2m wide lace
- Six 2.5cm x 5cm x 2.5m wooden poles
- 2m of 1cm woven Rope
- 2m of yarn or ribbon
How to assemble the lace teepee
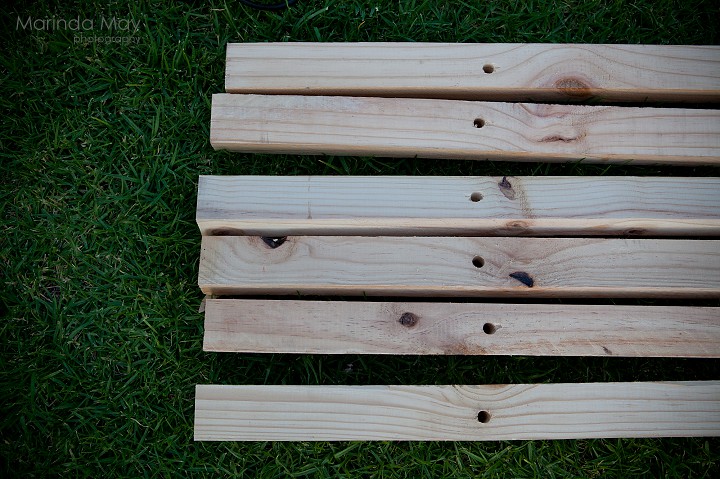
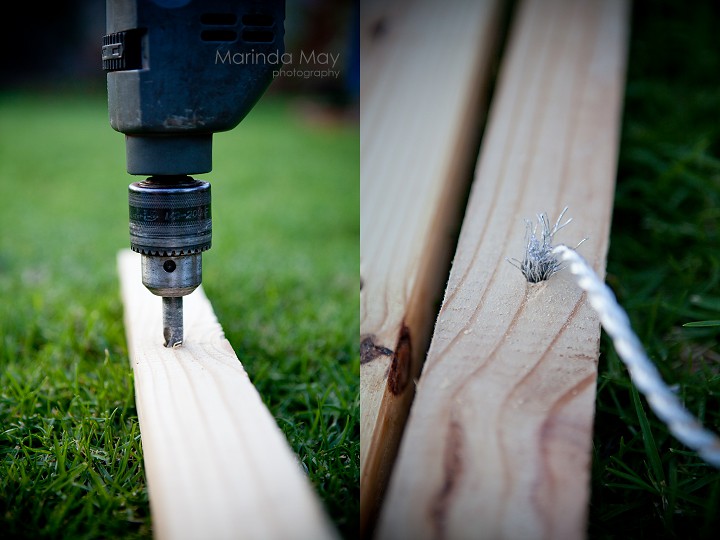
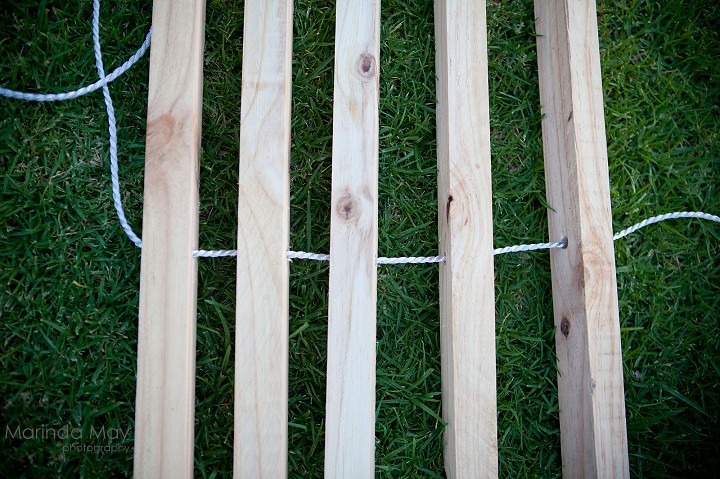
- Measure down 23cm from one end of your poles and centre your mark. Make sure that if there is markings or stamps on your poles that you make your holes on the other end and leave the marks for the bottom of your teepee as the top part will still be visible. Drill through.
- Lace your rope through all six poles and tie a loose knot. Set them up by standing them on their ends and twisting slightly before pushing the poles out nearer the bottom. Adjust your knot accordingly so your poles are held together tightly. You’ll wrap your rope around them all at the end.
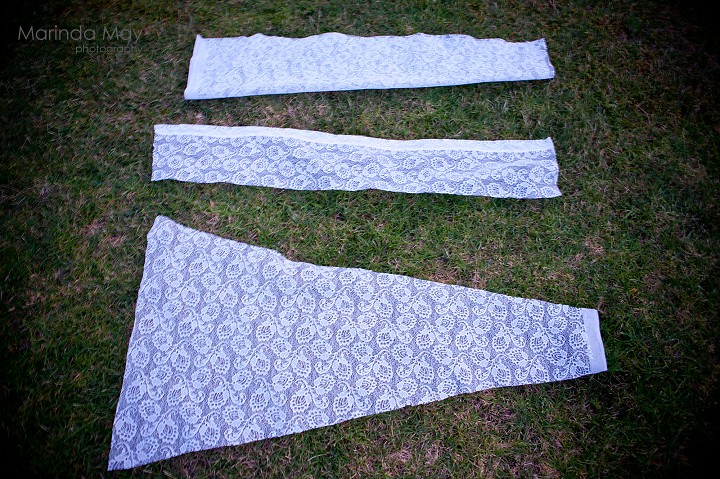
- Measure 105cm from one end of the lace and make a mark for the bottom of the teepee. Fold your lace double to match up to the mark. At the top, measure 8cm from the centre point and make marks on the lace. Now cut from the bottom mark to the top mark to make a triangle-shaped panel. This is one panel; now repeat the process to make 5 triangles. It doesn’t matter if you use the ‘bottom’ of the lace for the ‘top’, unless your lace has a definite pattern where it will be noticed.
- For the front panel, cut a triangle measuring 53cm wide for the bottom. Fold double and measure 8cm from centre for the top part. From top to bottom it should be 107cm long. Cut from the bottom mark to the top mark to make a smaller triangle-shaped panel.
- Pin the long side of two panels together making sure your seams match up and stitch it together. Repeat with all 6six panels, stitching them together.
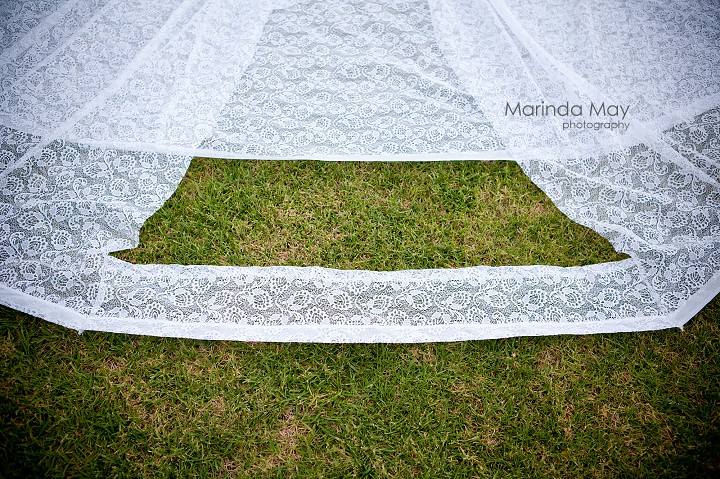
- Cut a panel measuring about 105cm long and 16cm wide. This will be your bottom piece on the opening front panel. Fold one long end in about 1cm and again about 1cm and press flat with an iron. Pin and stitch to create a hem. Pin it to the bottom of your open panel so that the ends overlap a bit. The hem should be on top. Also pin the last of your top panels to the teepee. If you don’t have a selvage edge for the bottom, create a 6mm fold, iron, pin, and sew. This will give you a finished edge.
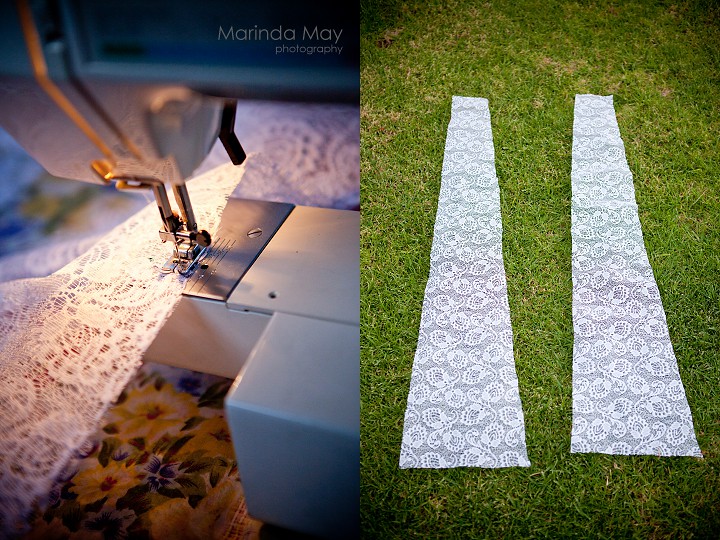
- Cut two pieces from your bottom fabric that measure about 15x86cm. Pin one on the front so that the top and bottom short edges overlap. This is just to make sure they’re going to fit.
- Fold one long edge in on each panel about 1cm, and again 1cm. Pin and stitch to create a hem. Repeat for the second panel. Set aside.
- Cut a trapezoid for your front flap that measures 81cm across on bottom, 48cm across on top, and is about 89cm tall.
- Fold the two angled sides in 1cm and again 1cm, pin, and stitch down. Repeat with the top edge. If the bottom edge isn’t a selvage edge, do that edge as well.
- Stitch the top part of your trapezoid to the bottom of the smaller triangle-shaped front panel.
- Cut six strips of elastic measuring 15cm long. Carefully create a circle that overlaps about 1″ and pin one to the bottom of your teepee on each seam. Stitch down. I used a zigzag stitch. This will slip around the bottom of each pole to keep it in place.
- Cut four strips of yarn or ribbon measuring about 46cm each. Place two strips on the front and two on the back by pinning one end to the top of the flap.
- Stich them down. Then you can roll up your flap and tie it in place once you put your cover back on your teepee.
- Sew two buttons on the bottom of your entrance where you can tie your ‘door’ closed. Attach ribbon to the door panel in line with the buttons.
You’re done! You’ve just made your own lace teepee.
All images by Marinda May Photography
Let's get social
Instagram: @lovilee_zaTwitter: @lovilee_za
Facebook: @lovileeblog
or subscribe to never miss out on any new articles in this link.





Comments are closed.