Over the past almost four years that I have had lovilee, I have done quite a few DIY projects in and around our home. The first make-over was our kitchen, thereafter I tackled manny’s room and more recently our bedroom and bathroom. Today I share some tips and ideas for affordable DIY home make-overs based on my own projects and then one that I assisted on, being Lerika’s little ones’ room.
Regular maintenance and ensuring that your home gets the required amount of TLC from time to time, will invariably ensure that your home retains its value and may possibly improve it in the long run. Your home is often one of the bigger purchases or forms of expenses and so it goes without saying that you would more often than not invest in the standard household insurance cover, which would ensure that your investment is protected against all odds.
The cheapest and easiest face-lifts are without a doubt – paint! I prefer half tiled spaces in the kitchen and bathrooms which allows for an update every year or so, by simply adding a new coat of paint to the top half of the walls. New cupboard and door handles can also make a big difference without breaking the bank.
Kitchen
Our kitchen was updated on a very small budget and all started with a drying rack that I purchased from Lots & Crates.

- We kept the original cupboards and shelving, but added a coat of paint to them using a ‘vintage looking’ technique.
- Added new cupboard door handles.
- Replaced the original tiles that were up to the roof with smaller mosaics only half tiling the walls.
- Added cornicing and vinyl wording by Twiggy to the walls at the top.
- Added a blackboard – these are great for a kitchen and can either be a loose framed blackboard or wall.
- Lastly and most expensive was moving the fridge into a previous cupboard space and adding plumbing for a second appliance.


{view the original post here}.
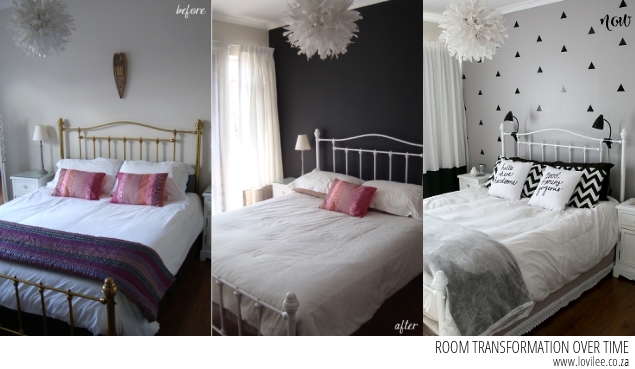
Master bedroom

When Evolve paints contacted me to do a give-away and sponsored room make-over on the blog, I jumped to the opportunity to revamp our bedroom! The inspiration for the room where the ‘His & Hers’ cushion set that I purchased from Zana Products.
- I primed and painted the walls (as we previously had a blackboard wall).
- Added some triangle vinyl’s from Match Set Love as well as a ‘LOVE’ poster from them showed off in an entrepo frame.
- I paired our existing duvet (which was a neutral colour) with some Mr Price Home chevron cushions and also added some nifty lamps from them.
- I updated our bedside tables by adding some ‘bling’ door and drawer handles.
{view the original post here}.
Master en-suite bathroom
This has been our biggest project to date, but one that HAD TO BE DONE! The plumbing in the bathroom was horrific with water spraying from the walls when you wanted to fill the bath and tiles starting to fall off and, and…

- Again we started with the tiles, removing the old, dated tiles and re-tiling the walls half way.
- Adding little silver ‘bling’ strips in between the tiles are both cheap and look really nice.
- We shopped around quite a bit to find the best priced taps, basin and bath that still fitted into their old spaces. Just love the internet when it comes to comparing prices, as it saves a lot of time!
- For a new vanity we re-purposed a tv unit, added granite on the top and a stand on basin. Whilst we had to purchase a new unit for this it can be done with an old cupboard that you have somewhere perhaps?
- My mom made a roller-blind for us using these instructions.


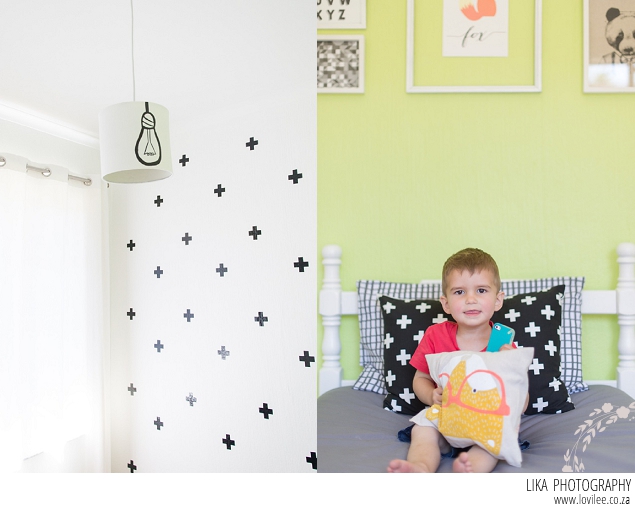
Owen’s room
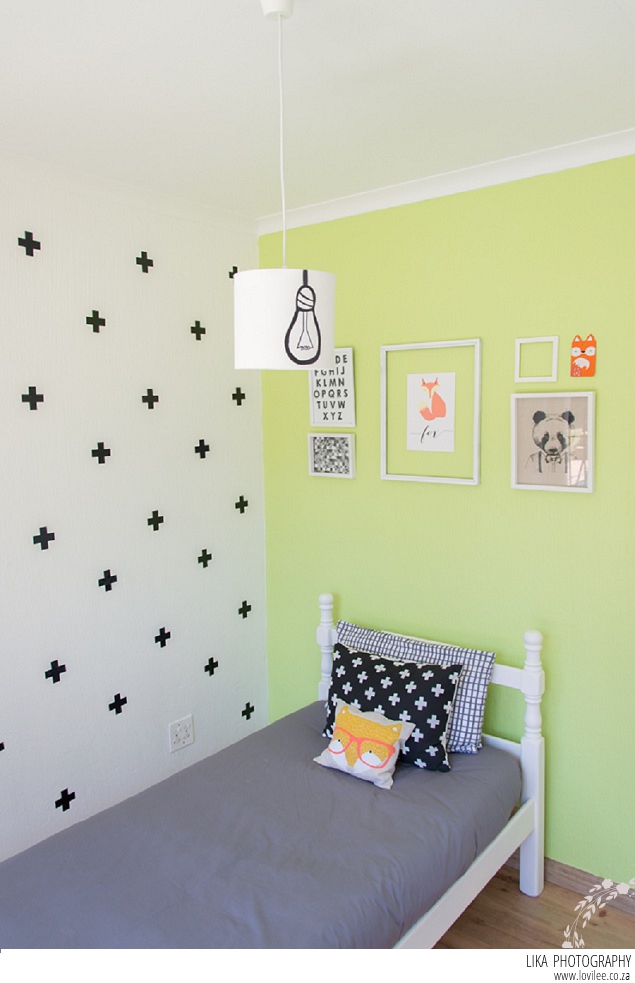
- An accent wall was created using the Lime Soda colour by Evolve Paints.
- We added some swiss-cross vinyls by Match Set Love.
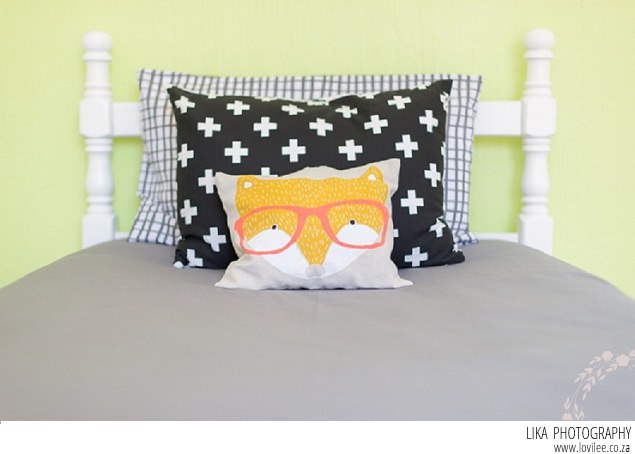
- Swiss cross cushion cover was from Mr Price Home and the Fox one was a re-purposed shopping bag from Typo.
- DIY lampshade was done by Lerika {see the tutorial here}.
- As wall décor Lerika up-cycled old frames adding printed items.
- New bedding was from @home
- Curtains were just swapped with another room in the house.
{view the original post here}.
The bottom line is that make-overs do not have to cost zillions. It does take some effort doing things on a budget as it often involves shopping around for prices, but it is so worth it. Start with one room, a pot of paint and new door handles and take it from there. De-cluttering is also a good start, less is often more! What are your DIY tips? We would LOVE to hear!
Disclaimer
This is a sponsored post as per our standard disclaimers and disclosures.
Let's get social
Instagram: @lovilee_zaTwitter: @lovilee_za
Facebook: @lovileeblog
or subscribe to never miss out on any new articles in this link.


Comments are closed.