
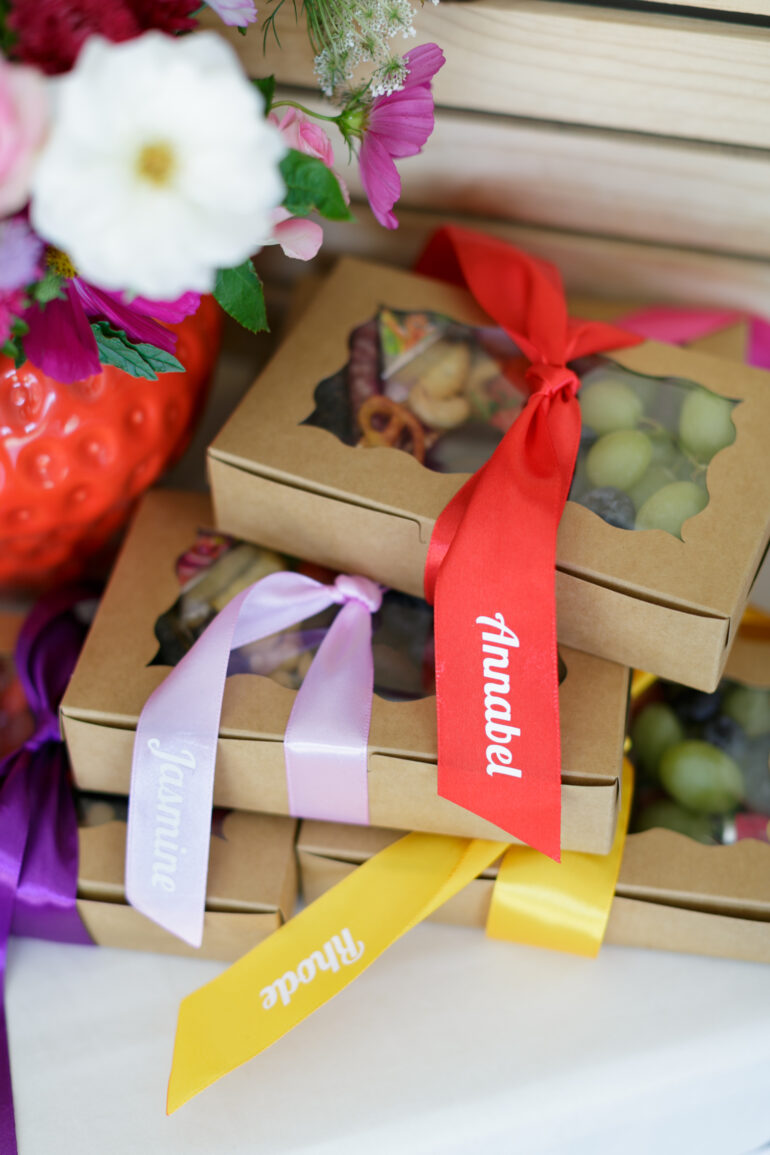
I haven’t posted a DIY in so long, so I thought I would share a personalised satin ribbon DIY I did recently helped a friend with, using my Cricut Maker 3. If you are looking for a creative way to add a personal touch to your gifts, party decor or business packaging – this DIY tutorial is for you! This easy Cricut tutorial shows you how to create personalised satin ribbon using your Cricut and HTV. This project is perfect for adding that extra “wow” factor to any occasion!
What is HTV?
HTV is short for Heat Transfer Vinyl. It is a special type of vinyl designed for decorating fabrics and various other materials. When heat and pressure are applied-using a heat press, iron, or Cricut EasyPress Mini-the adhesive on the back of the vinyl bonds permanently to your chosen fabric. This makes HTV ideal for customising ribbons, t-shirts, tote bags, and more.
Different HTV materials and different fabrics obviously require different heat settings – Cricut’s Quick Reference Heat Guide is a helpful resource for finding the right settings for your materials.
Creative Ways to Use Personalised Ribbon
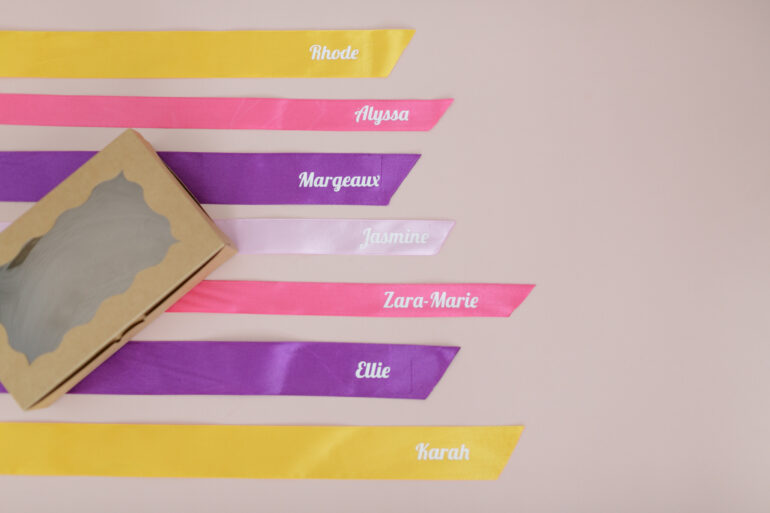
Personalised ribbon isn’t just for wrapping gifts! Here are some inspiring ideas:
- Custom gift wrapping: Add the recipient’s name for a unique touch.
- Graduation décor: Feature the class year or a congratulatory message.
- Team events: Print team names for prize-giving ceremonies or parties.
- Business branding: Add your logo for professional, branded packaging.
- Christmas decorations: Use festive phrases like “Merry” or “Festive.”
- Wedding favours: Personalise with the couple’s names or wedding date.
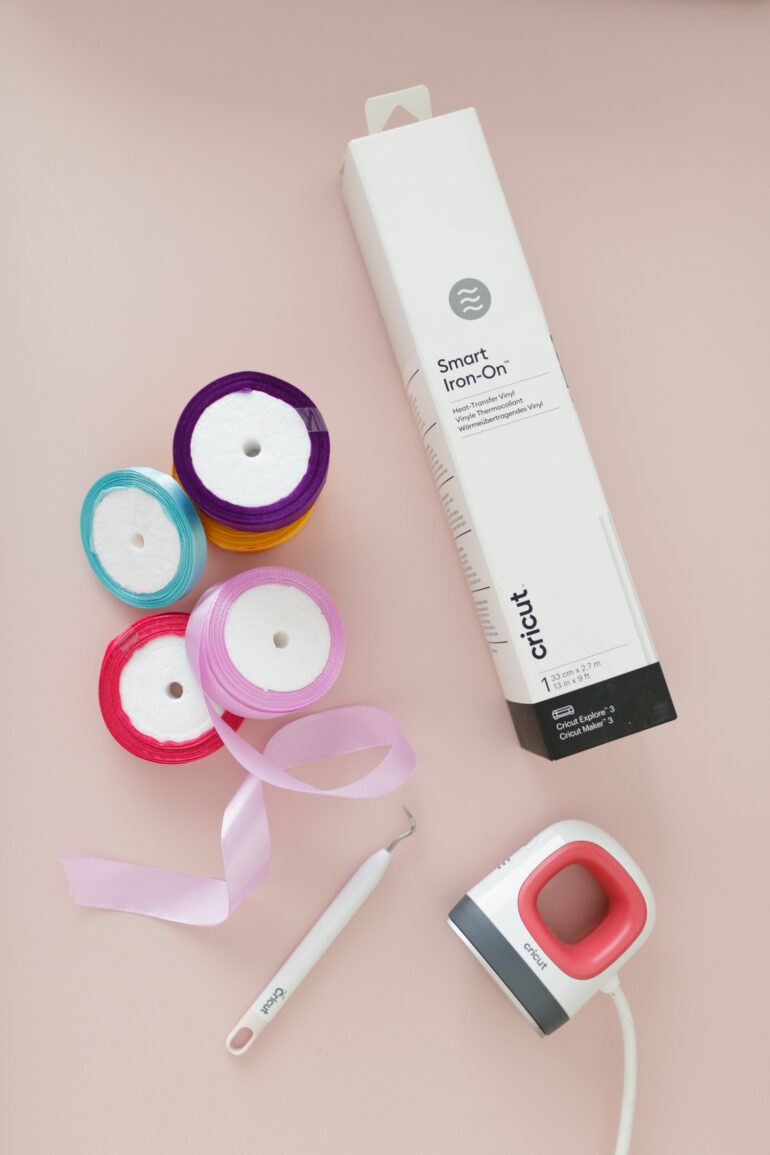
What You’ll Need for Your DIY Personalised Ribbon
- Satin ribbon in the colors of your choice.
- Cricut HTV in the color of your choice.
- Cricut Maker 3 (or any Cricut machine).
- A pair of Scissors.
- Clothes iron or Cricut EasyPress Mini.
- Ironing board.
Step-by-Step: How to Customise Satin Ribbon with HTV and Cricut
Step 1: Prepare Your Design in Cricut Design Space
- When doing your design on the Cricut Design Space you need to ensure that you measure the width of the ribbon(s) that you use and create a design that will fit within the ribbon width.
- In Cricut Design Space, create a new project, then add a rectangle matching your ribbon’s dimensions to help size your design in the Cricut Design Space.
- Place your text or image over the rectangle. Adjust the size so it fits perfectly within the ribbon’s width.
Step 2: Cut Your HTV design
- Hide or Delete the Rectangle: Before cutting, hide the rectangle shape in Design Space. Else you will be cutting rectangles onto your HTV!
- Load the HTV making sure that you place the shiny side of the vinyl down on the mat. Mirror your design before cutting!
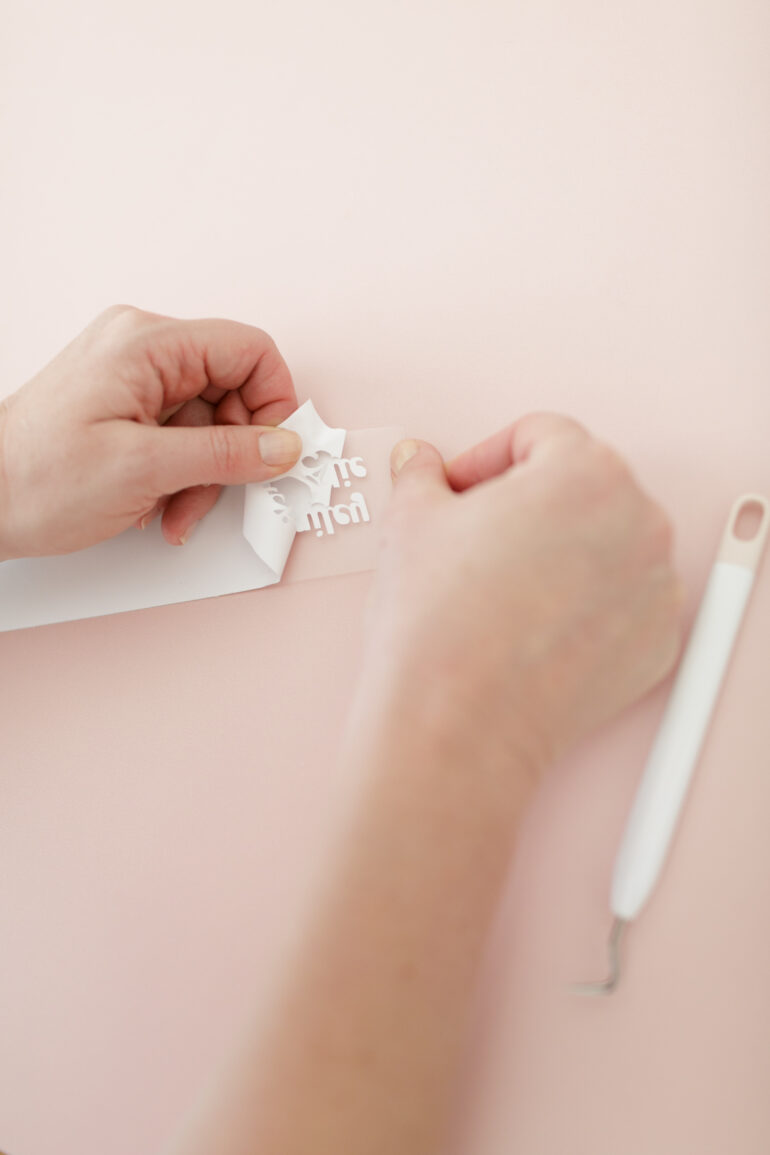
- Weed Your Design: After cutting, remove excess vinyl, leaving only your design.
Step 3: Apply the HTV to your Ribbon
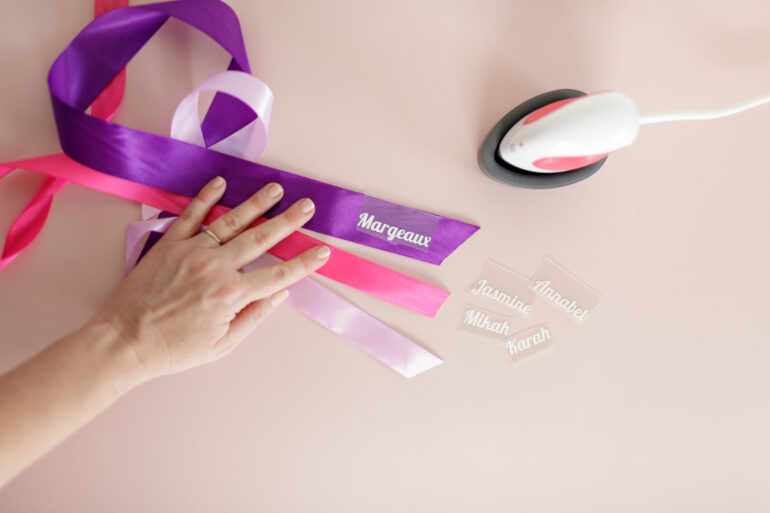
- Cut your ribbon to the desired lengths and lay them out on the ironing board.
- Follow Cricut’s Quick Reference Heat Guide for your specific materials. When in doubt rather start of with a lower heat setting and increase it, than with a high setting that could melt your dreams in an instant!
- Preheat the Ribbon by warming it up with the iron or heat press for a few seconds.
- Place your HTV design on the ribbon and press with light, even pressure, moving the EasyPress Mini in small circles for 10-15 seconds. Turn the ribbon over and press the back for a few seconds.
- Peel the carrier sheet after it cools, slowly to make sure that your HTV is fused with the ribbon, if not repeat the step above.
- Be careful not to touch previously applied designs with the heat tool, as they may melt.
Where to Buy Cricut and HTV Supplies in South Africa
I personally ONLY use the Cricut brand of HTV, I have tried a few brand and unbranded HTVs but there is nothing that sticks and lasts as well as the Cricut range of HTVs. Some of the places I shop at frequently include:
- First Shop has a massive range of Cricut products and I received my order fast after ordering.
- Waltons Newmarket, Alberton is the perfect place to view and purchase Cricut items. They stock a large range of the products and I sometimes walk out with much more than I intend to purchase!
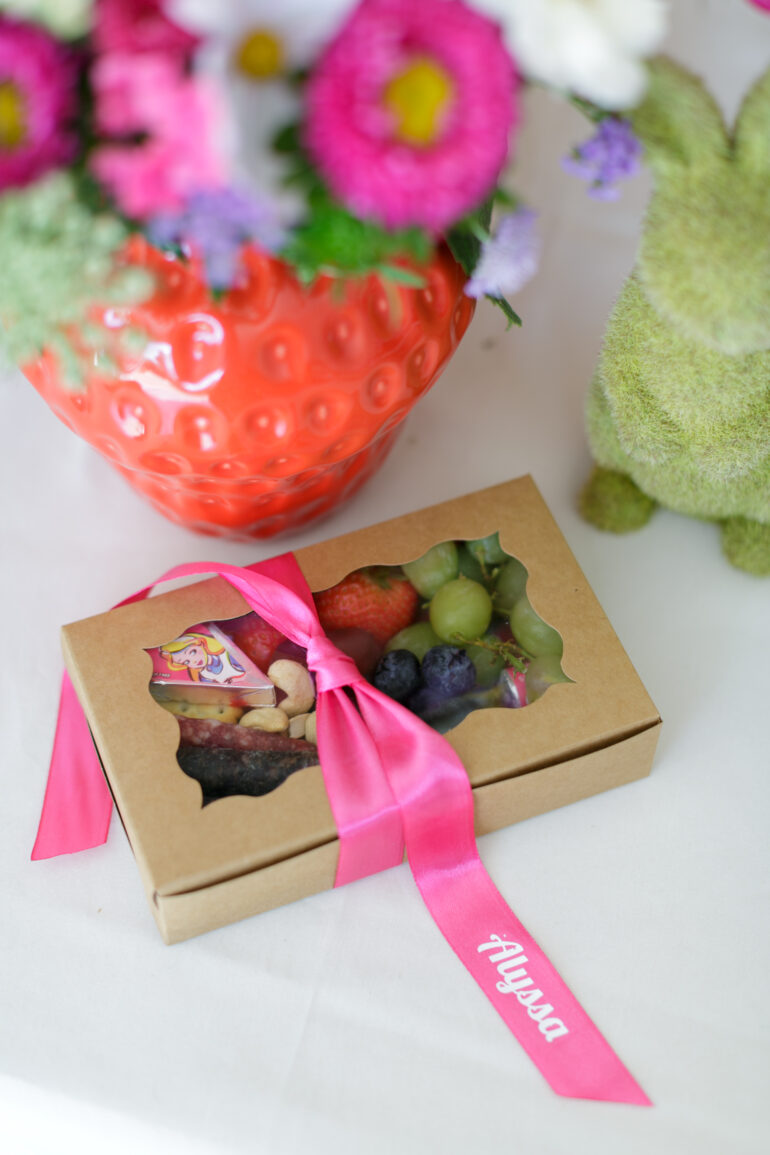
Thank you to Melanie Wessels Photography for the beautiful images featured in this post.
Ready to try this DIY? Share your creations with us on Instagram using #lovileeDIY!
Let's get social
Instagram: @lovilee_zaTwitter: @lovilee_za
Facebook: @lovileeblog
or subscribe to never miss out on any new articles in this link.
