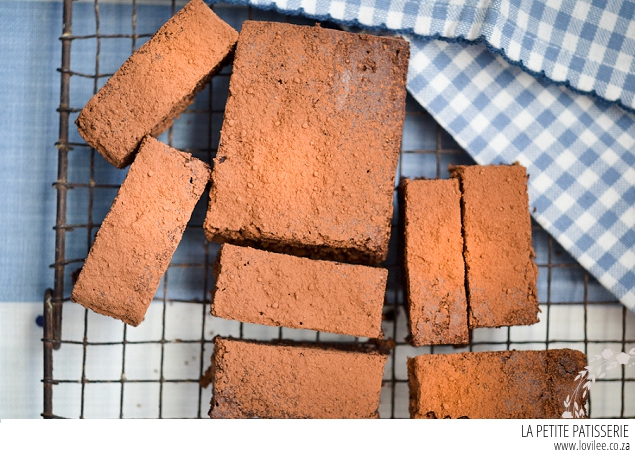
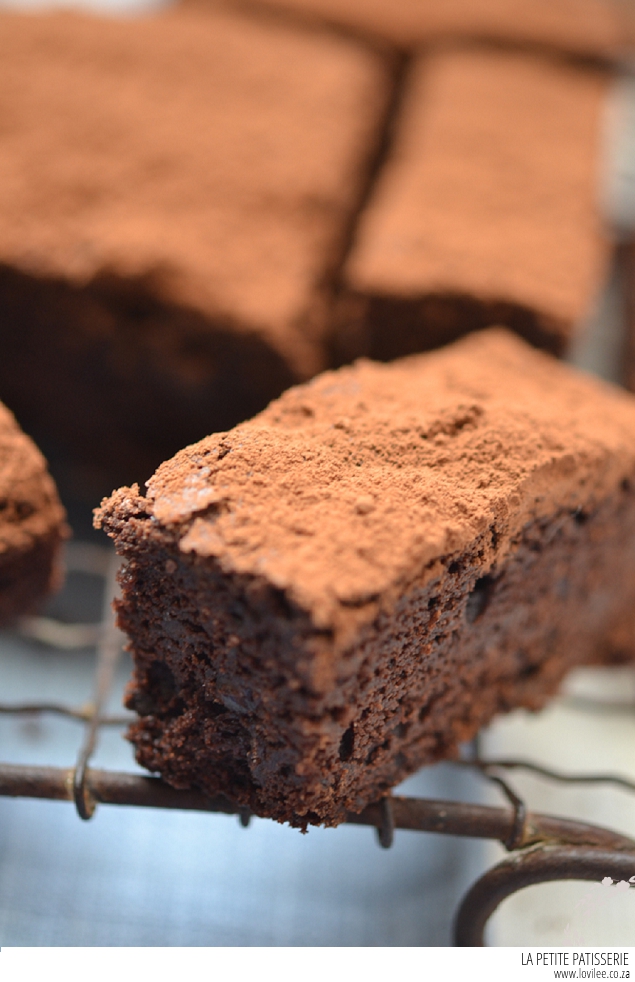
I made these Chocolate Brownies last weekend. Had to make them again for family coming over on Friday which was a public holiday and as I was busy typing this recipe out, my hubby turned to me and say. Are you going to make us some? It’s Saturday, surely not three times in one week? We were doing so well with our diet…Oh well. Looking for some well-indulged-under-the-blanket-infront-of-the-TV-because-it-is-winter-time-food? Then these brownies are it! Easy to make, takes a bit of time to bake but don’t rush. Best to take them out of the oven before, not when, they’re done. Leaving the crust to be crunchy and inside chewy. Perfect.
Chocolate Brownie Recipe
Preparation time: 20 minutes | Baking time: 30 -45 minutes
Ingredients
- 400g Castor Sugar
- 3 Large Eggs
- 187g (3/4 cup) Melted Butter
- 60g Cocoa Powder
- 1/2tsp Salt
- 437ml (148g) Sifted Cake Flour
- 5ml Vanilla Essence
- 5 blocks of White Chocolate, chopped or replace with Chocolate Chips
- 10 Brazil Nuts, chopped
Method
- Preheat the oven to 170°C. Grease a 30 x 20 x 5cm baking tin.
- Place the castor sugar in a mixing bowl and add 3 large eggs. Mix well till sugar begins to melt.
- Melt the butter in the microwave and add it to the sugar mixture. Mix until soft and creamy.
- Add the cocoa powder at first, while the butter is still warm. Mix well.
- Add all the dry ingredients into the mixture at once and with a wooden spoon, stir until combined. The mixture should appear quite stiff.
- Chop the white chocolate (or add chocolate chips) and nuts then add to the mixture.
- Lastly, add the vanilla essence and mix well.
- Add the mixture to the tin and bake for 30 – 45 minutes on a preheated 170°C.
TIPS
- Remove the brownies from the oven when the crust on the outside is firm to touch, but when pressed, gives way to a firm cake underneath. It’s best to remove them before they are done and not when they are done. I removed mine by 40 minutes of baking time.
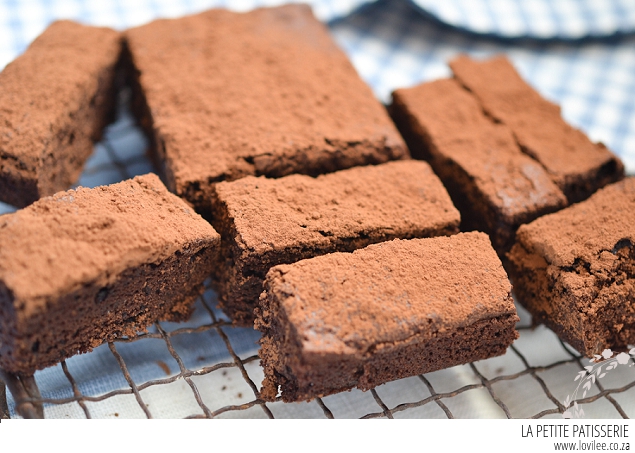
- Slice them into blocks or bars after it was chilled in the fridge. Dust with cocoa power for the best presentation.
Let's get social
Instagram: @lovilee_zaTwitter: @lovilee_za
Facebook: @lovileeblog
or subscribe to never miss out on any new articles in this link.
Comments are closed.