
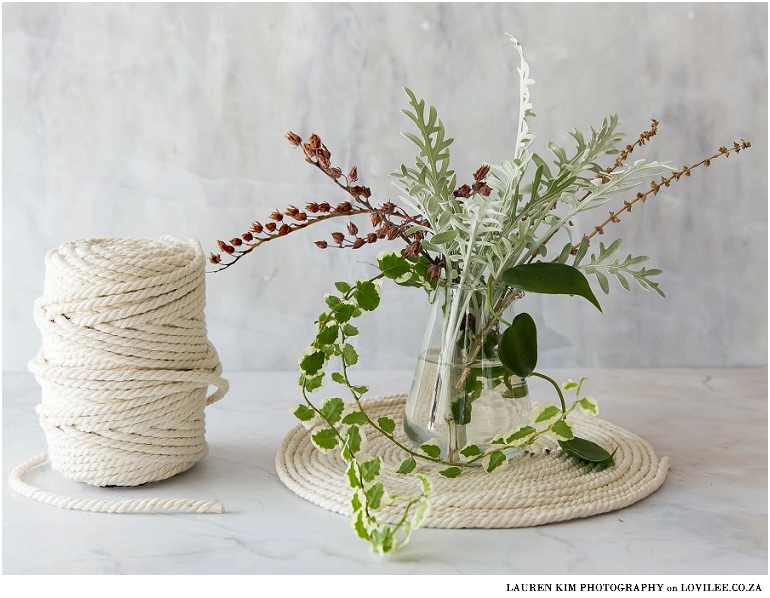
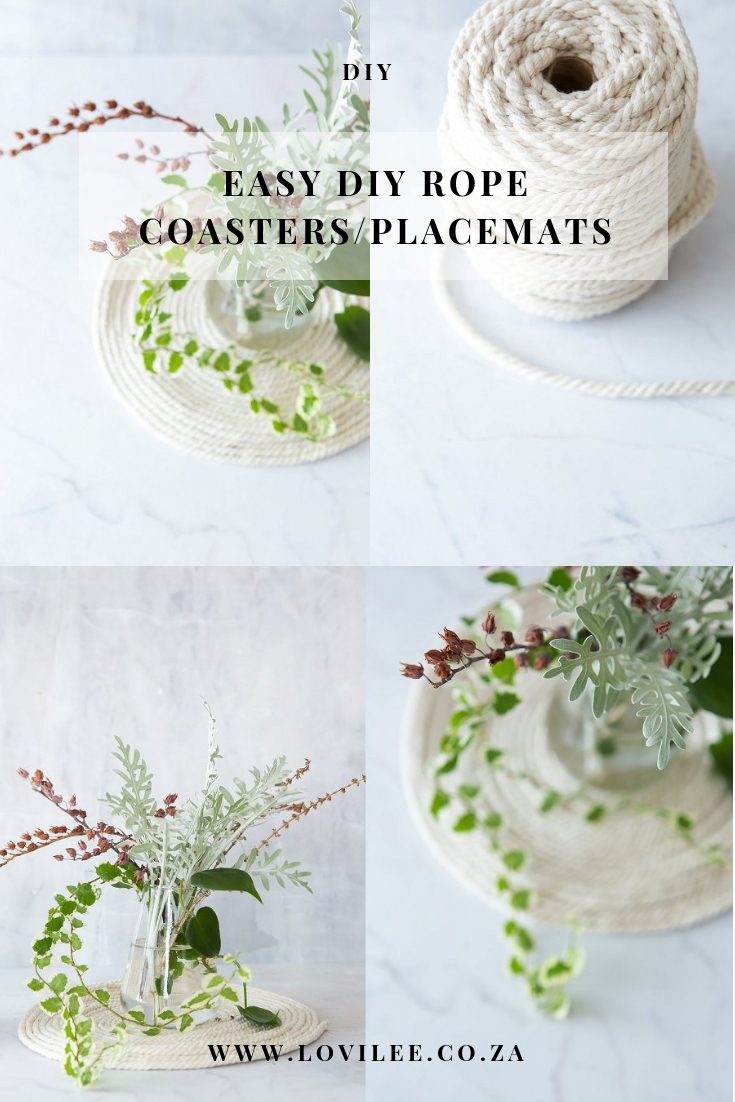
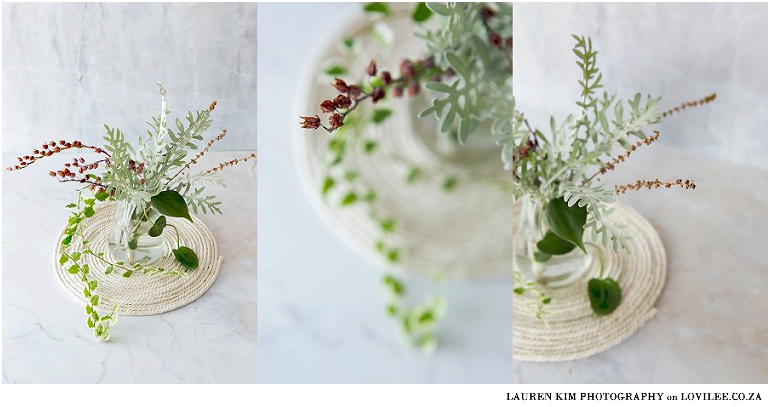
As part of this month’s theme on natural living I get to share this easy DIY Coasters tutorial. You can get totally creative with this, making use of various ropes and textures to achieve varied results. Making a set of 4, 6 or 8 can be a great gift for someone or just a great addition to your own decor. If you decide to make them bigger you can use them as place-mats as well. You can even get more creative by trying your hand at different shapes like figure of eights half moons or rainbows!
Why not pop past your closest Builders Warehouse or Builders Express store and see what they have in stock for you to make this happen? You can browse over 10 000 products available at your nearest Builders store or shop it via their online store?
What you will need for this Easy DIY?
- Hot glue gun and Glue sticks OR 1 Tube of glue like Bostik
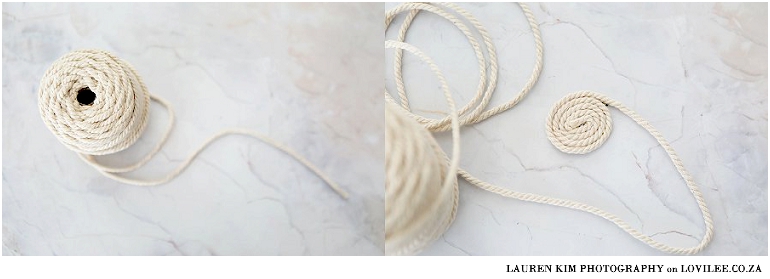
- Approximately 2 meters cord or rope for each coaster
- A pair of scissors
- Clear sticky tape
Step-by-step instructions for the rope DIY coasters
- Cut the one end of the cord at an angle and put a drop of glue, using your glue gun on the end. Wait a few seconds for the glue to cool and spread it on the end to prevent the rope from fraying. (you can also make use of some cellotape instead)
- Put another drop of glue on the same end and fold it over onto the cord to start a coil. Keep on putting a thin stripe of glue on the cord and carry on rolling the rope in a coil. This can be messy so I found it easier to do a few rotations and let it dry.
- Keep doing this until you reach the desired size. When you get to the size you want, cut the cord at an angle.
- Put a drop of glue on the end to prevent fraying and then secure it to the coil or wrap cellotape around the end piece to finish.
EXPERT TIP: For added rigidity you can glue the final place-mat onto a thin piece of MDF.
Wrap them up with a pretty string to give to someone special! What do you think of this tutorial? We’d love to hear!

Images by Lauren Kim Photography.
This original post was a sponsored post as per our standard disclaimers and disclosures – redone by Lauren Kim Photography..
Let's get social
Instagram: @lovilee_zaTwitter: @lovilee_za
Facebook: @lovileeblog
or subscribe to never miss out on any new articles in this link.


4 Comments
well done. Nice present
Love this idea, simple, economical and quick.
Thank you
Pingback: 7 Useful DIY Ideas to Make Summer Last - Homeology