
Vertical gardens are popping up everywhere in various scales using real plants as well as artificial plants. But what do you do when you want to have a vertical garden of your own, low maintenance and a much smaller scale? Today I share a DIY tutorial on how you can make a DIY vertical garden planter of your own and personalise it as a monogram planter! This planter will be the lowest maintenance plant box you have ever made if you use the artificial (yet real looking) succulents from Distinctive Spaces.
If you have missed my previous article where I introduced you to this company and the Services and products that they provide read it – How to decorate with artificial plants (and how to find the best quality greenery).
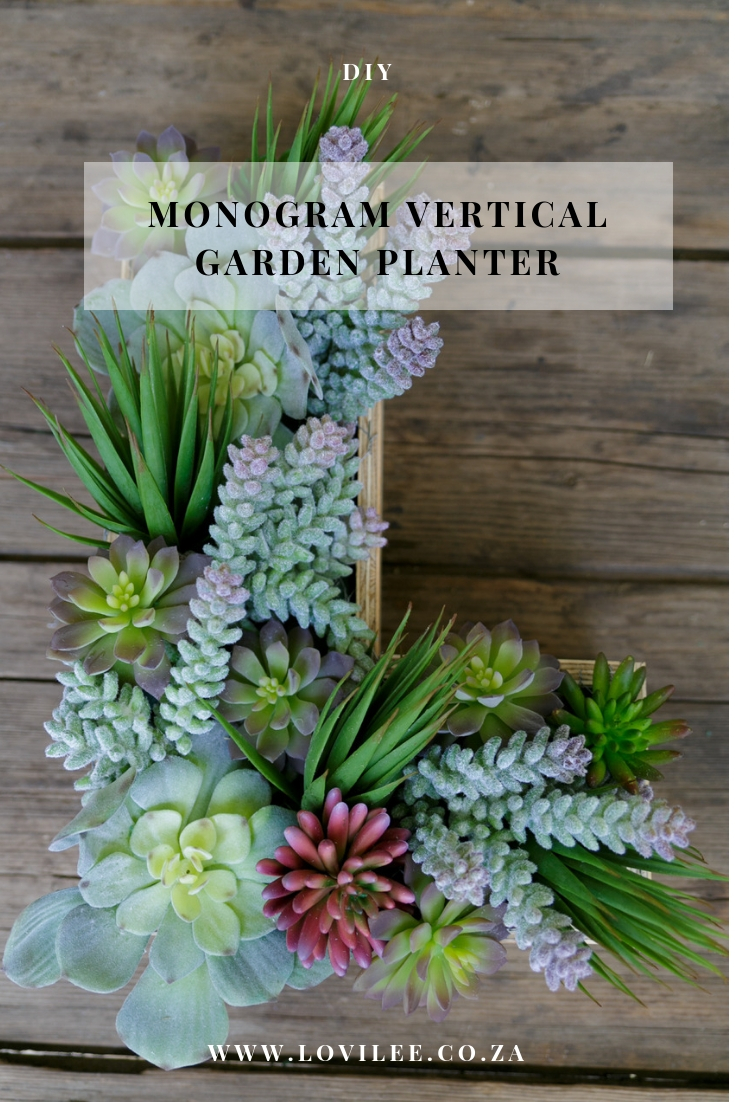
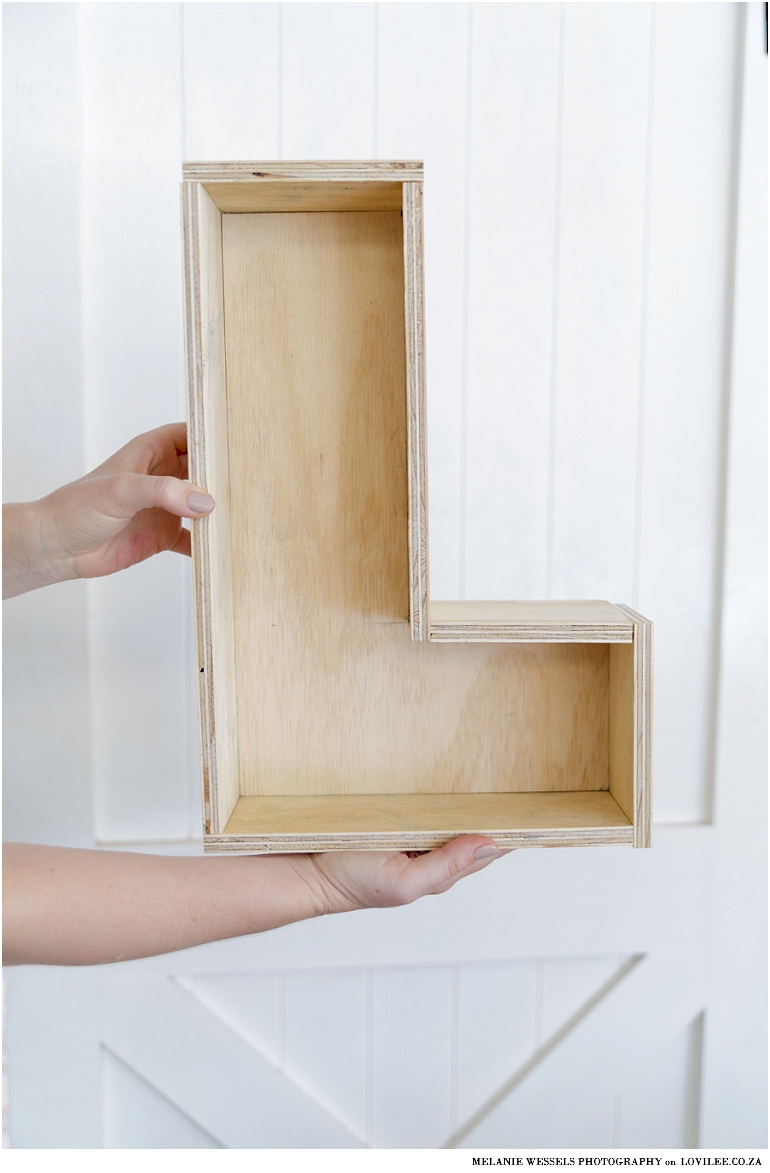
For this DIY I decided to make a monogram planter with the letter ‘L’ for LOVILEE. This is quite an easy letter, some of the others in the alphabet could become more tricky like the ‘R’ and ‘B’ letters for instance. Start by drawing out the letter to scale that you want to make and maybe do a practice round on cardboard to get the exact measurements for cutting. If you want to skip this step, why not purchase a letter cake tin and just skip to step 3 of the assembly below.
What you will need for this Succulent Monogrammed Planter Box
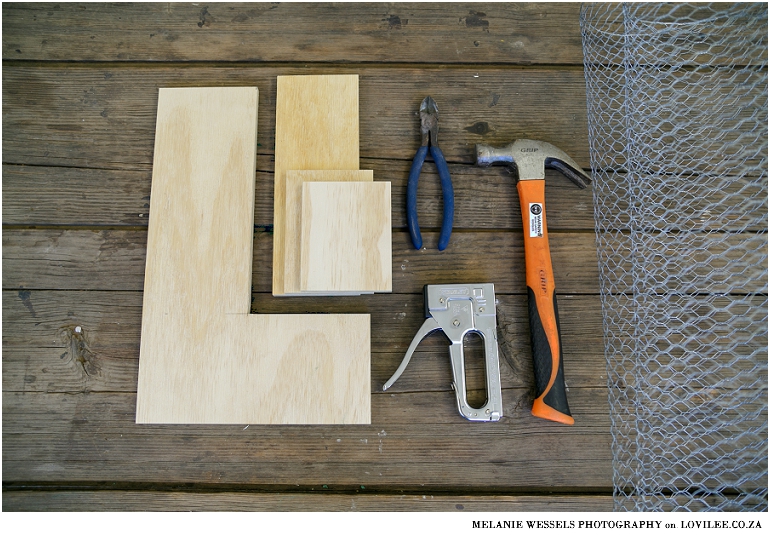
- Wooden pieces to make your letter with. I had my letter measured and cut by Timbercity Blairgowrie.
- Chicken wire to cover your letter with.
- Flower oasis for the inside of the box.
- A sharp knife to cut the Oasis with.
- Wood nails to nail the pieces of wood together.
- Hammer.
- Wood Glue (optional).
- Wire or side cutter.
- Staple gun and staples to secure the chicken wire to the box.
- An electric drill to drill holes to hang the box with if you prefer and plugs and screws to hang it with.
- A selection of artificial succulents from Distinctive Spaces.
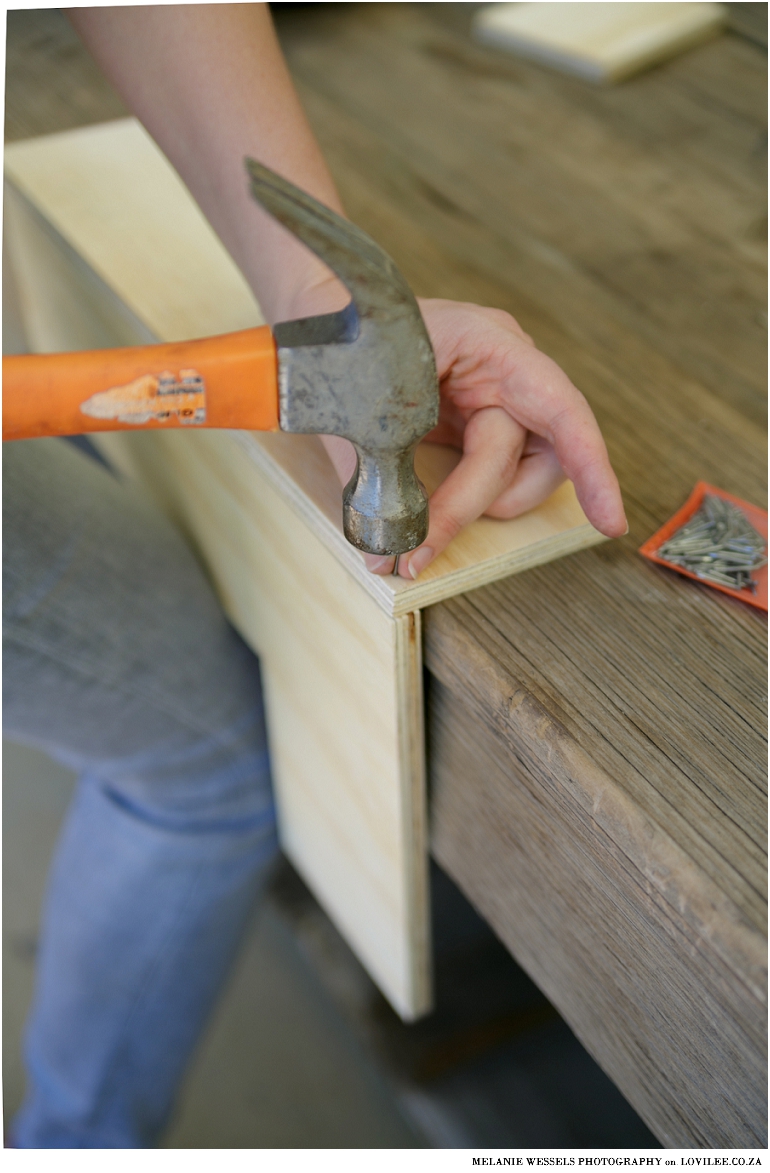
How to make this succulent monogram planter?
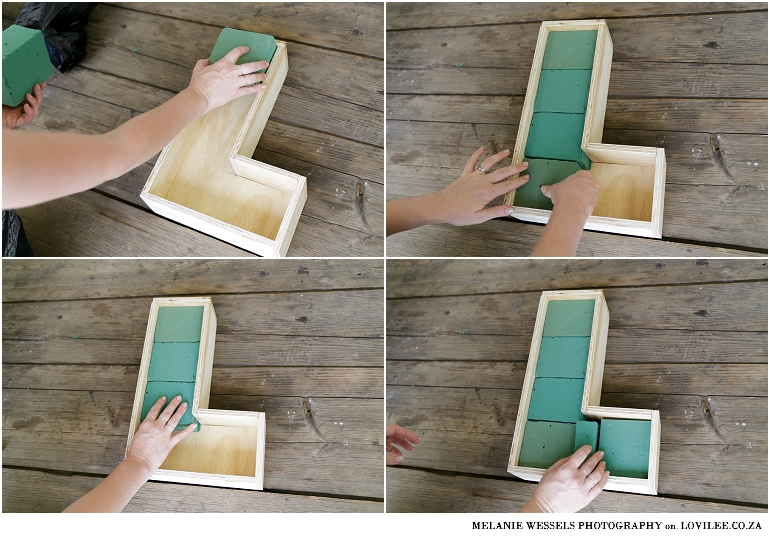
- Start by nailing the wooden pieces together to form the letter or shape that you require. (I found that this was easier after sticking the pieces together with wood glue first)
- If you would ultimately like to hang the letter planter on a wall you now need to make holes in the planter and put the screws in place, otherwise skip this step.
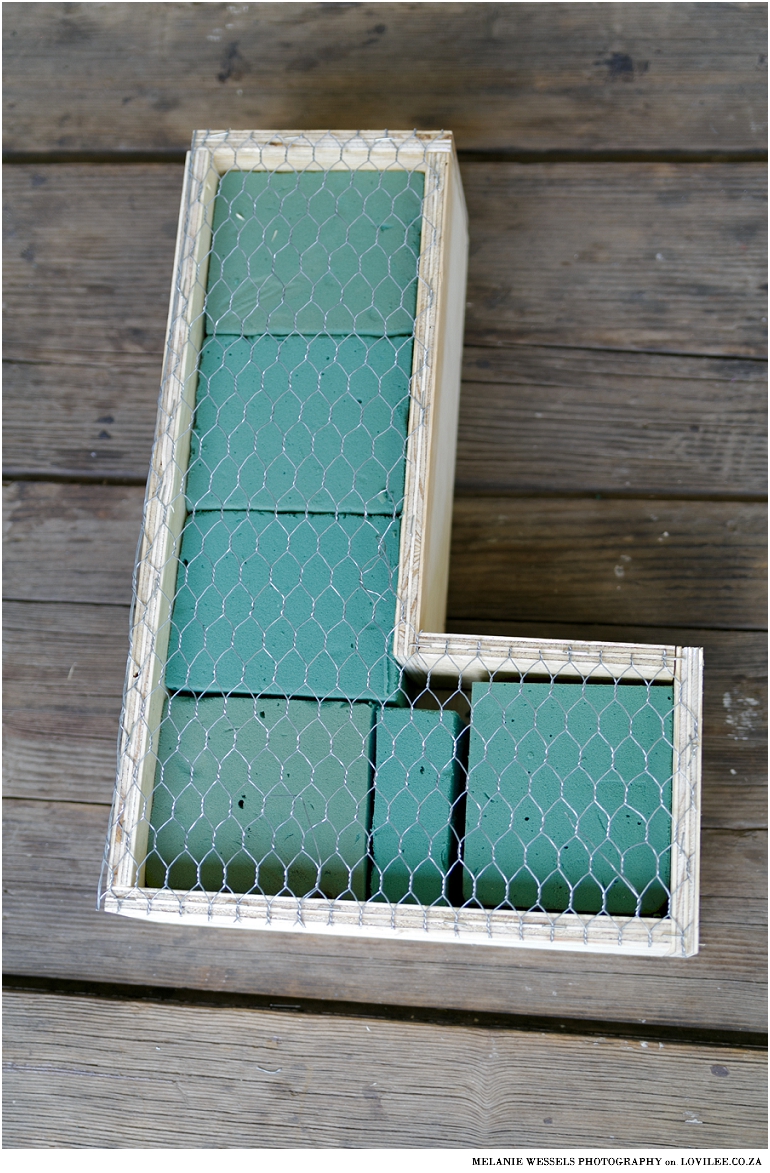
- Place the Oasis inside the letter until it is filled up inside.
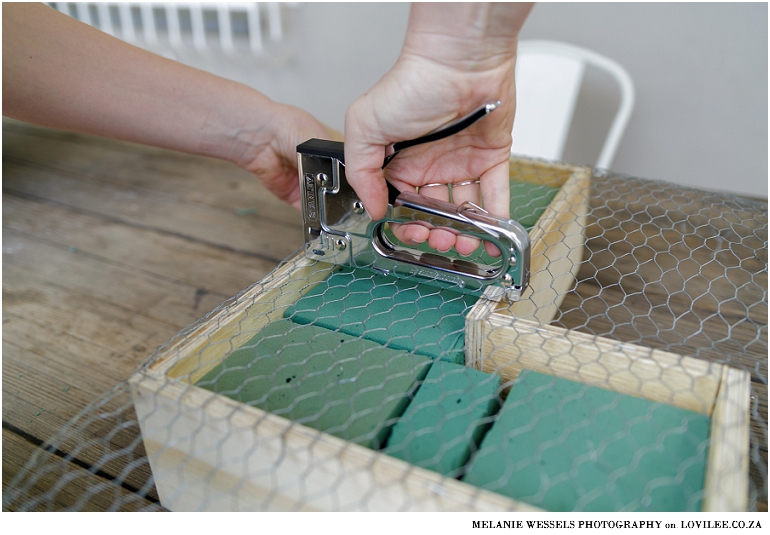
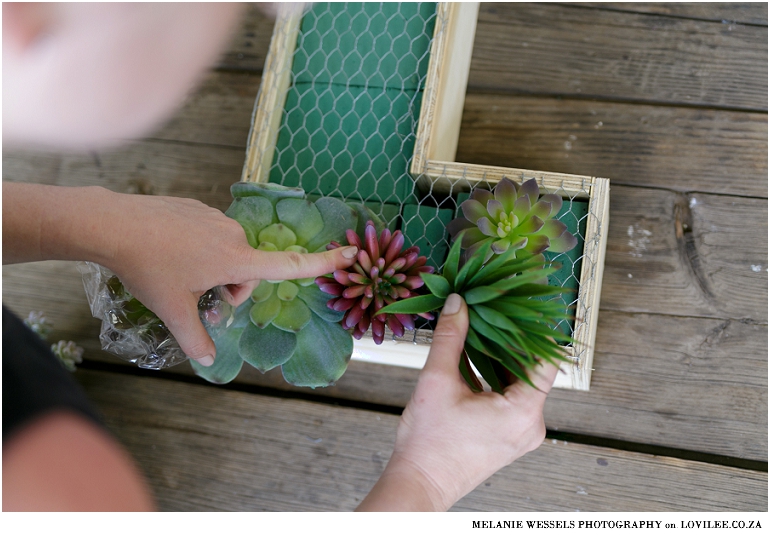
- Using the nail gun, secure the chicken wire to the front of the planter box to secure the oasis inside.
- Cut the excess chicken wire off using a side or wire cutter.
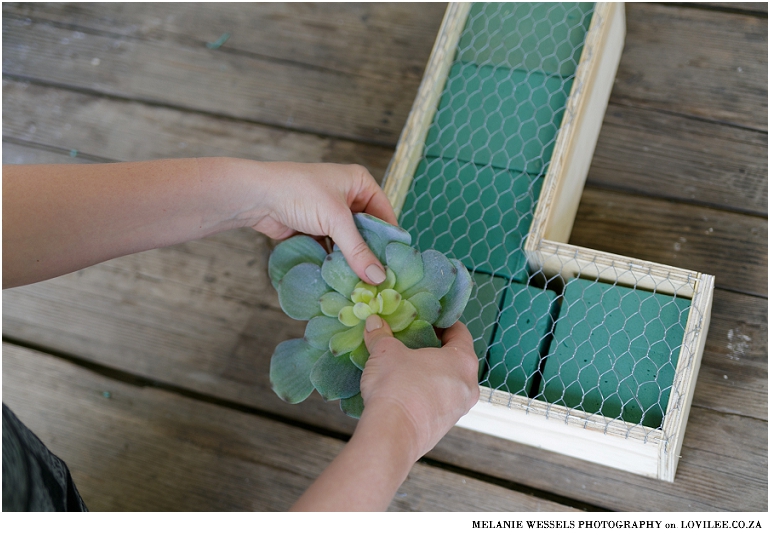
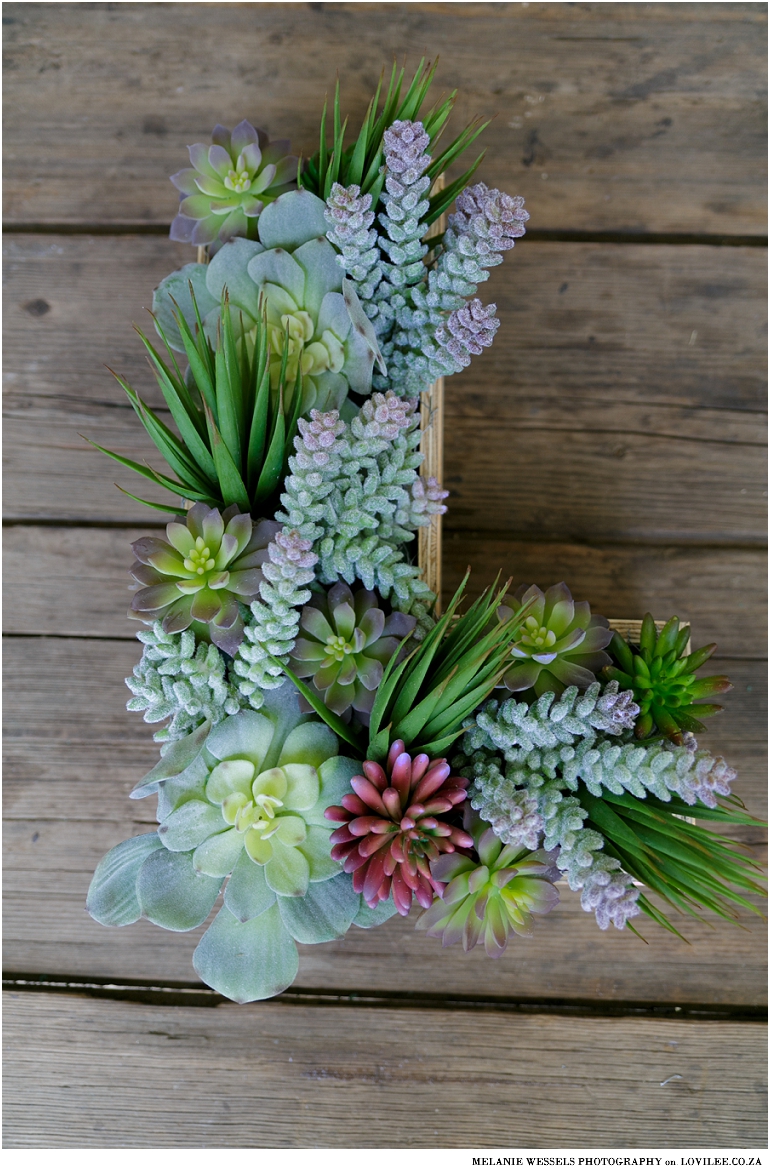
- Arrange the plastic succulents in the planter until it is filled up.
- Place or hang the planter where you can brag about what you have just made!

Other ideas of where you can use your DIY letter planter
- By laying it flat on a table you can use it as part of a table setting.
- If you decide to make numbers instead of letter planters you can always use it as a wedding table number.
- Number planters can be use as street numbers at your home or office.
- If you spell the word “LOVE” you can use them as a set at a wedding or special function.

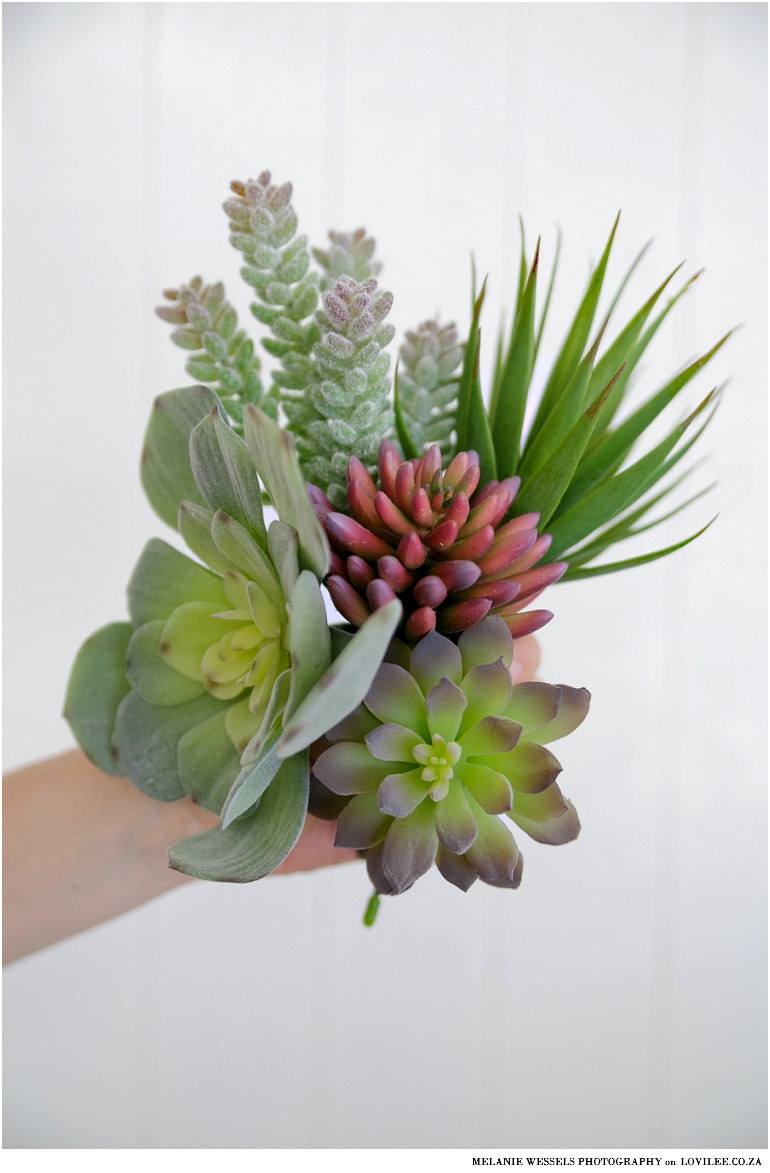
EXPERT TIP: Using these life-like artificial succulents from Distinctive Spaces really makes the biggest difference to the planter. Their colors is so true to the real versions of these mini plants that you will have to look twice. People will be really impressed with your ‘gardening skills’. The succulents are off-course easier to use than the real versions as they come with longer stems that are bendable.
You can off-course also make use of some re-purposed vintage letters that were used for signs or even marquee letters to do this DIY. A quick fix would also be to purchase the letter separately and just get the sides of the planter cut out of wood or alternatively bent out of metal.
Images by Melanie Wessels Photography.
Disclaimer: This is a sponsored post according to my disclaimers and disclosures.
Let's get social
Instagram: @lovilee_zaTwitter: @lovilee_za
Facebook: @lovileeblog
or subscribe to never miss out on any new articles in this link.


Comments are closed.