
This post is sponsored by T & Co Fabrics
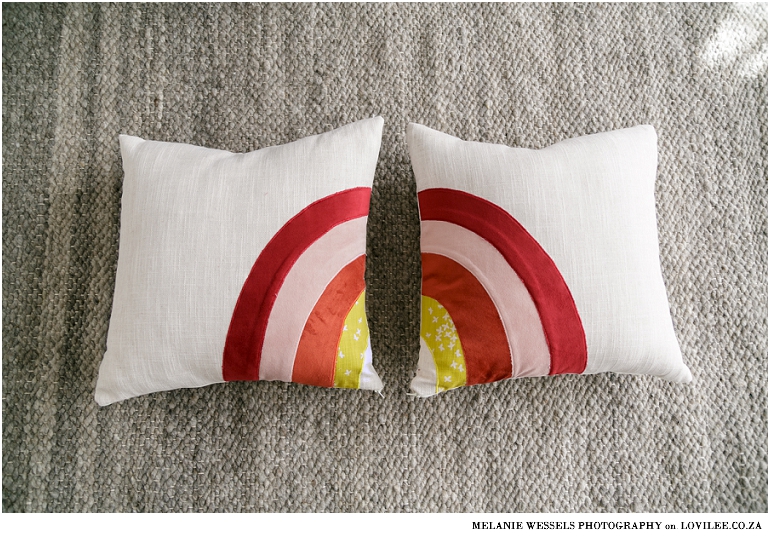
If you are anything like me you might also be afraid to try DIY projects with your sewing machine, especially ones that involves zippers and other items that sounds really complicated. But making a zippered pillow cover was easier than I first anticipated (this is still an intermediate project as you will need to know how to use a sewing machine). The creatives over at T & Co Fabrics challenged me to come up with an on-trend, but easy to follow DIY that involved using some of their gorgeous fabrics. With rainbow month coming up – I thought this would be a great opportunity to share some rainbow inspiration, so I decided to make a pair of rainbow scatters.
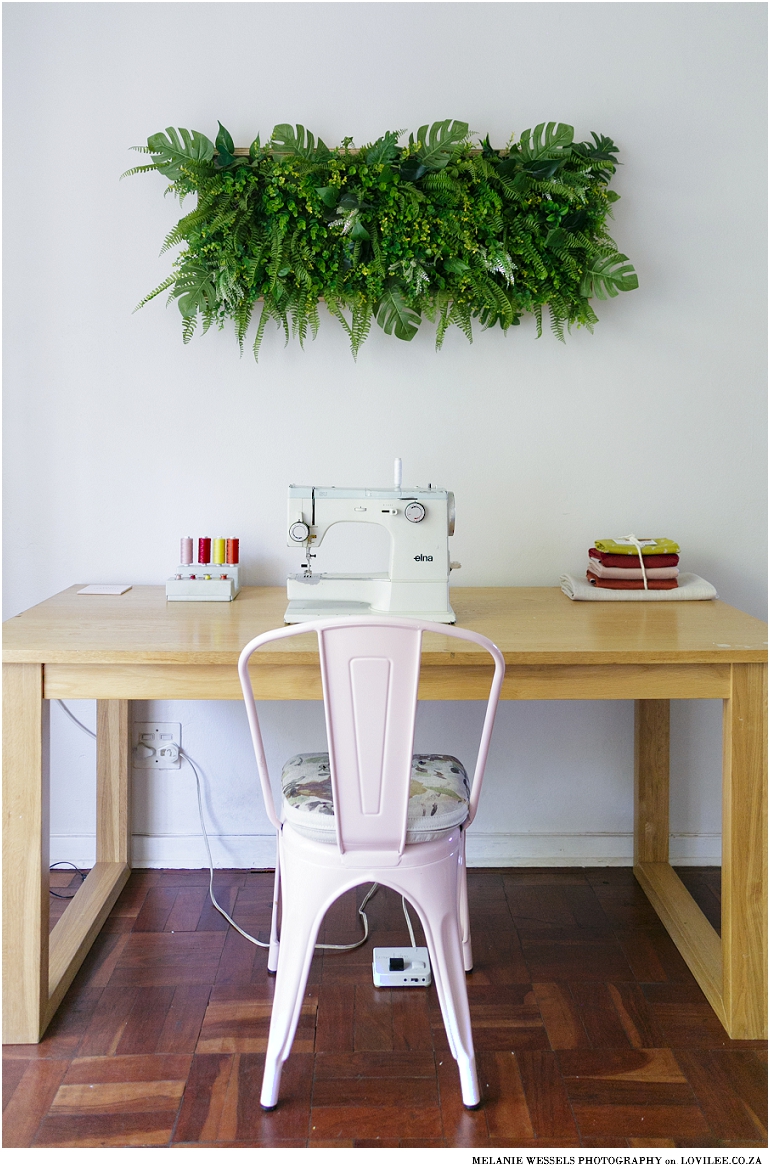
I introduced you to T & Co Fabrics in a previous DIY article where I showed you how to make a wall hanging using some of their stunning floral fabrics. But why not visit them at their showroom to see it all – The showroom is filled with vibrant colour, design and décor pieces. Clients are always welcome to pop in for a cup of coffee where they will get expert advice on how to make the perfect space. Even though T & Co’s showroom is based in the Kramerville Design District, Johannesburg, they have agents in Durban, Cape Town and the Garden Route.
Choosing the right material
Even though you might love a print on a fabric, it does not necessarily mean that it is the right material for the job. This is what makes it so much more valuable visiting T & Co Fabrics‘ showroom in Kramerville, Johannesburg. They are experts when it comes to fabric and they can literally guide you in making the perfect selection for the project you have in mind. And with their massive range of both local and international designs you are sure to find quite a few fabrics that you will love.
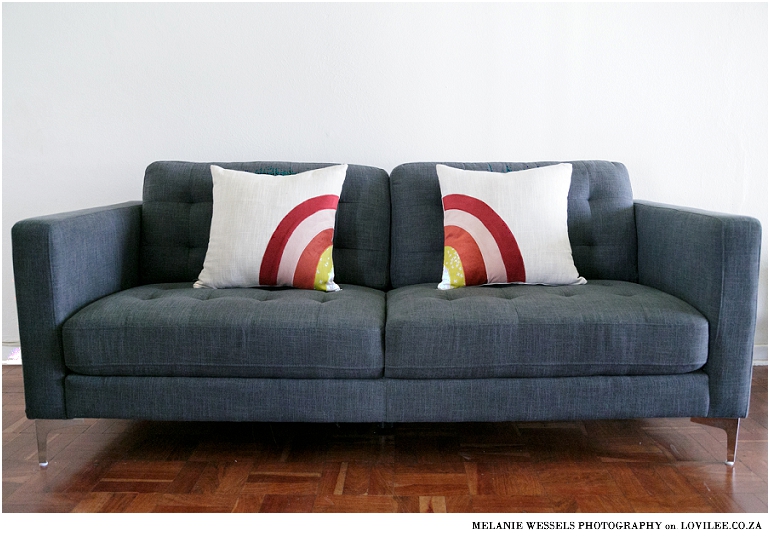
Sew a zippered pillow cover for a pair of rainbow cushions ⋒
This tutorial is a two part one that first involves making a rainbow to add to your scatter and then making the actual cushion cover. If you want to you can hand-sew the rainbow onto an existing cover and skip part 2 of the tutorial, or alternatively if you want to skip the rainbow part then just follow part 2.
PART 1: Somewhere over the Rainbow ⋒
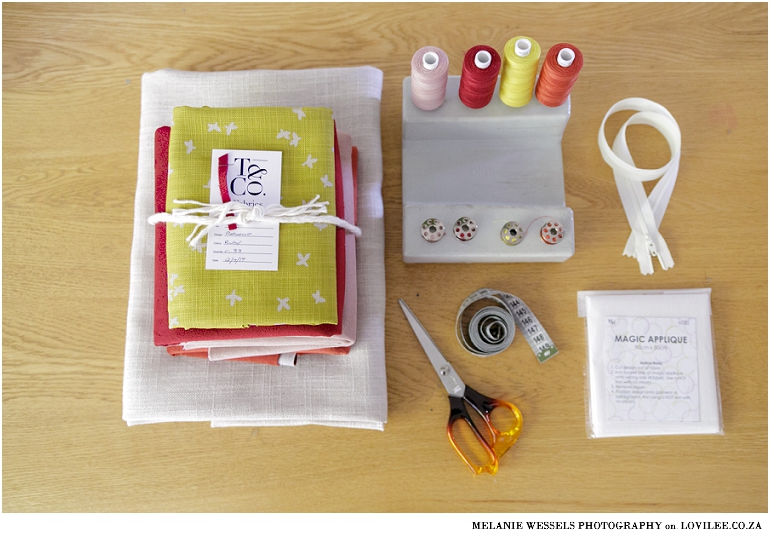
What you need to make the fabric rainbow?
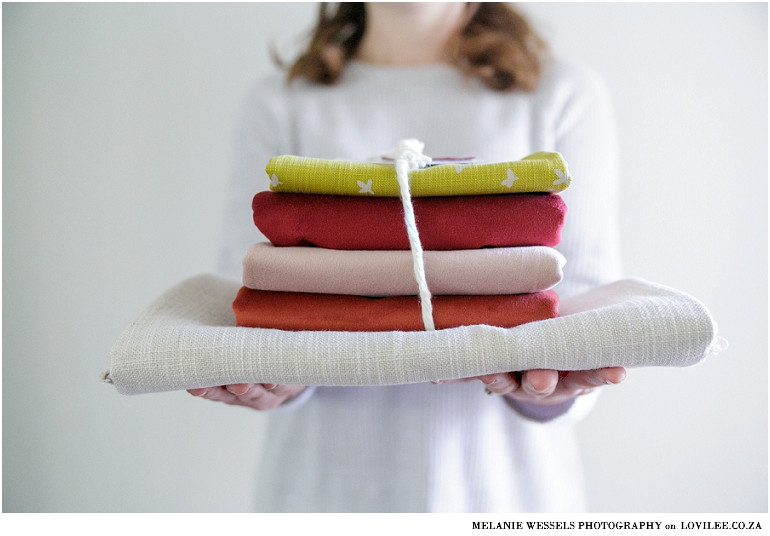
- Fabrics in the colors of your choice (I used 4 colors from the T & Co collection. Ruby (Dark red), Rose Pink and burnt Marmalade (orange) all from the Rebecca collection and then for the yellow the Chai color cotton fabric.)
- Yarn in the same colors as the fabrics above
- Applique Paper
- A clothes iron and ironing board
- Rainbow pattern (download here)
- A pair of sharp, material scissors
- An electric sewing machine
- Washi or Cellotape
You can follow the step-by-step Rainbow making tutorial with photos below
-
- Download and print out the rainbow template that I designed for this DIY.
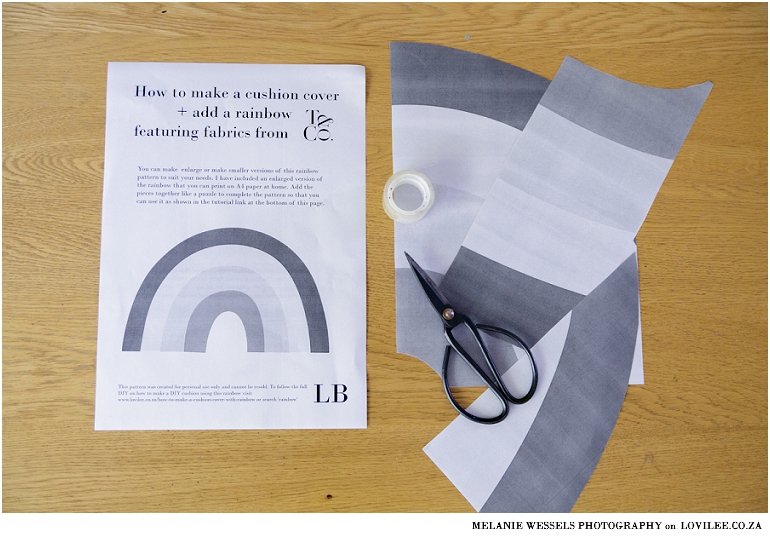
-
- Stick the rainbow pieces together with washi tape or cello tape and cut around the outer edges of the rainbow. (this will form half a rainbow)
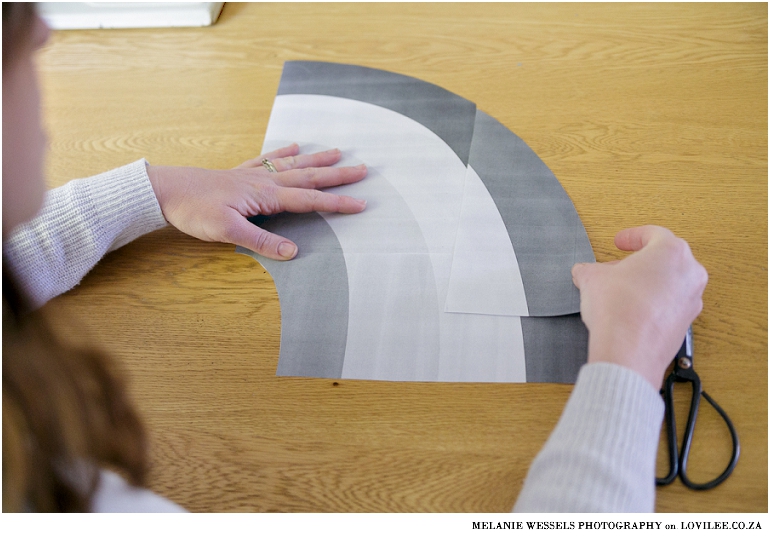
-
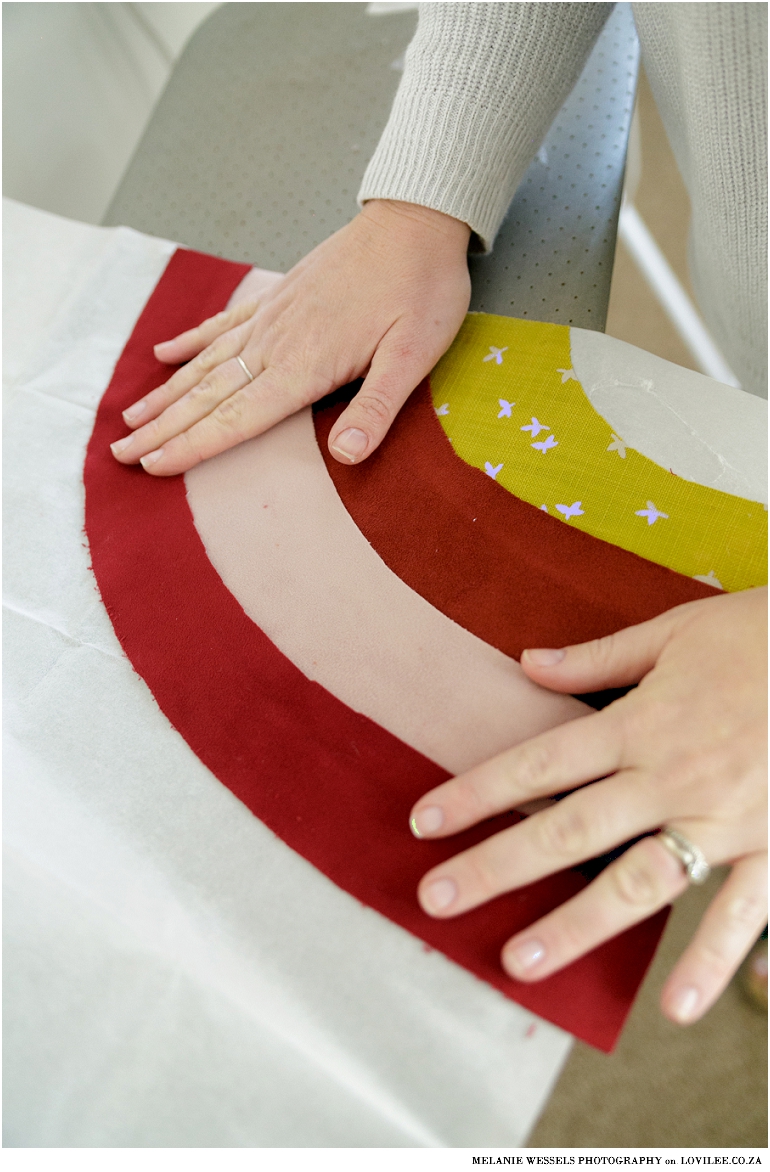
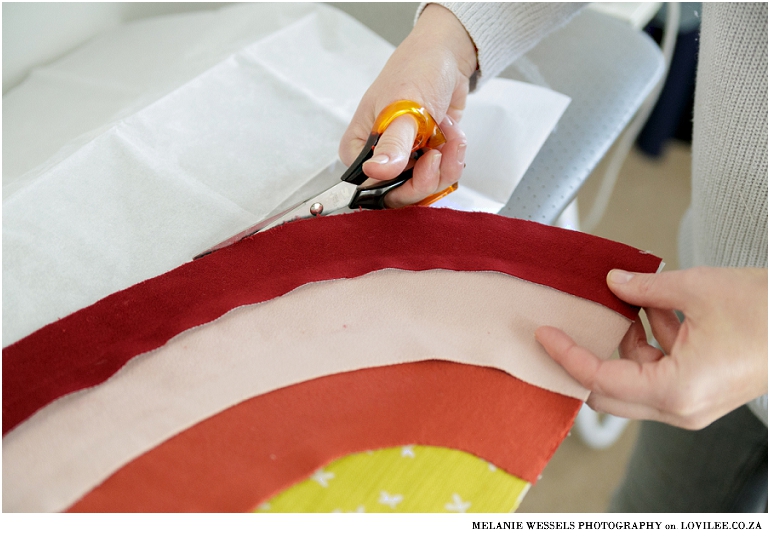
- Cut out the rainbow pieces in the color materials of your choice. You will have to add a small seam allowance to the top of the colors (Except for the biggest one so that they can overlap)
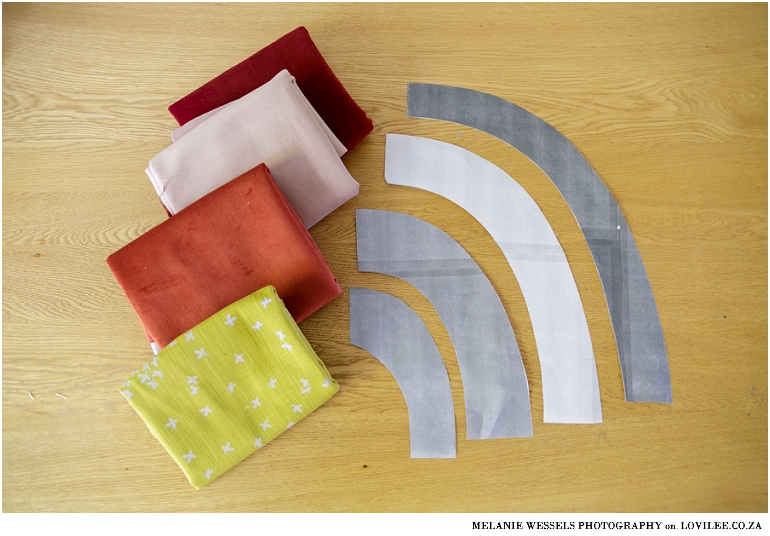
-
- You will have to cut 2 of the half rainbows for this tutorial, making sure that you have the right facing of the materials correct, so that you will have a complete rainbow once you have sewn the cushions.

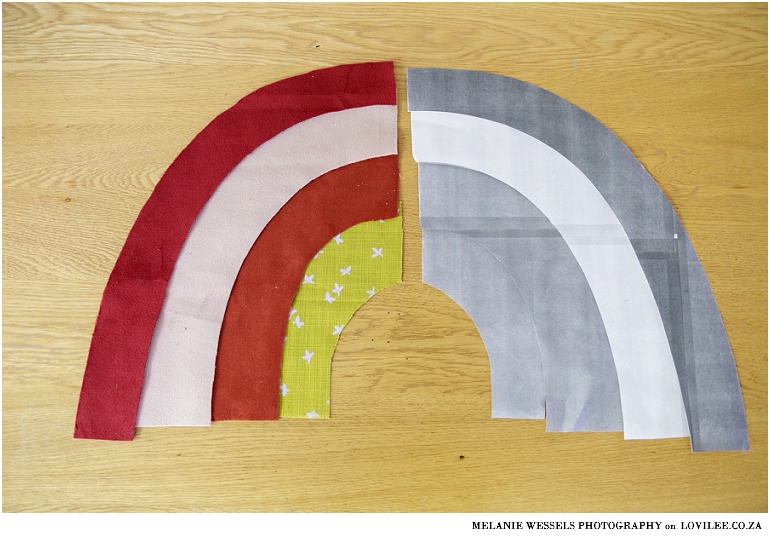
-
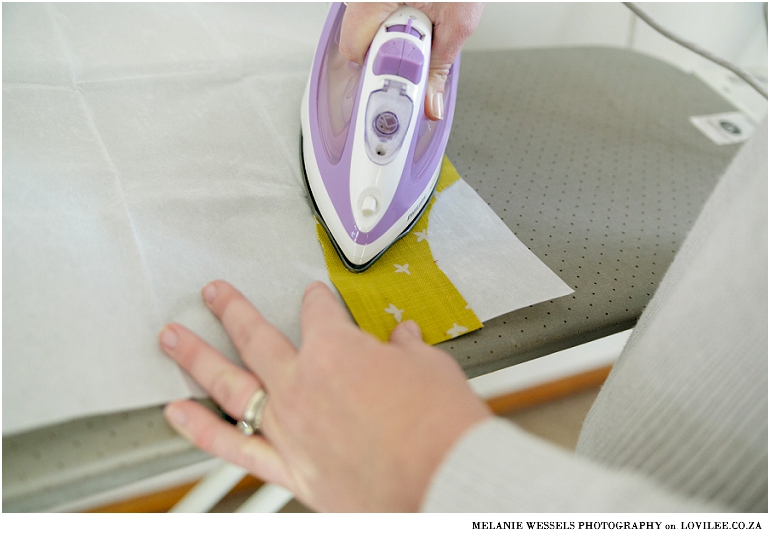
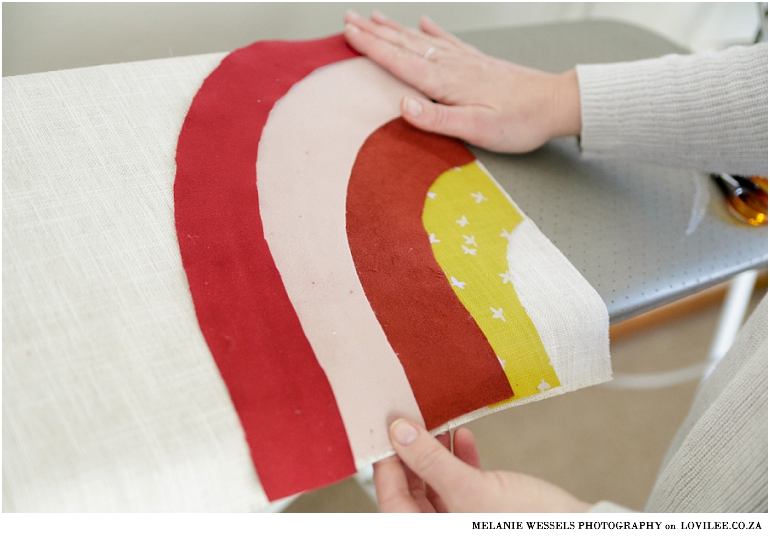
- Place the wrong side of the fabric, starting with the yellow first on the coarse side of the applique paper. Iron it to the applique paper using a hot iron with no steam. (I prefer to iron the back of the paper to the fabric as the suede fabric can easily melt. Complete these steps for the remaining colors, slightly overlapping each of the colors over the previous one’s seam allowance that you added.
-
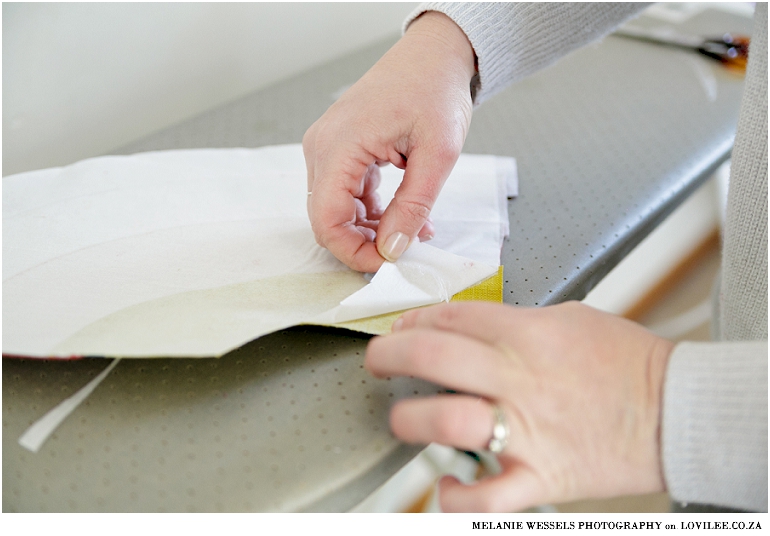
- Once you have all the colors in place cut out the remainder of the applique paper that you don’t need and pull away the paper, so that only the glue remains on the back of your rainbow pattern.
-
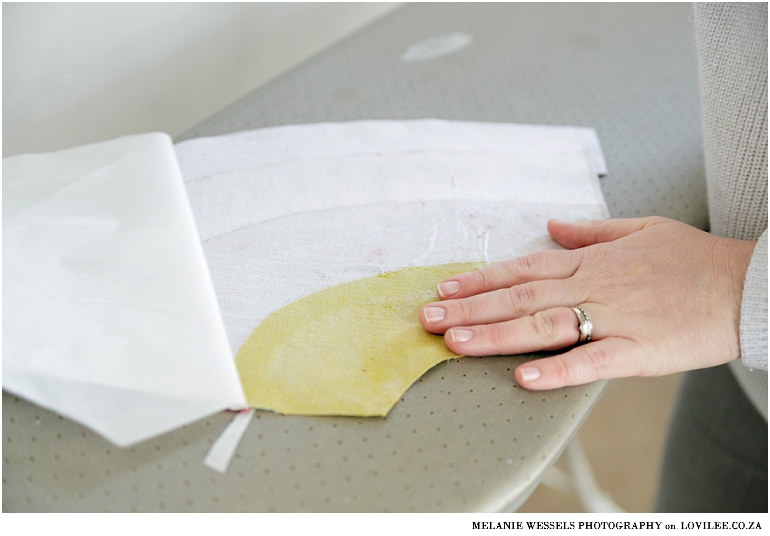
- Position the rainbow onto the cushion fabric and iron it together so that the rainbow sticks to the fabric. (If you are making a pillow you would need to complete nr 1 and 2 of the cushion tutorial below first).

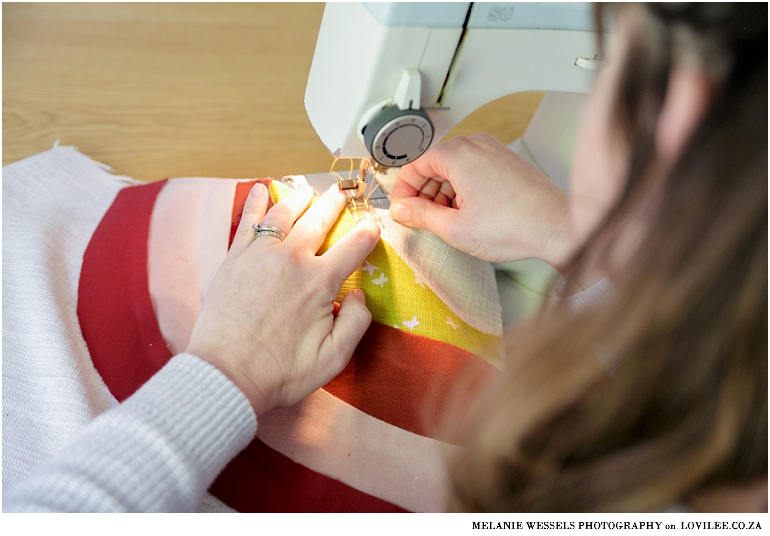
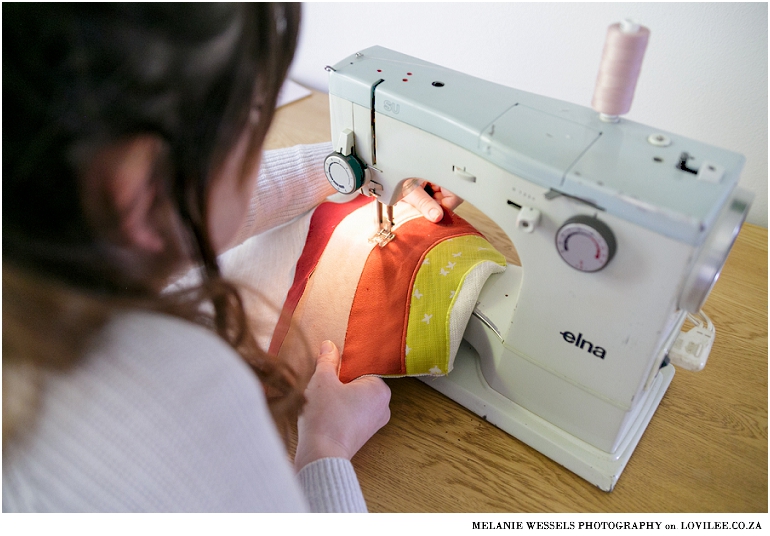
- With the same color thread as each of the stripes in the rainbow, using a fine zig zag stitch, stitch around the lines to fasten them to your background fabric. It is important to make sure that you don’t stretch the material as it will cause folds. I ironed the cushion after each line to ensure that this did not happen. If you however, want to fasten it to a ready-made cushion, you need to sew the lines without adding it to the backing. Afterwards you can secure it to your cushion by hand.
PART 2: How to sew a zippered pillow cover (I am making a 50 x 50cm cushion cover)
What you need to make a pillow cover?
- Fabric in the color of your choice (I used the Whisper color in the Casablanca range from T & Co Fabrics)
- An electric sewing machine
- An overlocker (optional)
- Sewing thread
- A tape measure
- Pins
- Ready-made hollow-fiber cushion inners (TIP: always buy the inners 2-5cm larger than the covers to make them look more puffy)
- A pair of sharp, material scissors
- A zip in either the length or the width of your cushion
- A zipper foot for your sewing machine
- Pins
You can follow the step-by-step tutorial with photos below
-
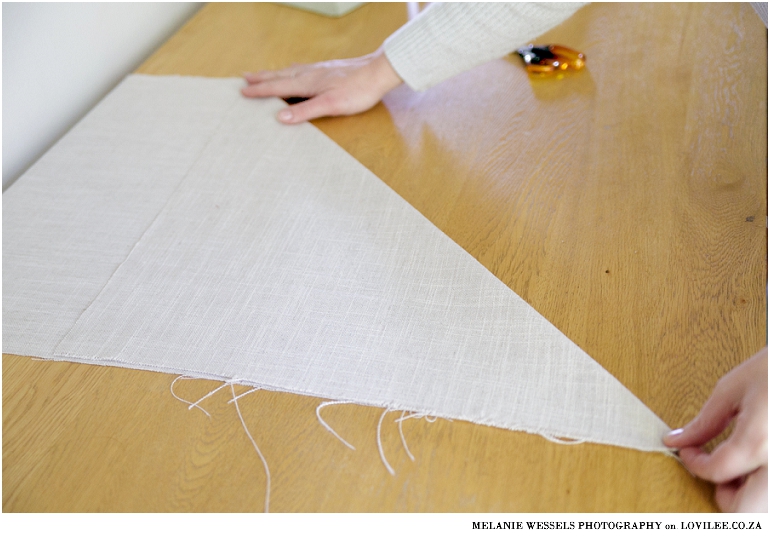
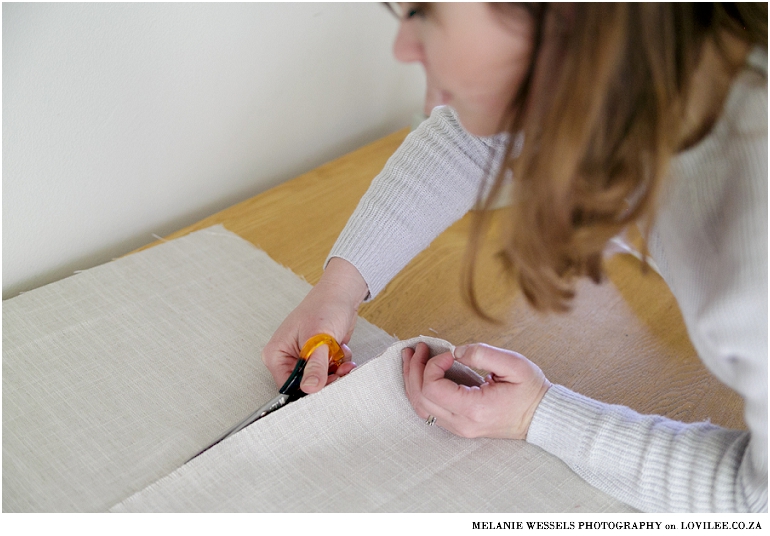
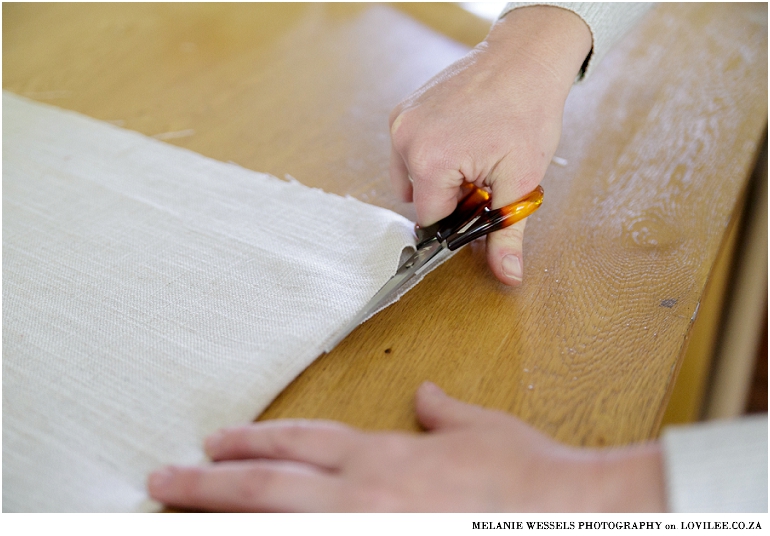
- It is essential to ensure that the fabric is cut straight before doing this, so if the material isn’t straight, make sure to cut it straight now. Measure a piece of fabric 50cm x 100cm and cut it straight. Repeat this for an additional cushion.
-
- Fold the material in half with the right side of the fabric facing each other to make a 50cm x 50cm square. Cut along the fold line, you will now have 2 squares for each of your cushion covers.
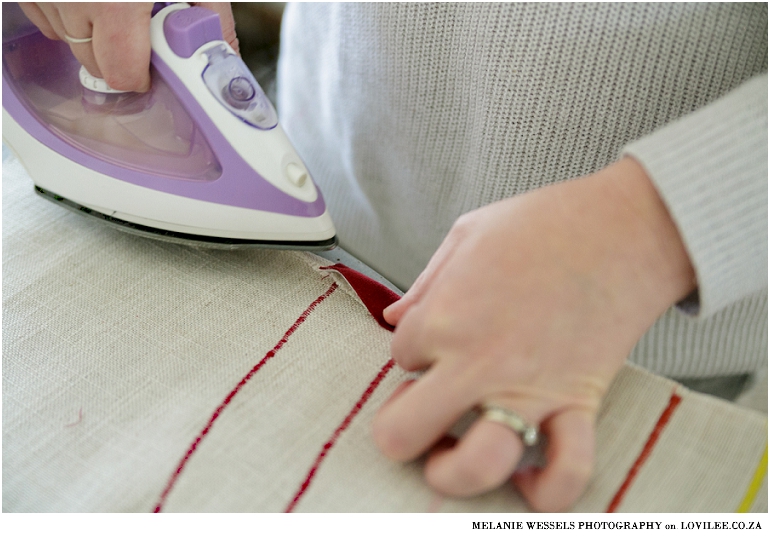
- The zipper of the cushion is normally at the bottom of a scatter cushion cover. Make sure that you have a zipper footer for your sewing machine as you will first use this foot. Iron a 1cm seam allowance to both sides of the material where the zipper will be placed.
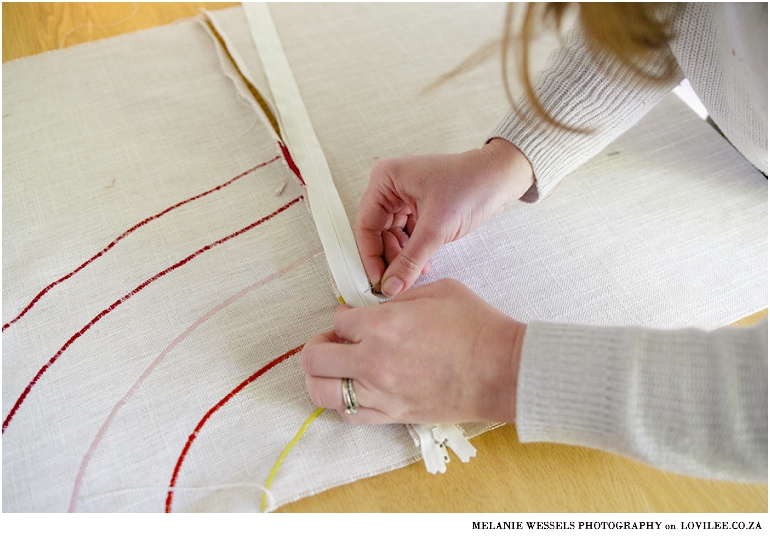
- Place the right sides of the materials together making sure that the squares line up and pin the 2 ends of the fabrics together, folding the seams open that you ironed. Place the zipper face down onto the seam, and pin it in place. Use the zipper footer to sew the zip in place.
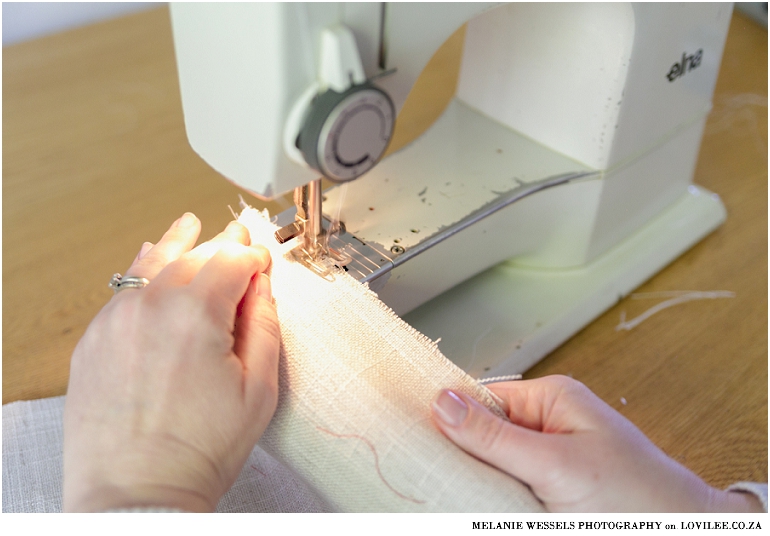
- Start stitching end of the cushion opposite the zippered edge leaving a 1cm seam allowance to the right. Now you know how to sew a zippered pillow case.
- Sew the other two seams as well, leaving a 1cm seam allowance to the right each time.
- You can now either overlock the edges together or use a zigzag stitch to round the seams off and keep the material from fraying.
- Unzip the zipper and turn the cushion right side out. Place your stuffed cushion inner inside and style the cushion as desired.
Happy sewing lovilees!!!
Find out more about T & Co Fabrics, follow them for exclusive offers or get in contact
Website: www.tandco.co.za
Facebook: @T-Co-Fabrics-tandco
Twitter: @TandCo_Fabrics
Instagram: @tandco_fabrics
Pinterest: @tcofabrics
JHB Showroom: 14 Kramer Road, Kramerville, Sandton, Johannesburg
Disclaimer: This is a sponsored post according to my disclaimers and disclosures, but as always my honest opinion.
Let's get social
Instagram: @lovilee_zaTwitter: @lovilee_za
Facebook: @lovileeblog
or subscribe to never miss out on any new articles in this link.


Comments are closed.