
The humble kitchen and bathroom essential – the sponge. It is a great way to clean pots and pans or our bodies. There is so much more that you can do with this simple household item.

Here with 5 creative ways to upcycling sponges
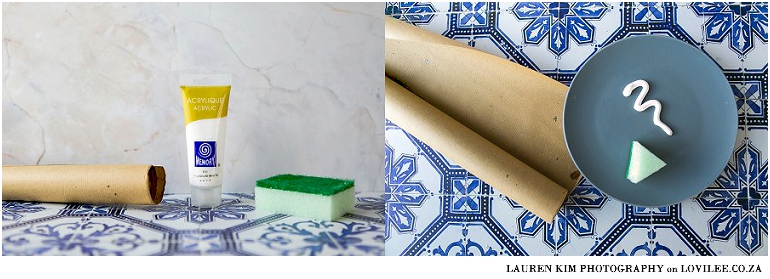
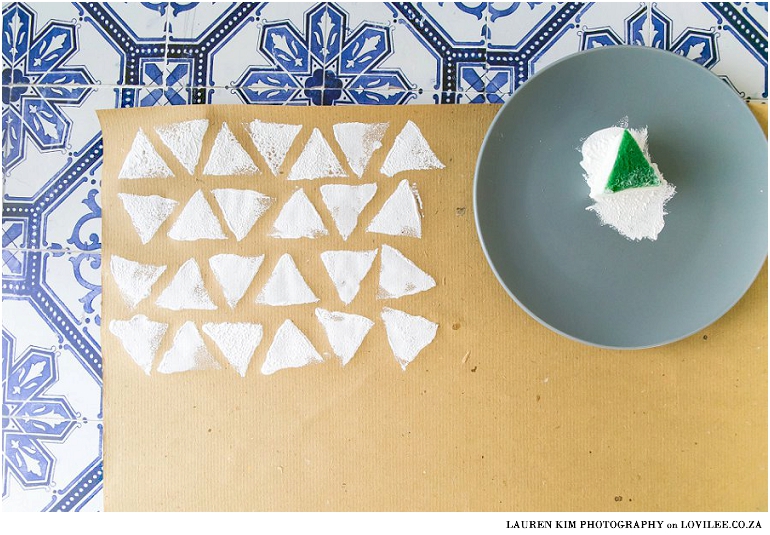
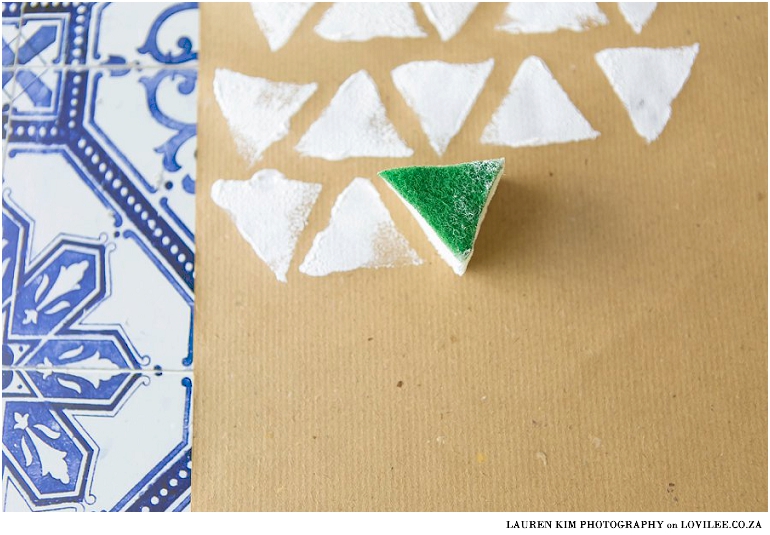
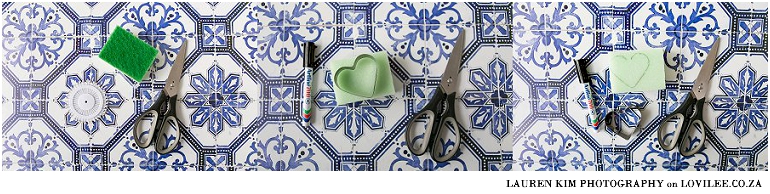
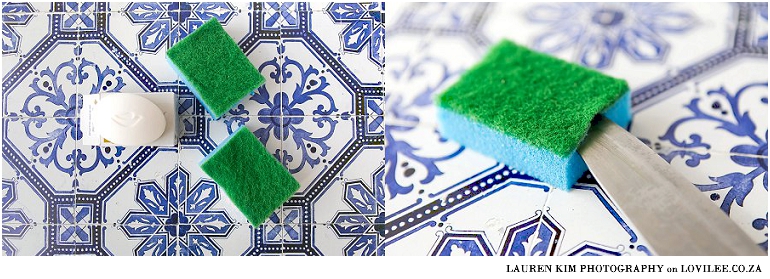
1. Make a sponge stamp
Cut your desired shape out of a piece of sponge using a sharp pair of scissors. Gently dab it into some paint and stamp away onto craft paper to make wrapping paper or paper to make a card.
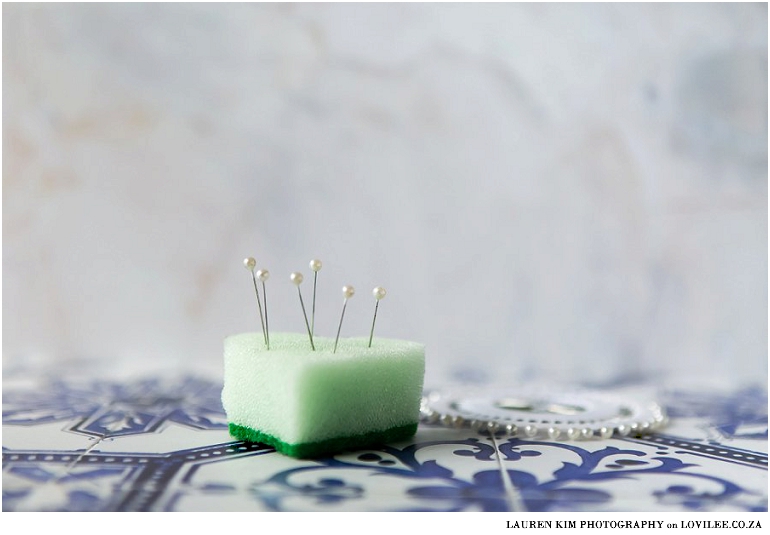
2. Store your pins safely
If you like to sew you may find that your pins float around all over the place or if they are stored in a container they not easily accessible when they are lying flat in the container. Cut a fun shape out of your sponge (or leave it whole) and stick your pins into the sponge pin cushion (sharp side down). This way your pins will be easily accessible as well as safely stored.
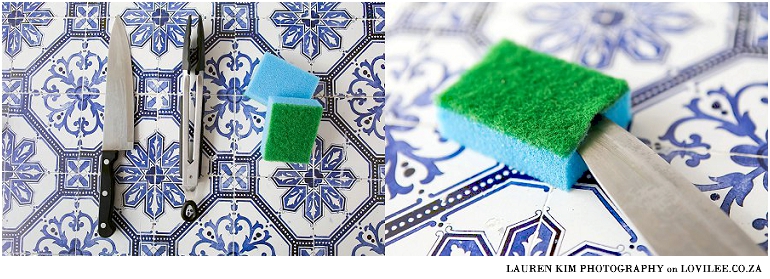
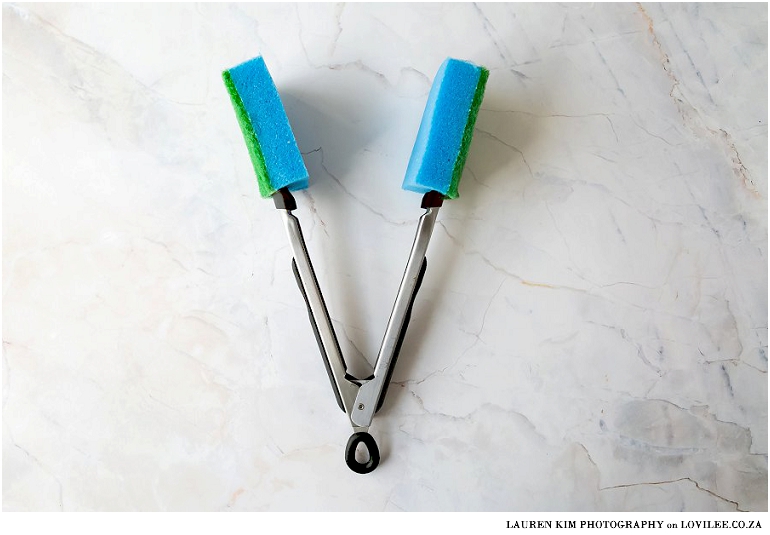
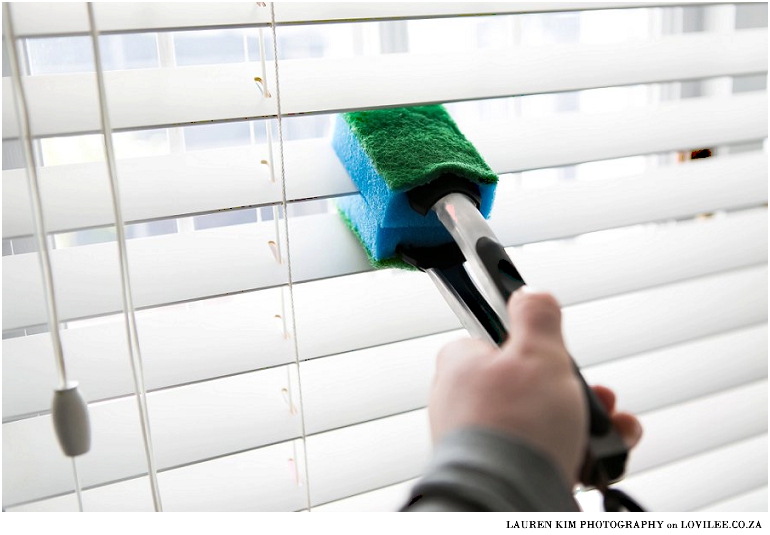
3. Dust your blinds
All you need …
- A pair of tongs
- 2 Sponges
- A knife or pair of scissors
How to make this DIY sponge blind duster
- Using a sharp knife or pair of scissors, gently cut a hole in the middle of the sponge.
- Slide the one side of the tongs into each sponge.
- Gently slide your tongs along the blind – cleaning the top and bottom simultaneously.
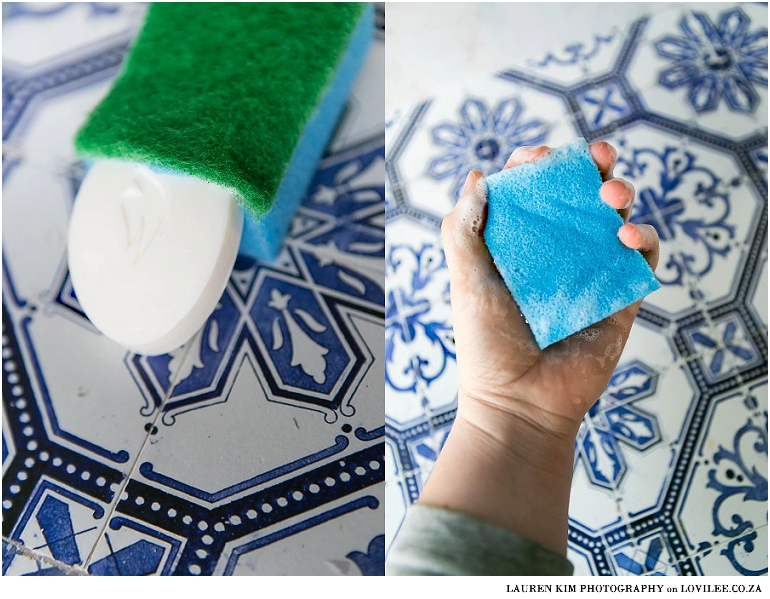
4. Instant soap
All you need…
- A sponge
- A knife or a pair of scissors
- A bar of soap (appropriately sized)
- Cutting a hole in the sponge (described above).
- Slide the soap into the hole.
- Wet your sponge and rub – your sponge will become soapy effortlessly.
- (no need to remove the soap – keep it in the sponge until it has disintegrated)
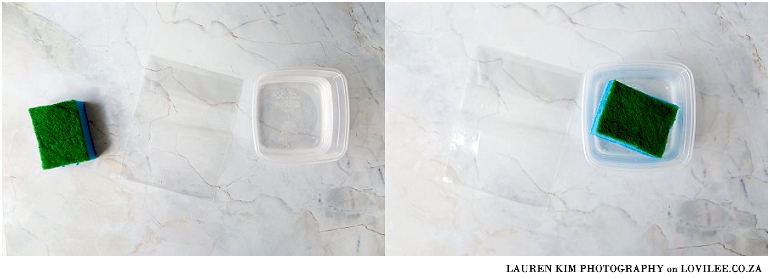
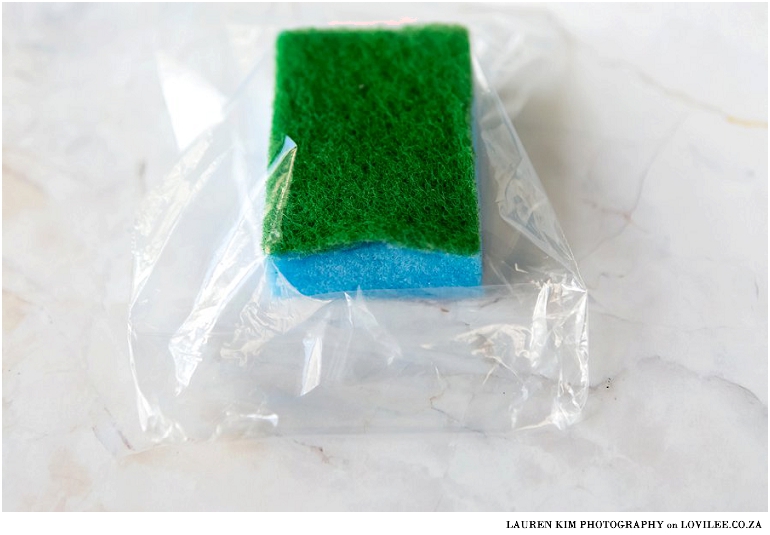
5. Freezer packs
If you are going on a picnic then these are a must. They keep your food cold and at at the end of the picnic you can wipe your hands clean.
All you need…
- A sponge
- A packet
- A bowl of water
How to make a DIY sponge freezer pack
- Soak your sponge in the water.
- Place in a packet and then immediately in the freezer.
- Remove from the freezer and place in a cooler box when going on a picnic.
So lets start upcycling one sponge at a time!
Images by Lauren Kim Photography
Let's get social
Instagram: @lovilee_zaTwitter: @lovilee_za
Facebook: @lovileeblog
or subscribe to never miss out on any new articles in this link.


Comments are closed.