
I have been meaning to do some DIY temporary tattoo art for myself after purchasing some of the Silhouette printable tattoo paper a while ago. I had printed quite a few for my kids and they loooved them, but had no idea where to find nice images for ones for myself. When I saw this article on Lana Red Studio I knew what I wanted!
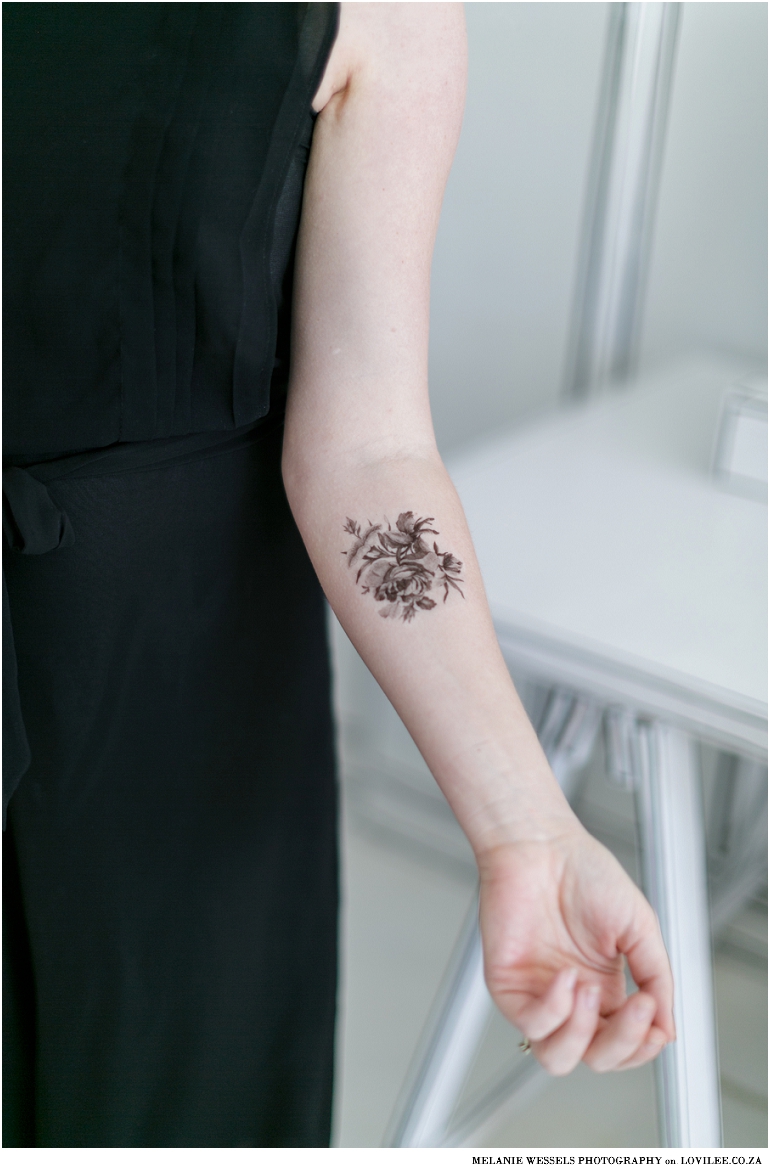
These temporary tattoos are the perfect party accessory and my kids love adding them over weekend or holidays. They don’t last long (around a day or so if they don’t get wet) but look great and are a whole deal of fun to design and apply.
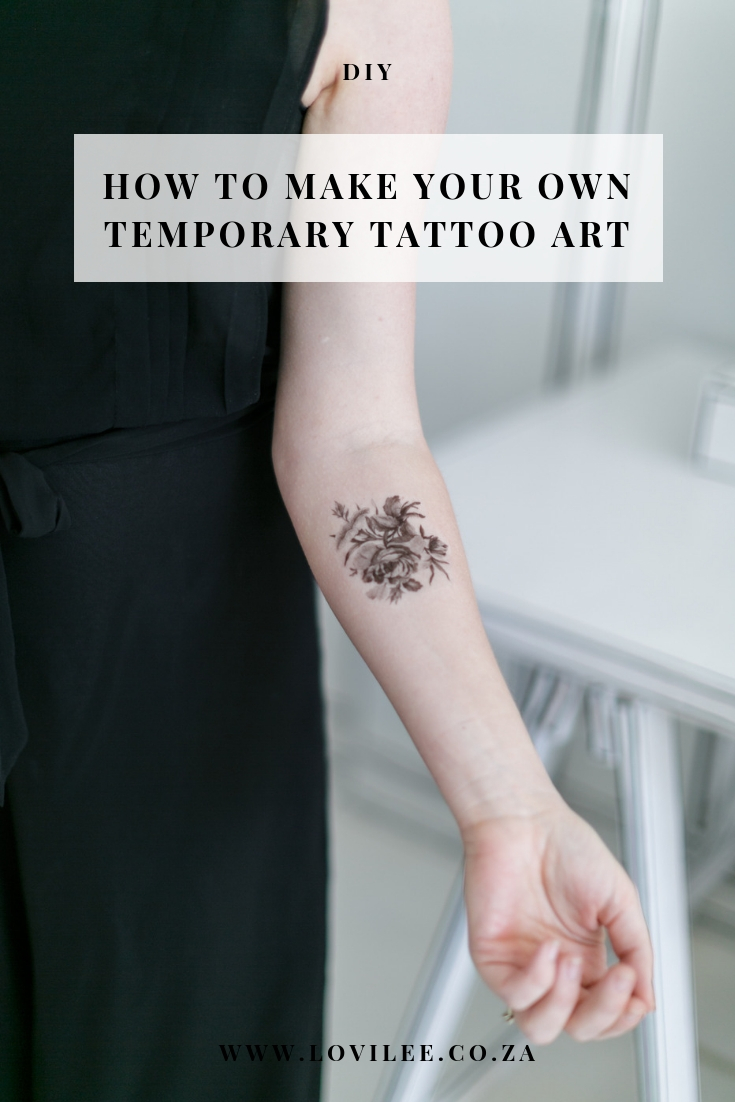
how to make temporary tattoos
The sheets come with their own instructions, but I still found them quite tricky to follow. So here they are again, this time with images.
What you will need to print and make the tattoos
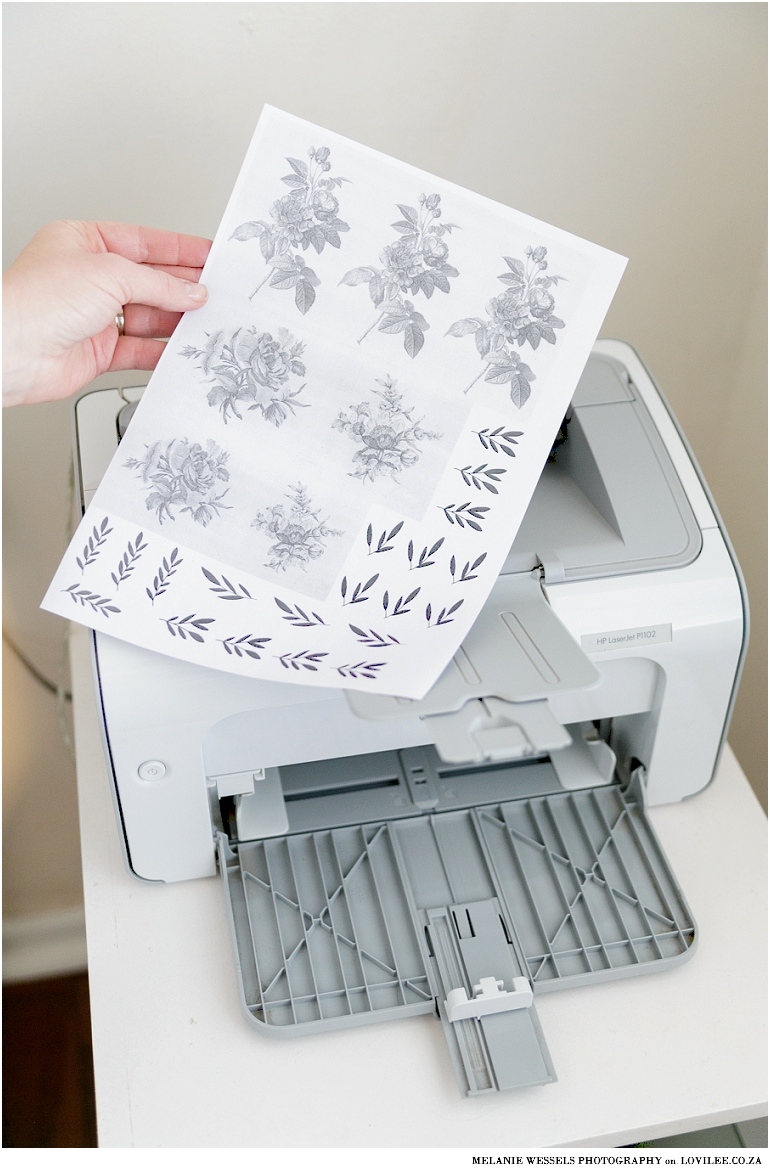
- An INKJET printer! This is VERY important – you cannot print on this paper using a laser printer, so I asked my a friend to print my designs on his.
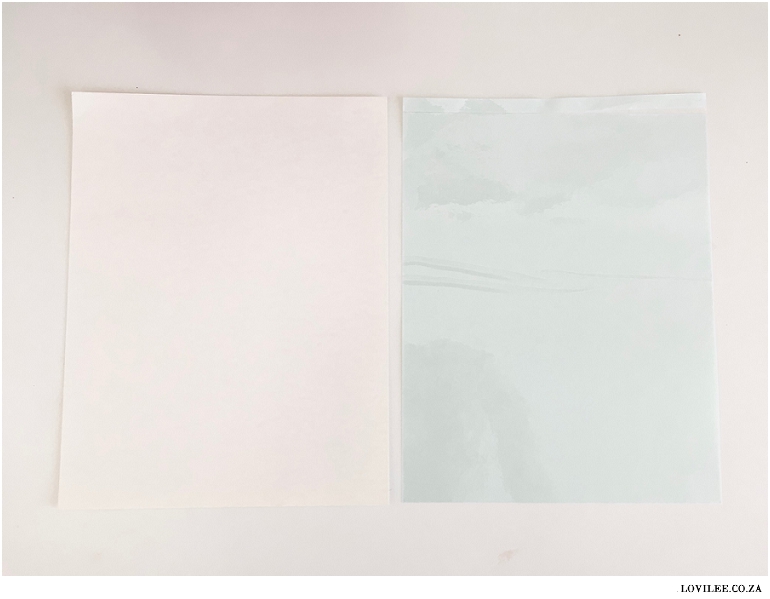
- Some printable tattoo paper – I use the Silhouette brand that you can purchase on-line here.
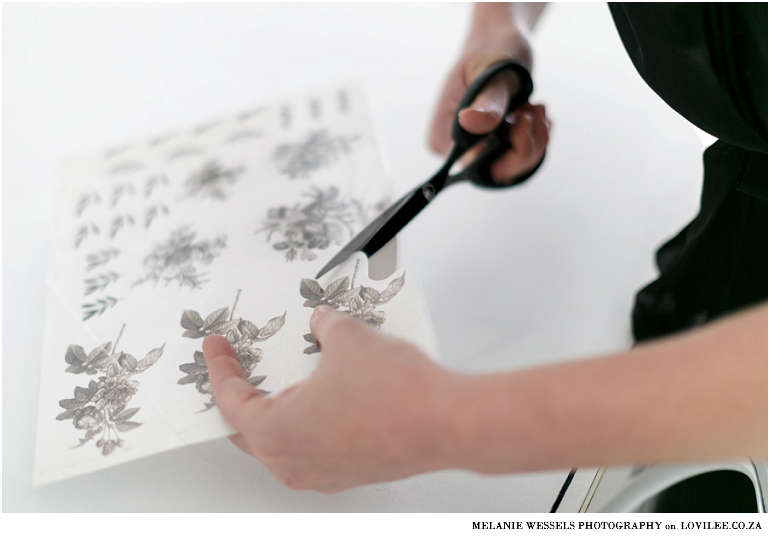
- A pair of scissors.

How to?
- Decide on the design(s) that you want to print. This paper is quite expensive so I would suggest to choose as many as you can and group them on one page as you cannot print on parts of the page again. I make use of paint.net or canva.com to design, both of which are freeware programs.
- It is important to note that you need to print the image in reverse if it has text on, else you will have to read all the words backwards. Once you have your design do a test print on a standard A4 printing sheet of paper. Making sure you note which side your printer prints on of the page.
- If you are 100% happy with your design you can load your printable tattoo paper into your printer making sure that the design will print on the glossy side (This is the white cardboard looking paper). Use your printer’s photo paper settings if applicable.
- When the ink is dried completely, apply the adhesive sheet to the top of the printed image by peeling away the light blue backing paper on the one end. Smooth the adhesive paper over the printed image(s).
- Using a pair of scissors, cut around your tattoos to separate them from each other.


What you will need to apply your temporary tattoo?
- Your DIY tattoo.
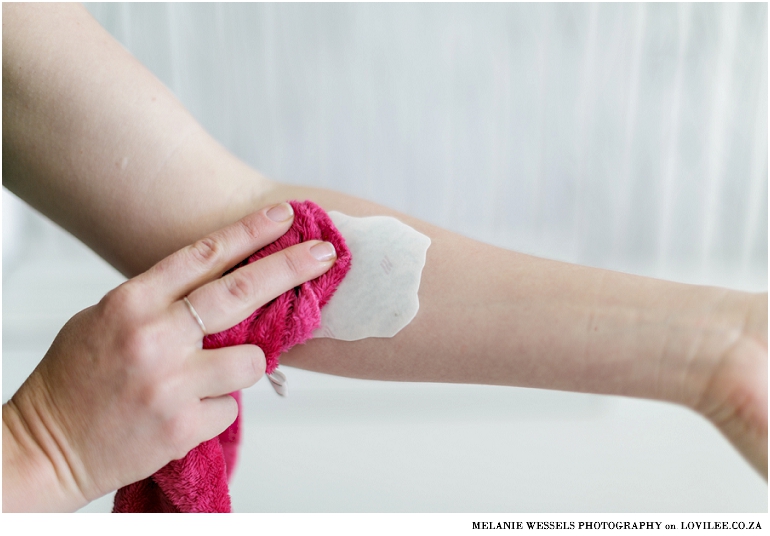
- A damp cloth.
How to apply your temporary tattoo?
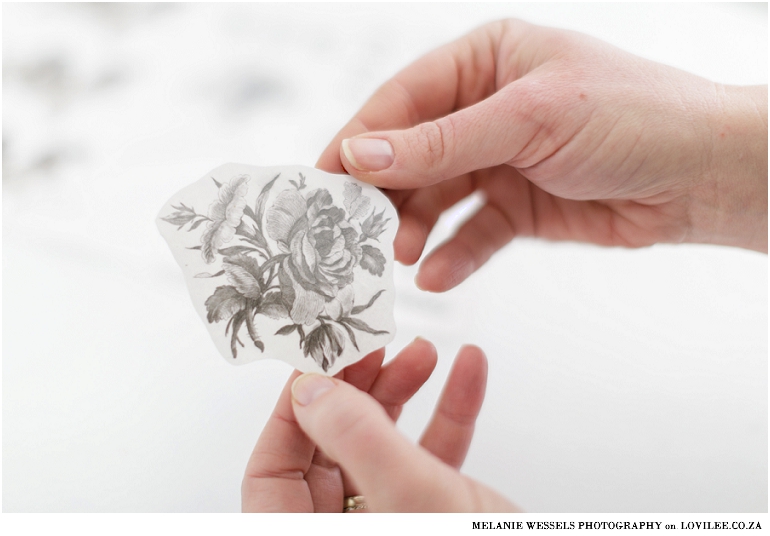
- Peel away the tattoos’ clear adhesive layer.
- Apply the adhesive side (that now has the print on) to your skin. Cover it with a damp cloth for 15 or so seconds, or until the paper backing slides off easily.
What designs would you print?!
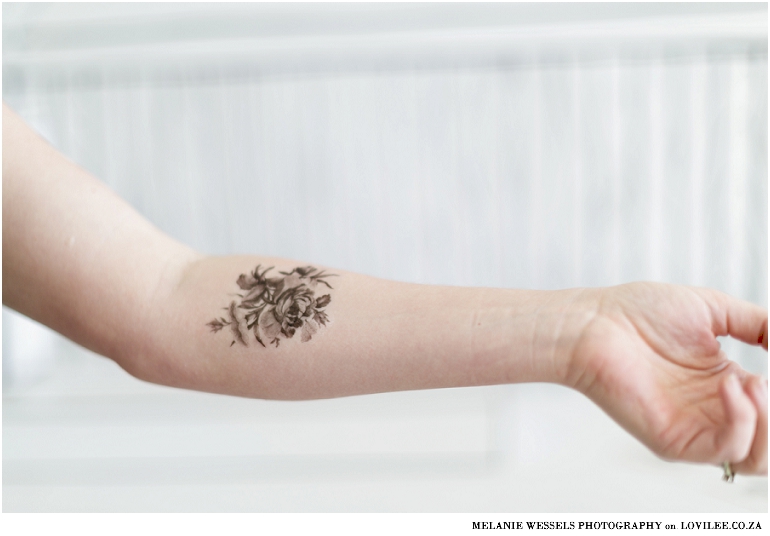
Thank you to Melanie Wessels Photography for the amazing images!
Let's get social
Instagram: @lovilee_zaTwitter: @lovilee_za
Facebook: @lovileeblog
or subscribe to never miss out on any new articles in this link.


Comments are closed.