
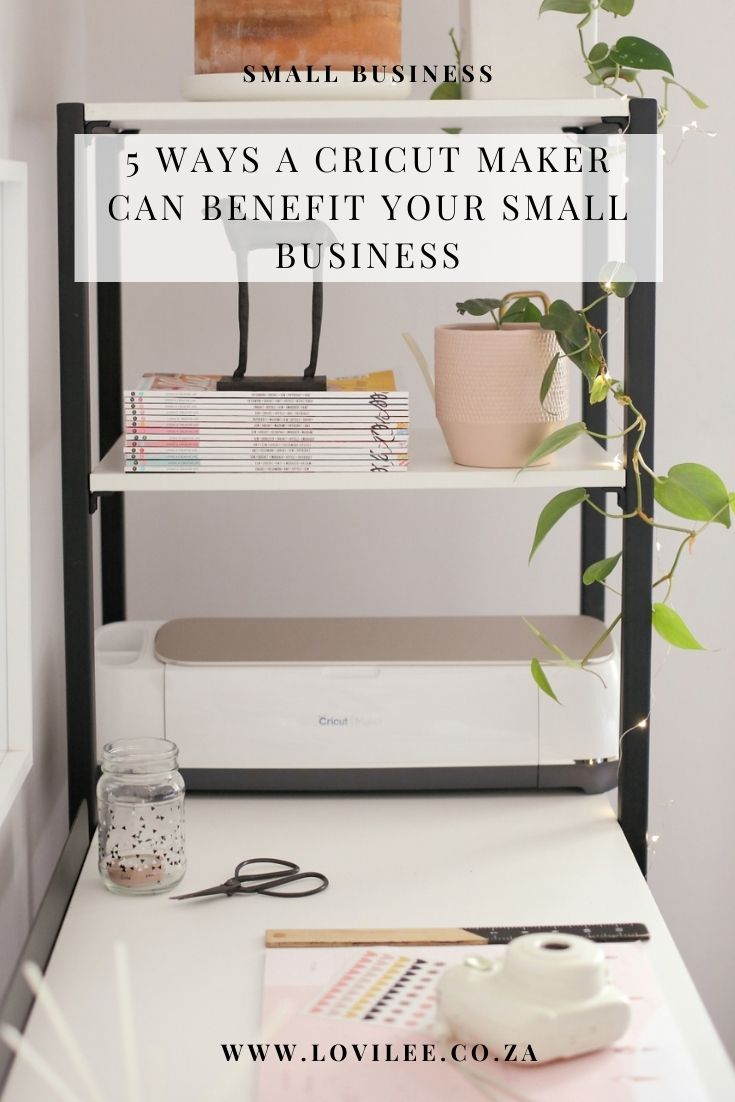
I have been running The Tiny Dollhouse SA for just over a year and started to prepare for my first market recently. I needed a sign with my logo on and some price lists and my Cricut Maker came in so handy! I thought that I would share 5 ways a Cricut Maker can benefit your small business as well as step by step instructions on how you could also cut your own logo using vinyl easily.
This post was sponsored by Cricut MEA as part of me being a #CricutMEAAmbassador, but all opinions are my own.
- Create Professional looking branding
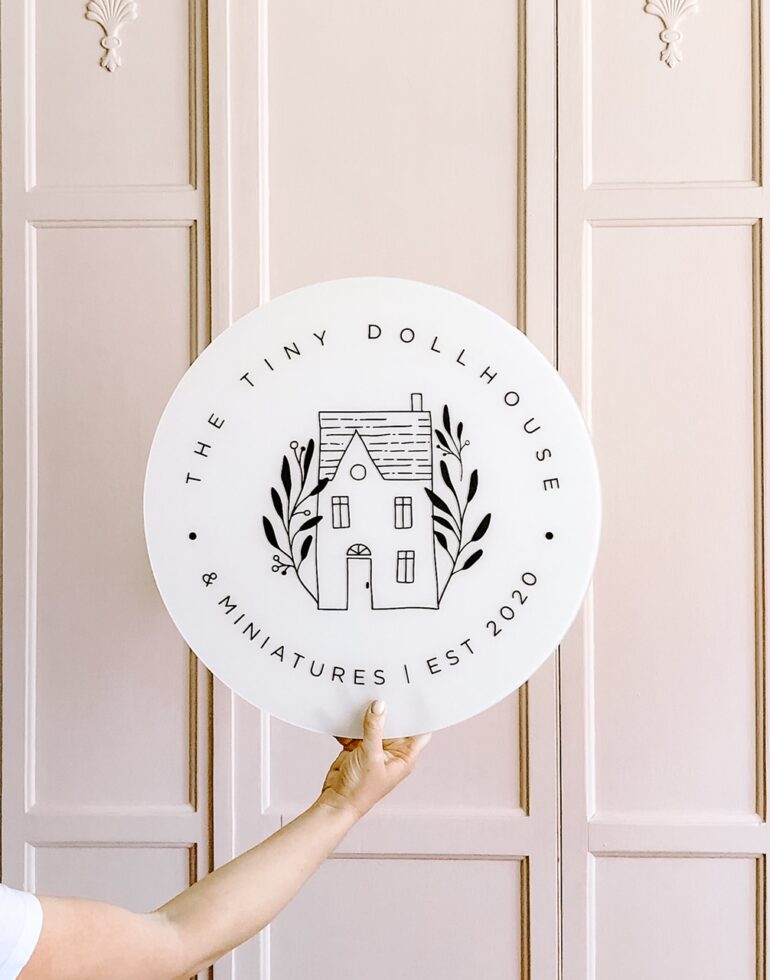
Whether you would like to add your logo to a shop window, or on a perspex sign for when you do a market, the Cricut Maker will have you covered. I recently ordered a vinyl circle and added my logo in a black vinyl that I cut using my Cricut Maker – it looks like a professionally designed masterpiece! - Packaging and Presentation
By making use of printable vinyl you are able to print your own packaging labels or cut cards and even carboard boxes from cardstock. - Getting beautifully organized
Make use of the Cricut Maker to cut vinyl labels to organise your files and items or products in the containers your store them in. This will save you time and enhance your creativity. - Expanding your product line
Once you start using your Cricut Maker you will soon realise that there are endless uses for it and that you might even be able to expand on your current product line making use of it. - Save you time and money
By moving the production of some of the branding, packaging and production in house you might save time and money in the long run. You can with little effort make items instead of waiting for them to arrive or paying added delivery costs.
How to cut your small business logo with vinyl using a Cricut Maker?
To ensure that you get the best results and cleanest cut on your logo I would suggest using a monochrome option. If your logo has more color, make sure that the lines are clean cut. e.g. watercolor options will not cut as well.
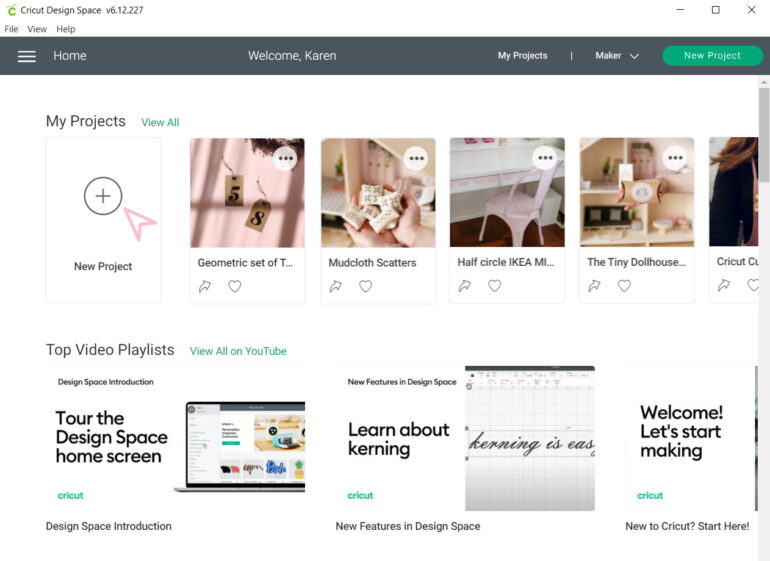
- Open the Cricut Design Space and click on the option to start a New Project.
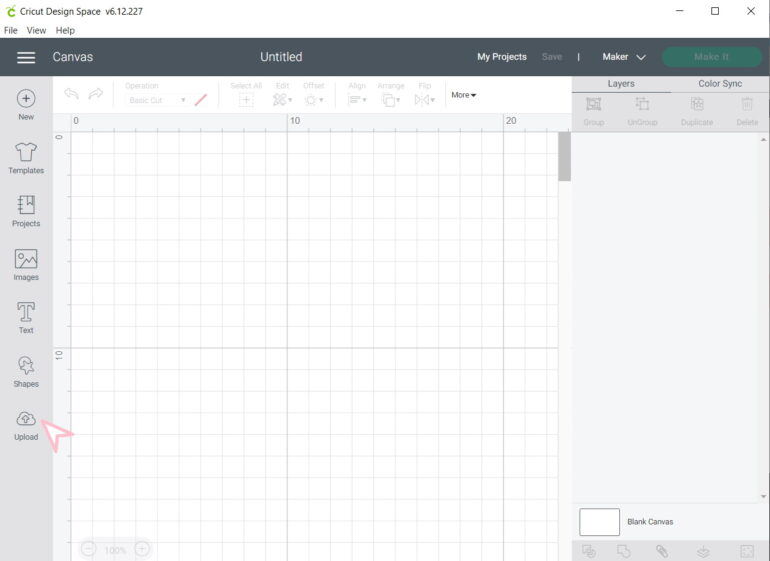
- Click the upload option at the bottom in the left sidebar to upload your logo to the Cricut Design Space. Your logo should be in one of the following file extension options – .jpg, .gif, .png, .bmp, .svg or .dxf. Select the upload option on the screen and select the logo image your would like to upload.
- The uploaded image will now appear on the screen and you will have the option to, depending on the file type you used for the upload edit the image for cutting. I chose the Moderately complex option for my logo upload. Click on ‘Continue’.
- Select the colors that you want to remove – I want to keep the black of my logo and erase the pink background, so I click on the pink then to remove it and repeat these steps till all pink is removed from the logo. You will also have the option to preview the logo. If your logo is in a few different colors, you might want to repeat these steps from above for the various colors as you will cut them separately in the end on vinyl. If you want to use it for print then only remove the background / colors you don’t want.
- The next screen will show you a preview of how your file will look if you cut / print and you can choose to save it accordingly. For vinyl you will use the cut option. Once you have uploaded an image in the Design Space it will be saved for you to access at any time in future as well. Insert the image using the insert option provided.
- Insert the image into your project, if you do not see the image it is probably scaled too big and you will see a warning sign on the top right of your screen to reduce the size before cutting.
- Resize your image / logo to the correct size. The maximum cut will be on the large Cricut mat which is 300mm x 600mm. If you want it bigger you might have to cut parts of the logo separately.
- To cut the logo on vinyl, turn on your Cricut Maker and click on the ‘Make It’ button at the top right of the Design Space screen. Ensure that the logo fits on the mat.
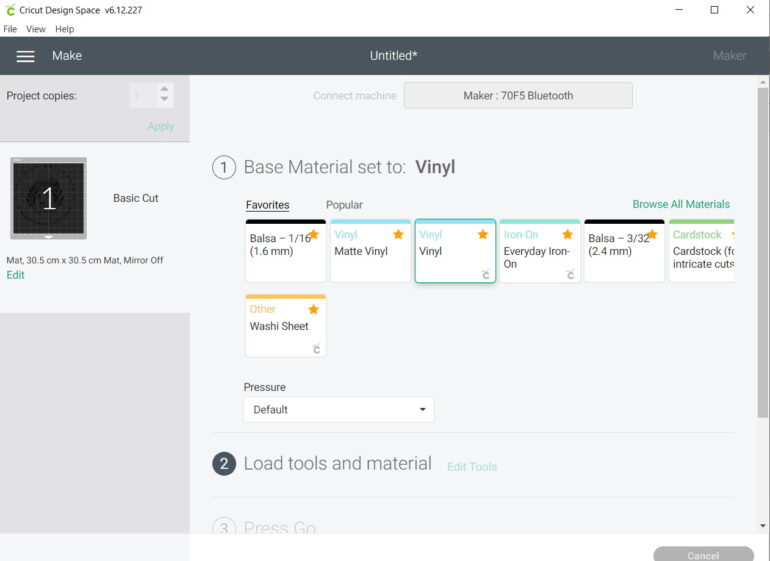
- Select the vinyl option from the materials menu and proceed with the cutting of your logo by following the easy on screen instructions.
![]()
![]()
![]()
![]()
![]()

Now you are ready to showcase your business to your customers in a beautiful and professional way!
Thank you for the beautiful thumbnail image Hello Love Photography!
Let's get social
Instagram: @lovilee_zaTwitter: @lovilee_za
Facebook: @lovileeblog
or subscribe to never miss out on any new articles in this link.


Comments are closed.