
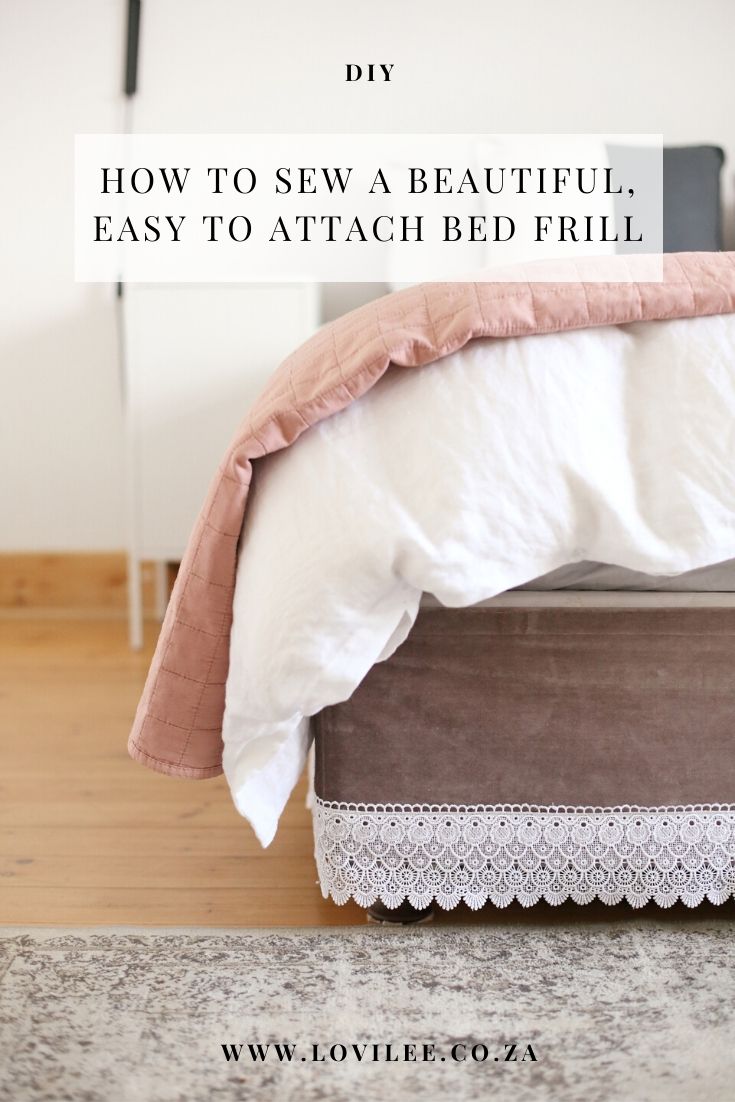
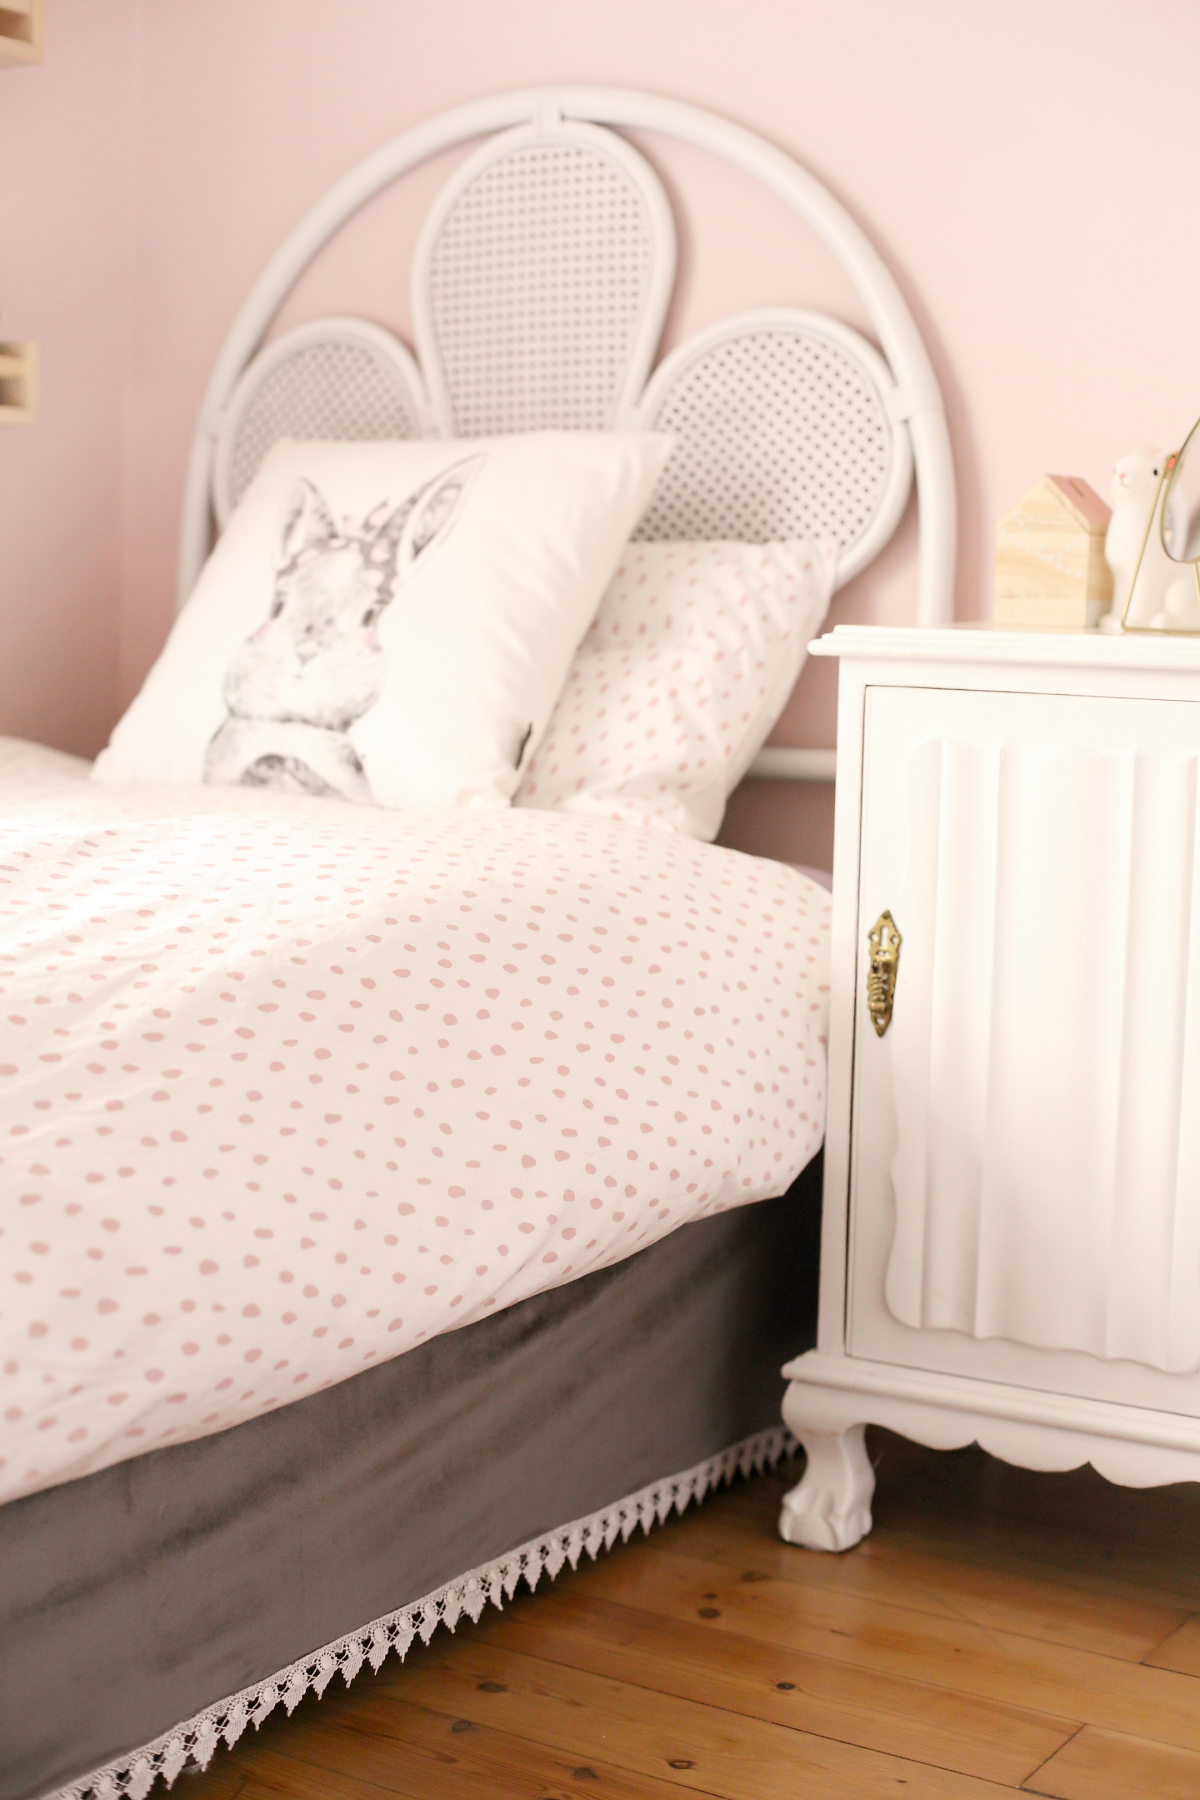
Is it only me or do bed frills drive you nuts?! I love the look of ruffled bed frills, but they take FOREVER to iron. I also like the look of a boxed bed frill, but man, have you ever tried to lift a mattress by yourself to get it on? Then there are the base covers that come with elastics and after a few washes, the elastics seem to lose their elasticity.
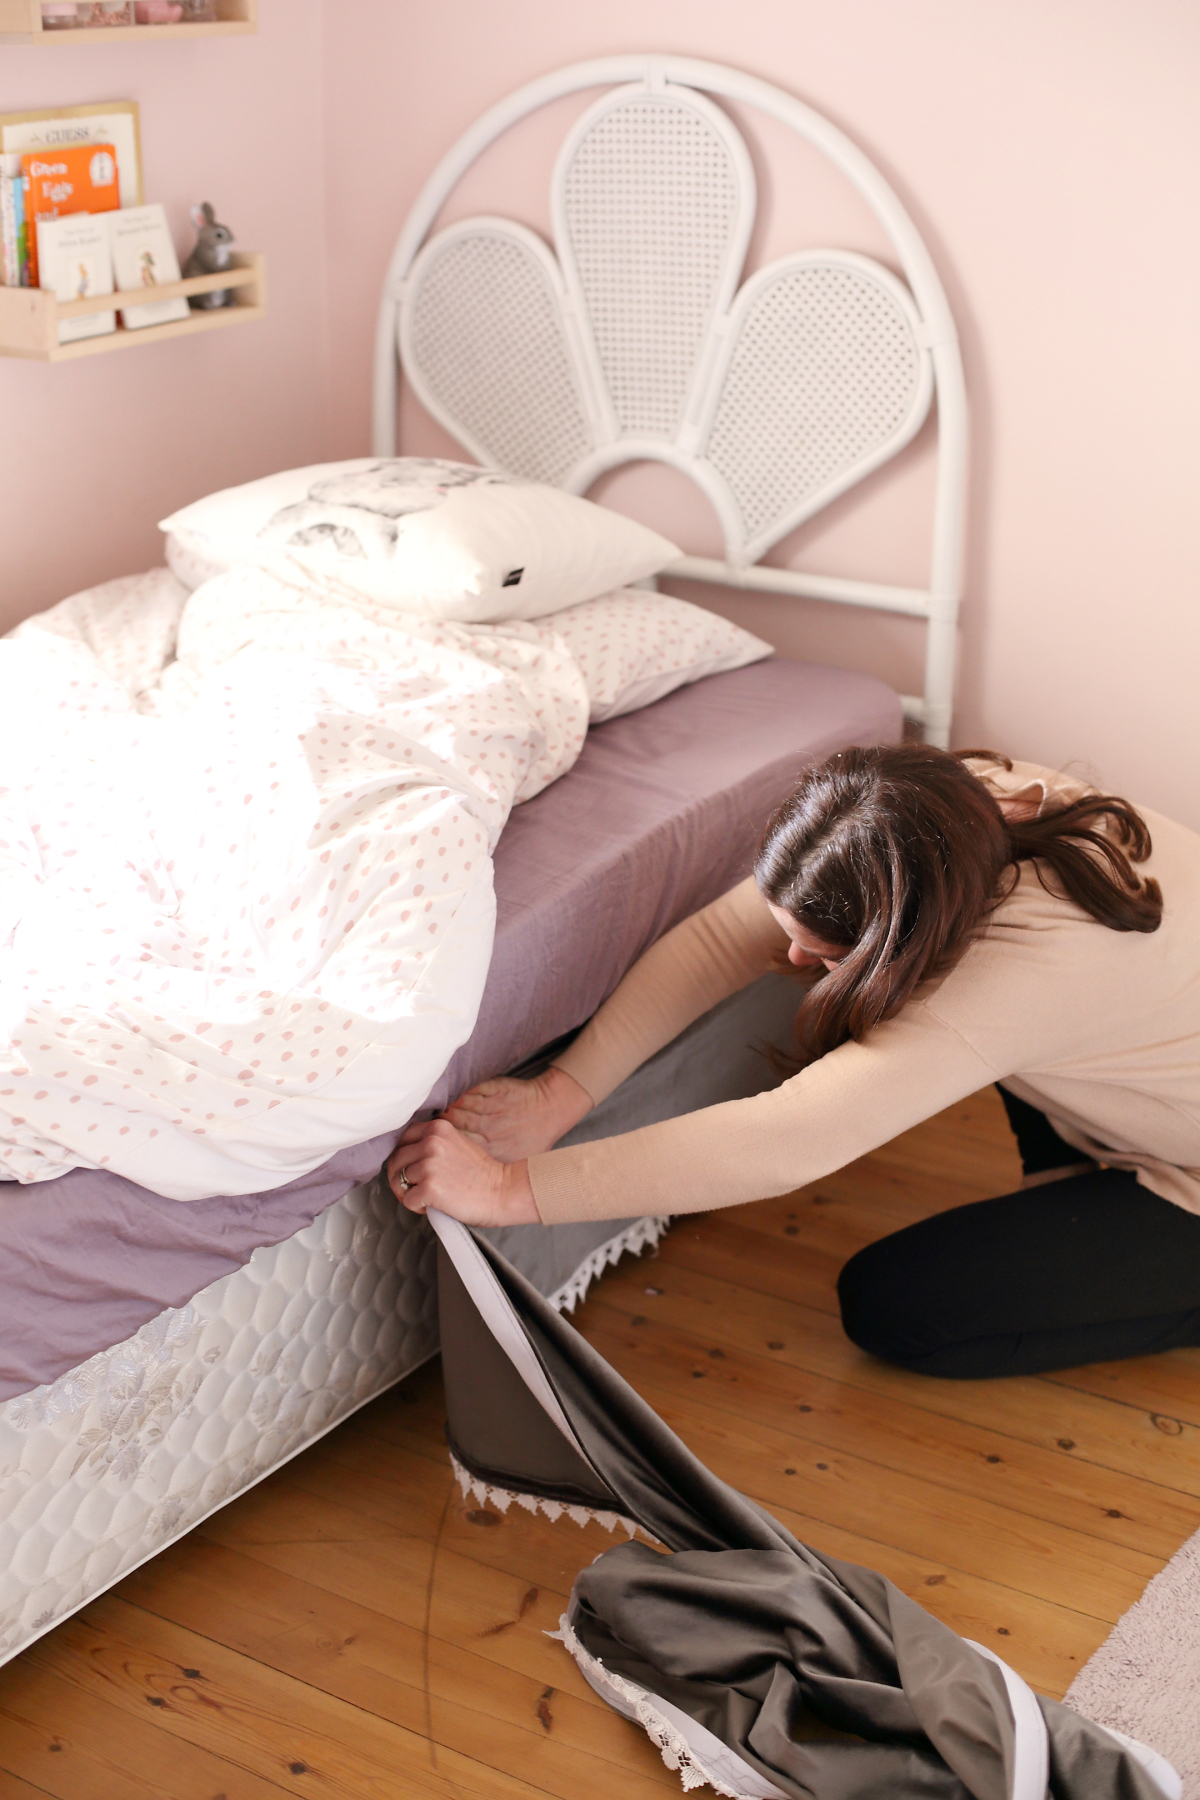
Ok, enough moaning from my side, when we purchased our first bed it had an uncovered base so I decided to make a plan. I came up with an idea to use velcro and some upholstery material to create a base cover using the most beautiful lace that I thrifted at an SPCA store. Every time I post an image of the frill I have had at least 1 person asking me where I purchased it. So, here I am showing you how to make your own, beautiful and easy removable frill to wash and put back on your bed, without hurting your back.
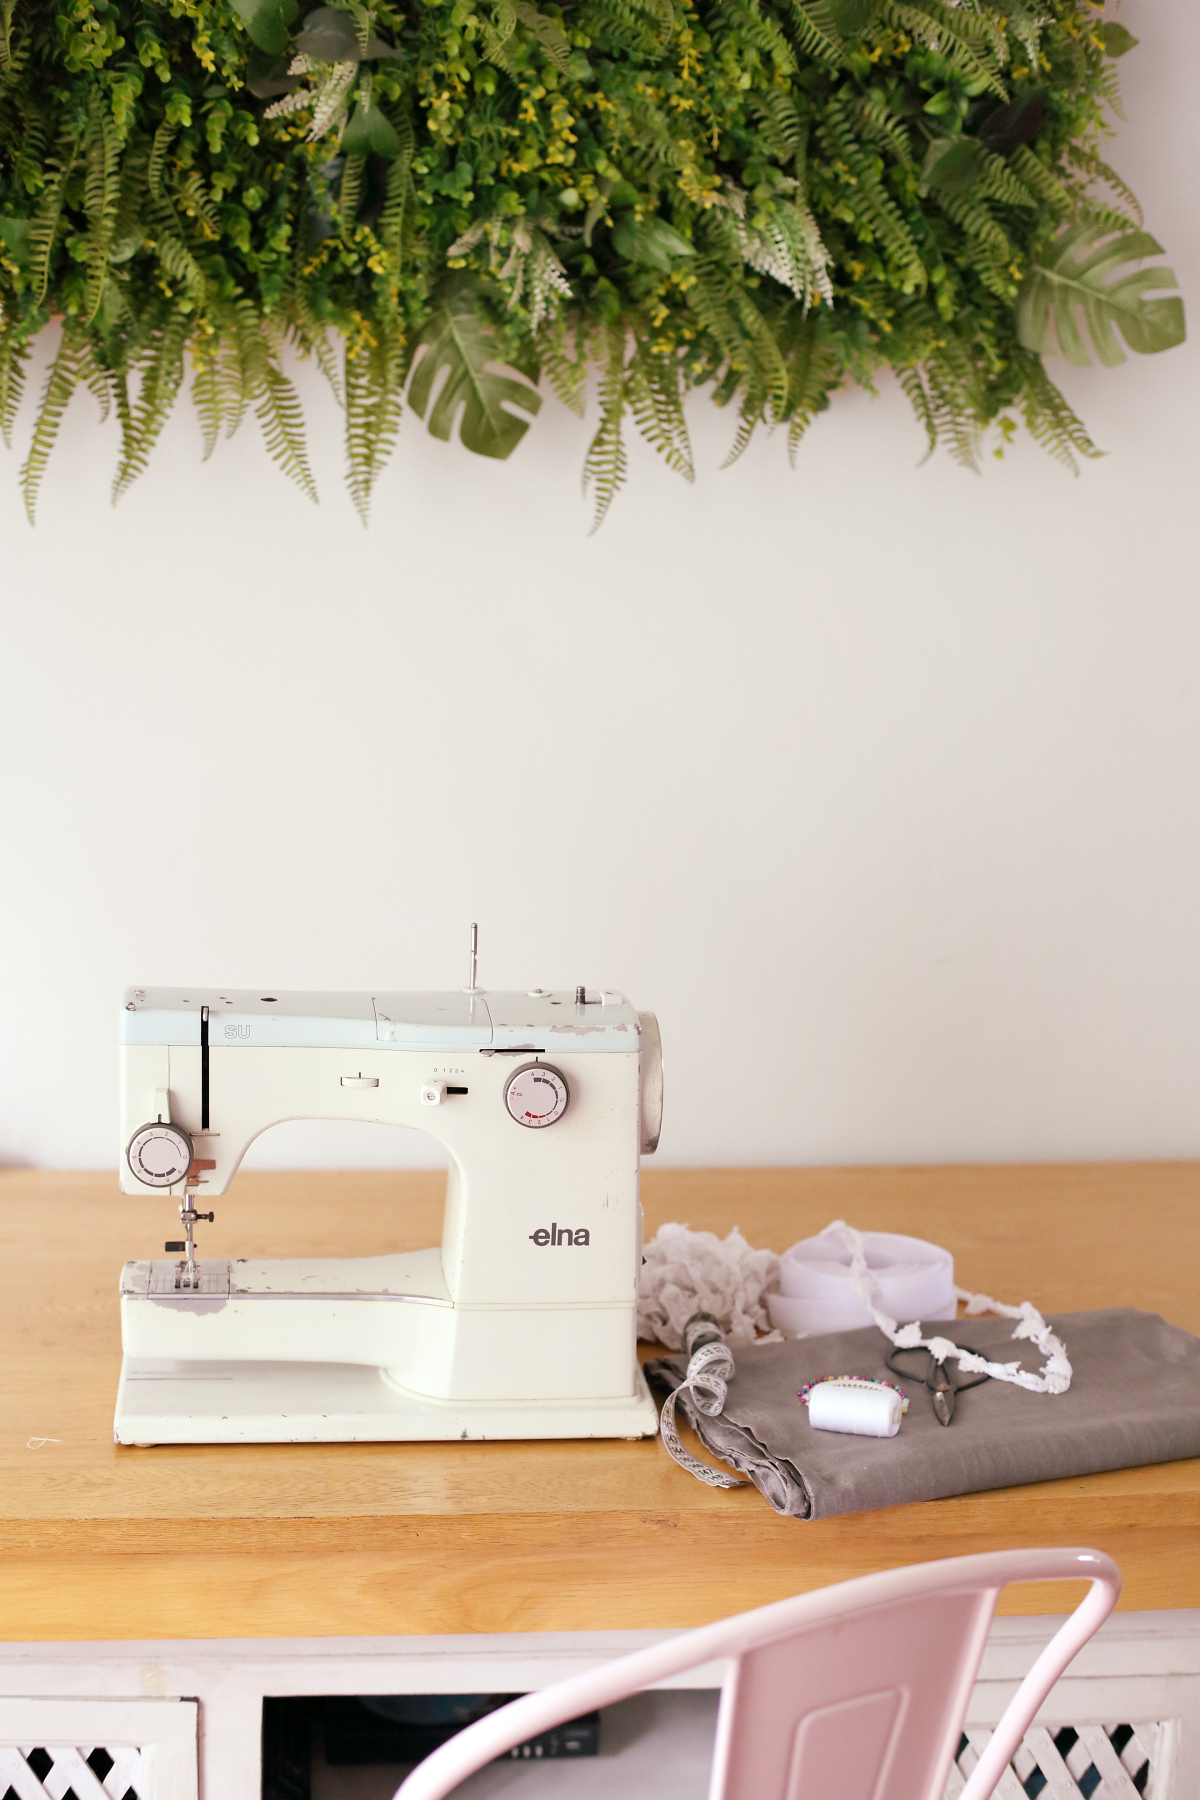
What you will need to sew a DIY bedfrill?
- Velcro, either adhesive backed ones to stick to your bed base or if it has a firm base you can use a stapler gun.
- Stapler gun (Optional).
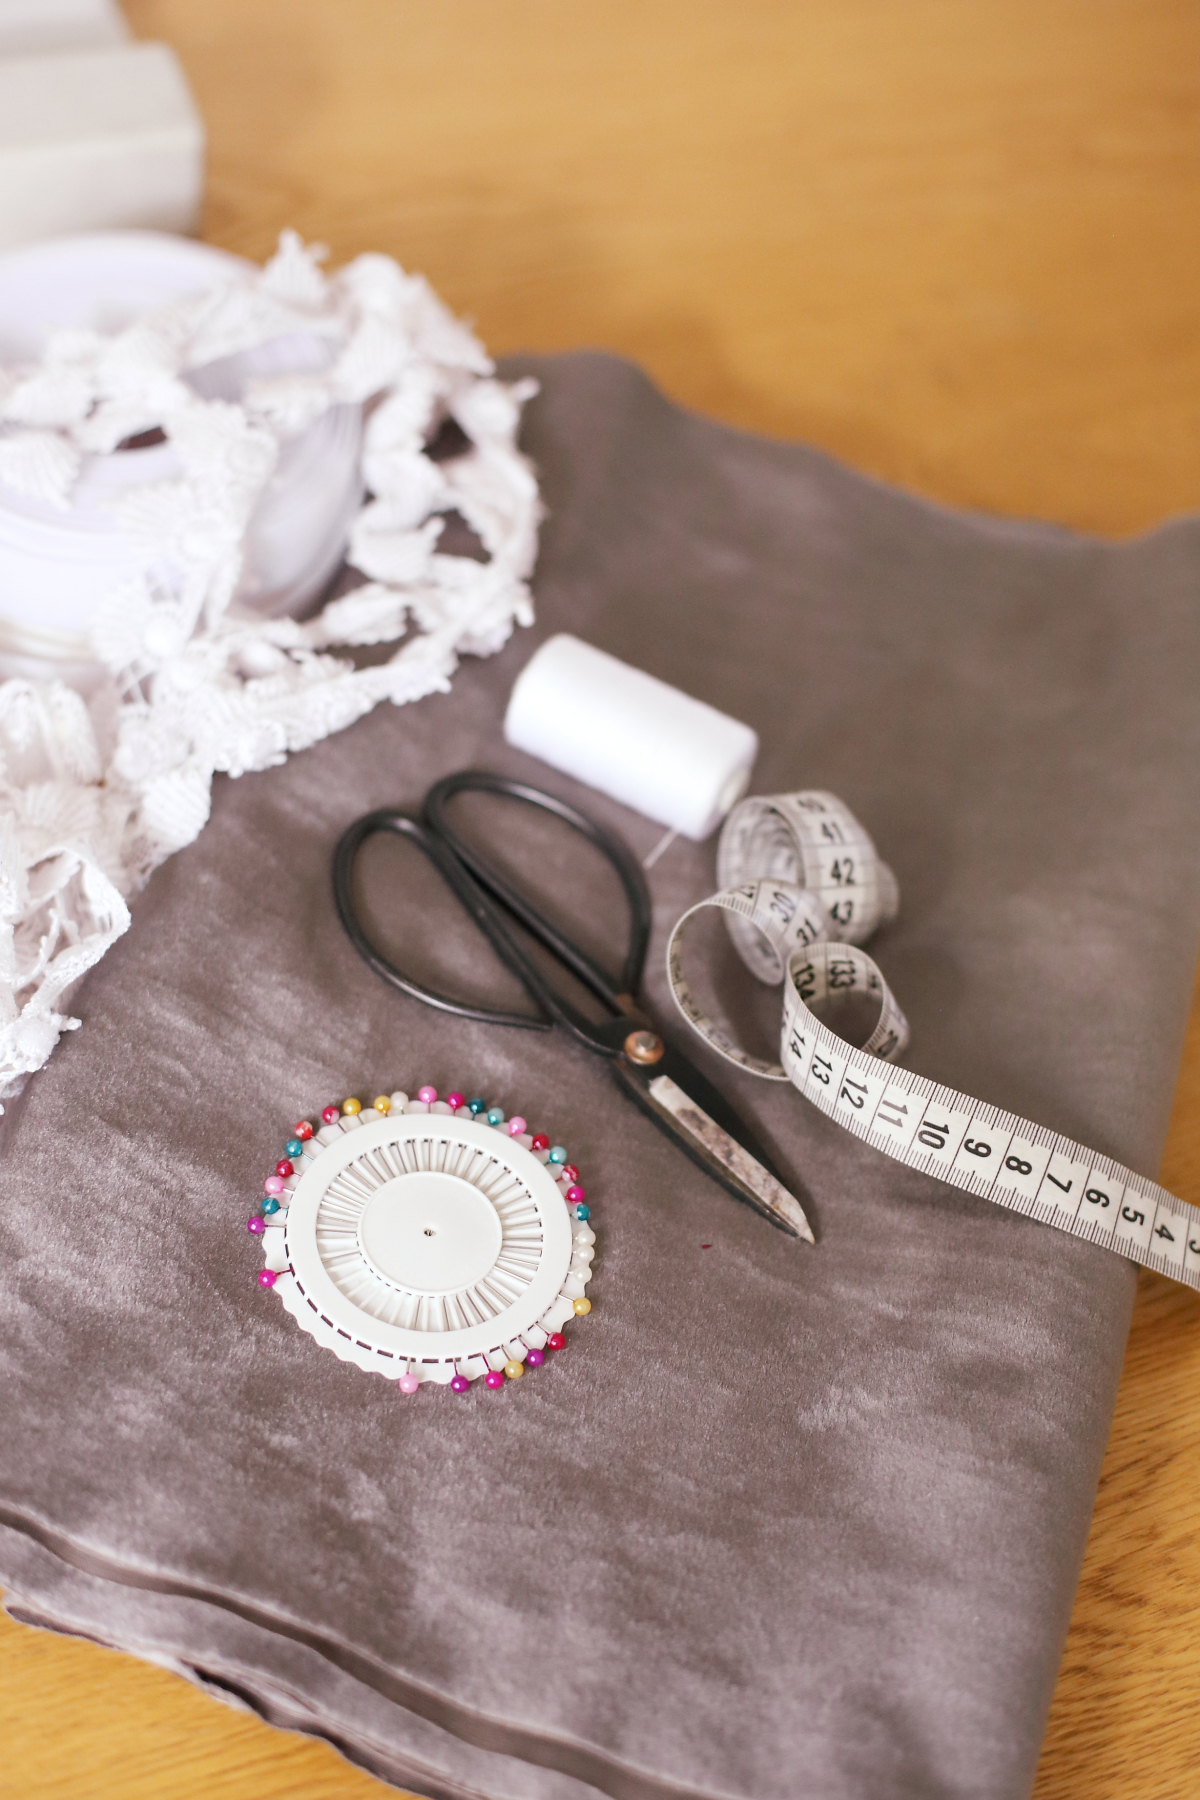
- Measuring tape.
- Fabric, a non stretch, thicker upholstery material is preferable, also look for one that does not require any ironing.
- A pair of sharp fabric scissors.
- Some pins.
- Lace of your choice. This is a bit harder to find but most fabric stores should be able to supply you with some.
- A sewing machine.
How to make your own bed frill?
-
- Measure the circumference of your bed, minus the top of the bed if it is against the wall. I have some of the standard sizes in the table below.
- Measure the height of your mattress base, including the feet.
- When purchasing the fabric, allow for a seam of at least 1cm on all sides of the material. For the single bed I purchased 2 pieces of 55cm of 2.4m wide fabric, to allow for 1 seam in the centre of the bottom of the bed.
- For the lace as well as the velcro (soft and hard sides) I purchased 118 + 82 + 118cm to go right around the bed, excl the head.
- Sew the 2 pieces of fabric together to create 1 long piece if you purchased 2 pieces like I did. Measure the piece to the bed and cut it shorter remembering to leave a seam on either side to fold over and sew together.
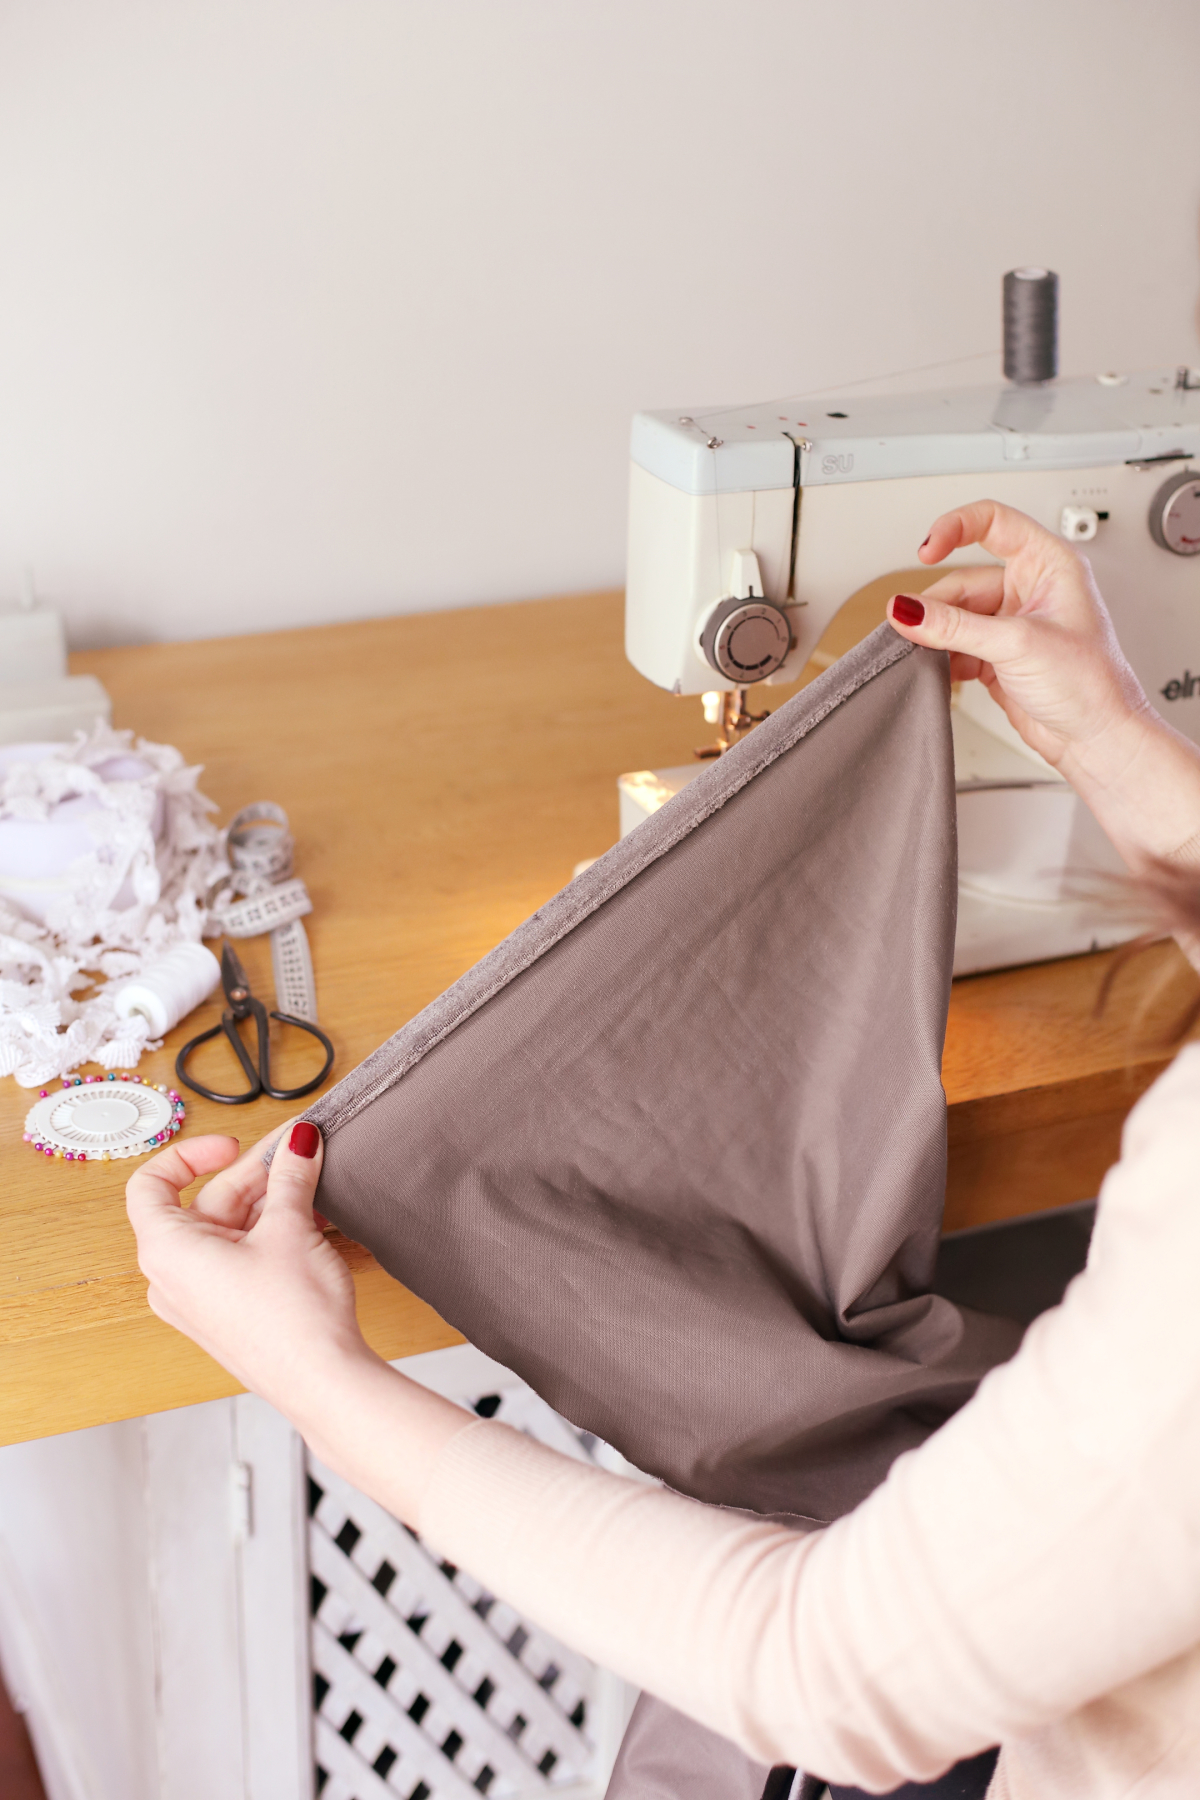
- Overlock all four sides of the fabric or ZigZag it.
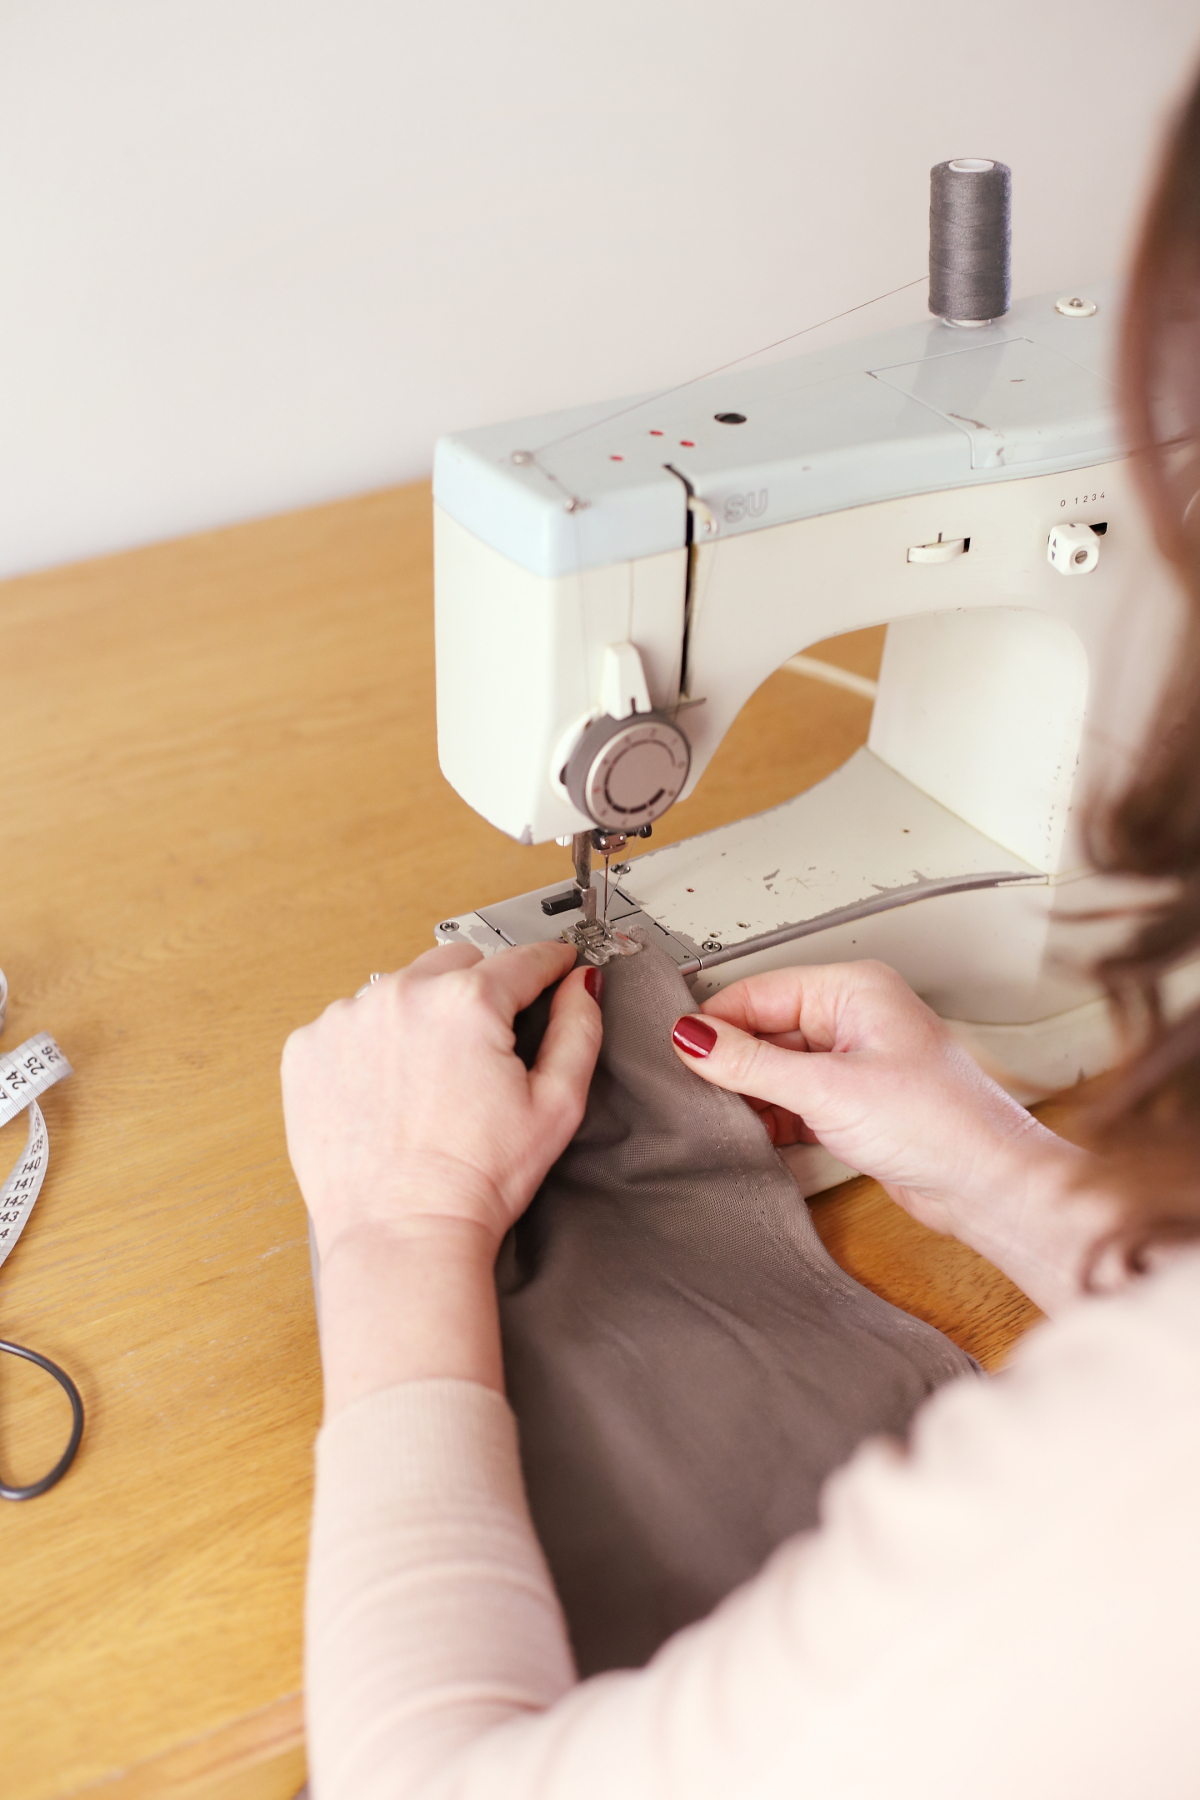
- Fold a seam of around 1 cm on the two long ends of the fabric and sew.
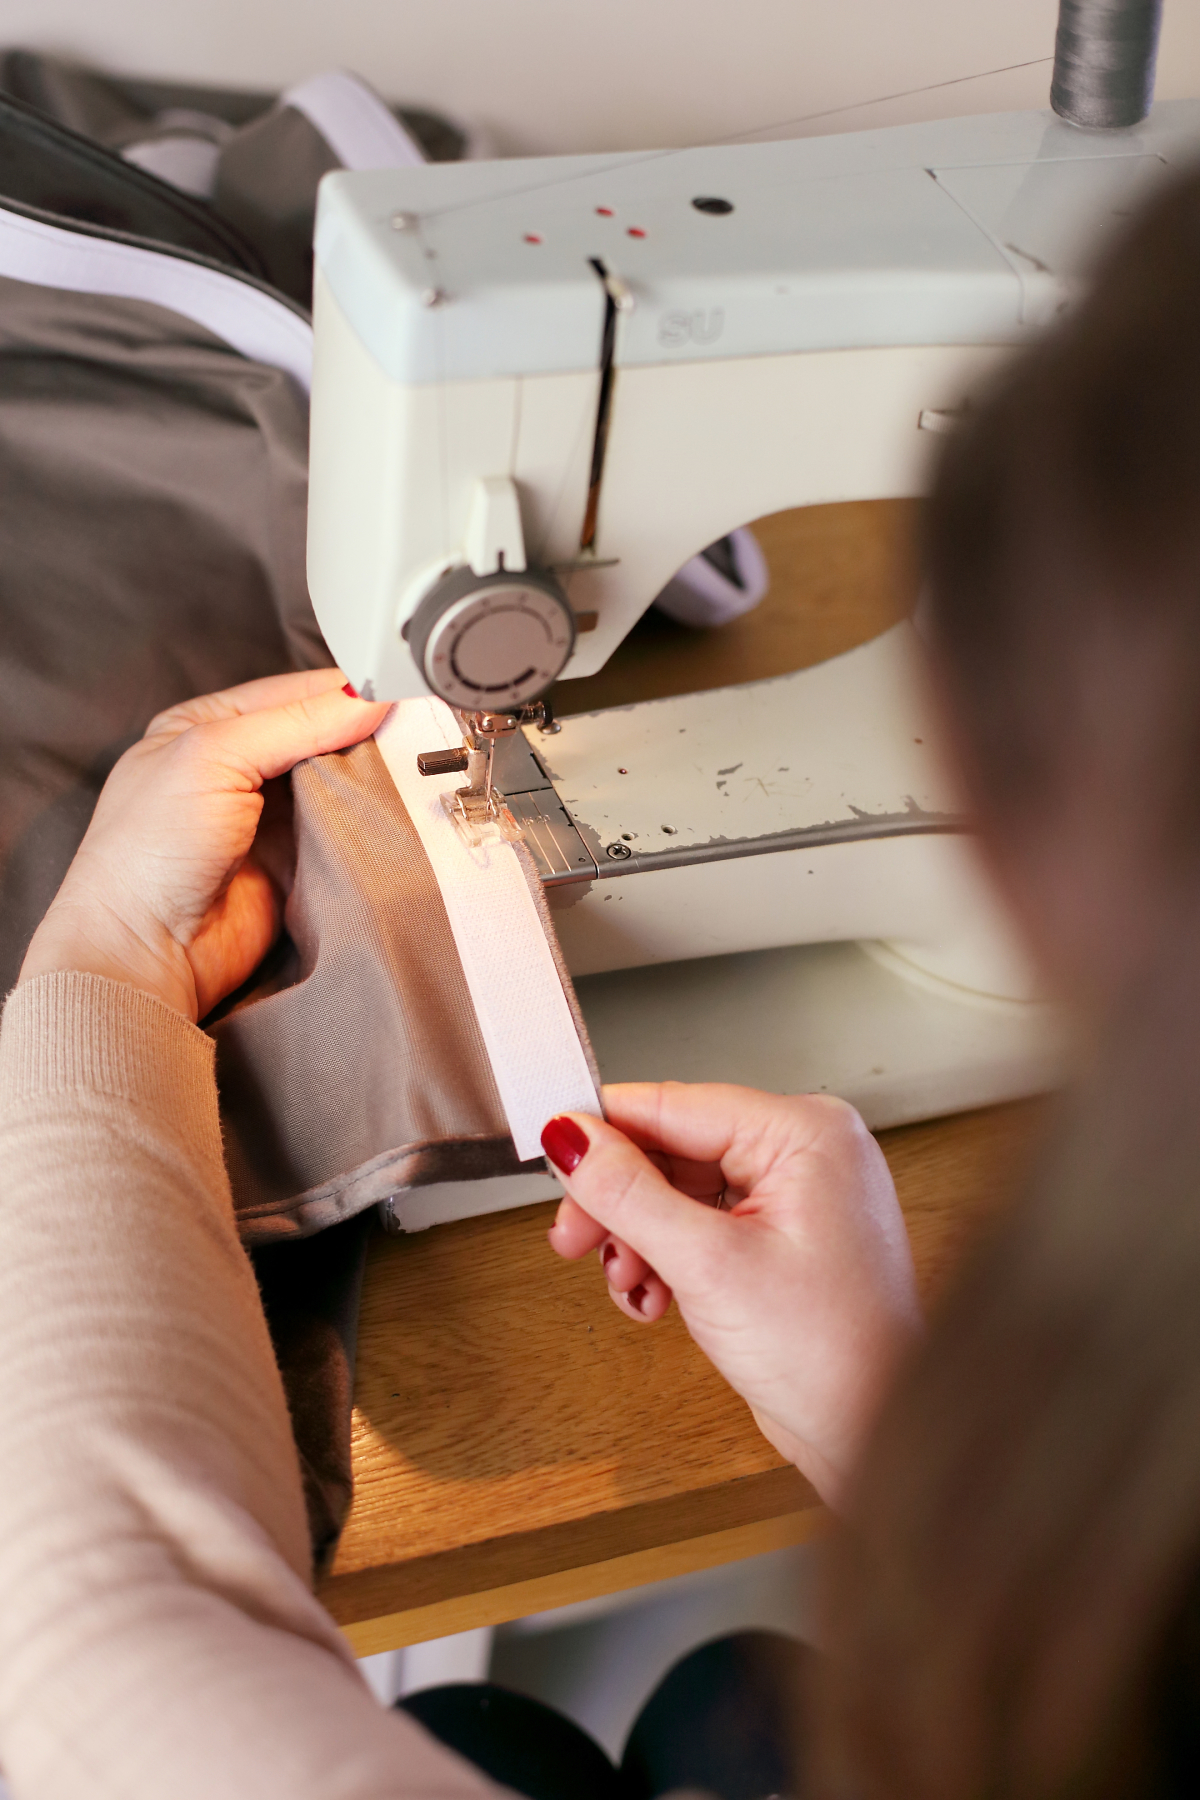
- Fold a seam of around 1 cm on the two long ends of the fabric and pin them down together with the lace for the bottom and the velcro for the top. The lace will be on the right side of the fabric and the velcro on the wrong side. IMPORTANT: Add the ‘soft’ side of the velcro to the fabric so that if you wash it it does not damage other items with it.
- Sew the sides, attaching the velcro and the lace to the new base wrap.
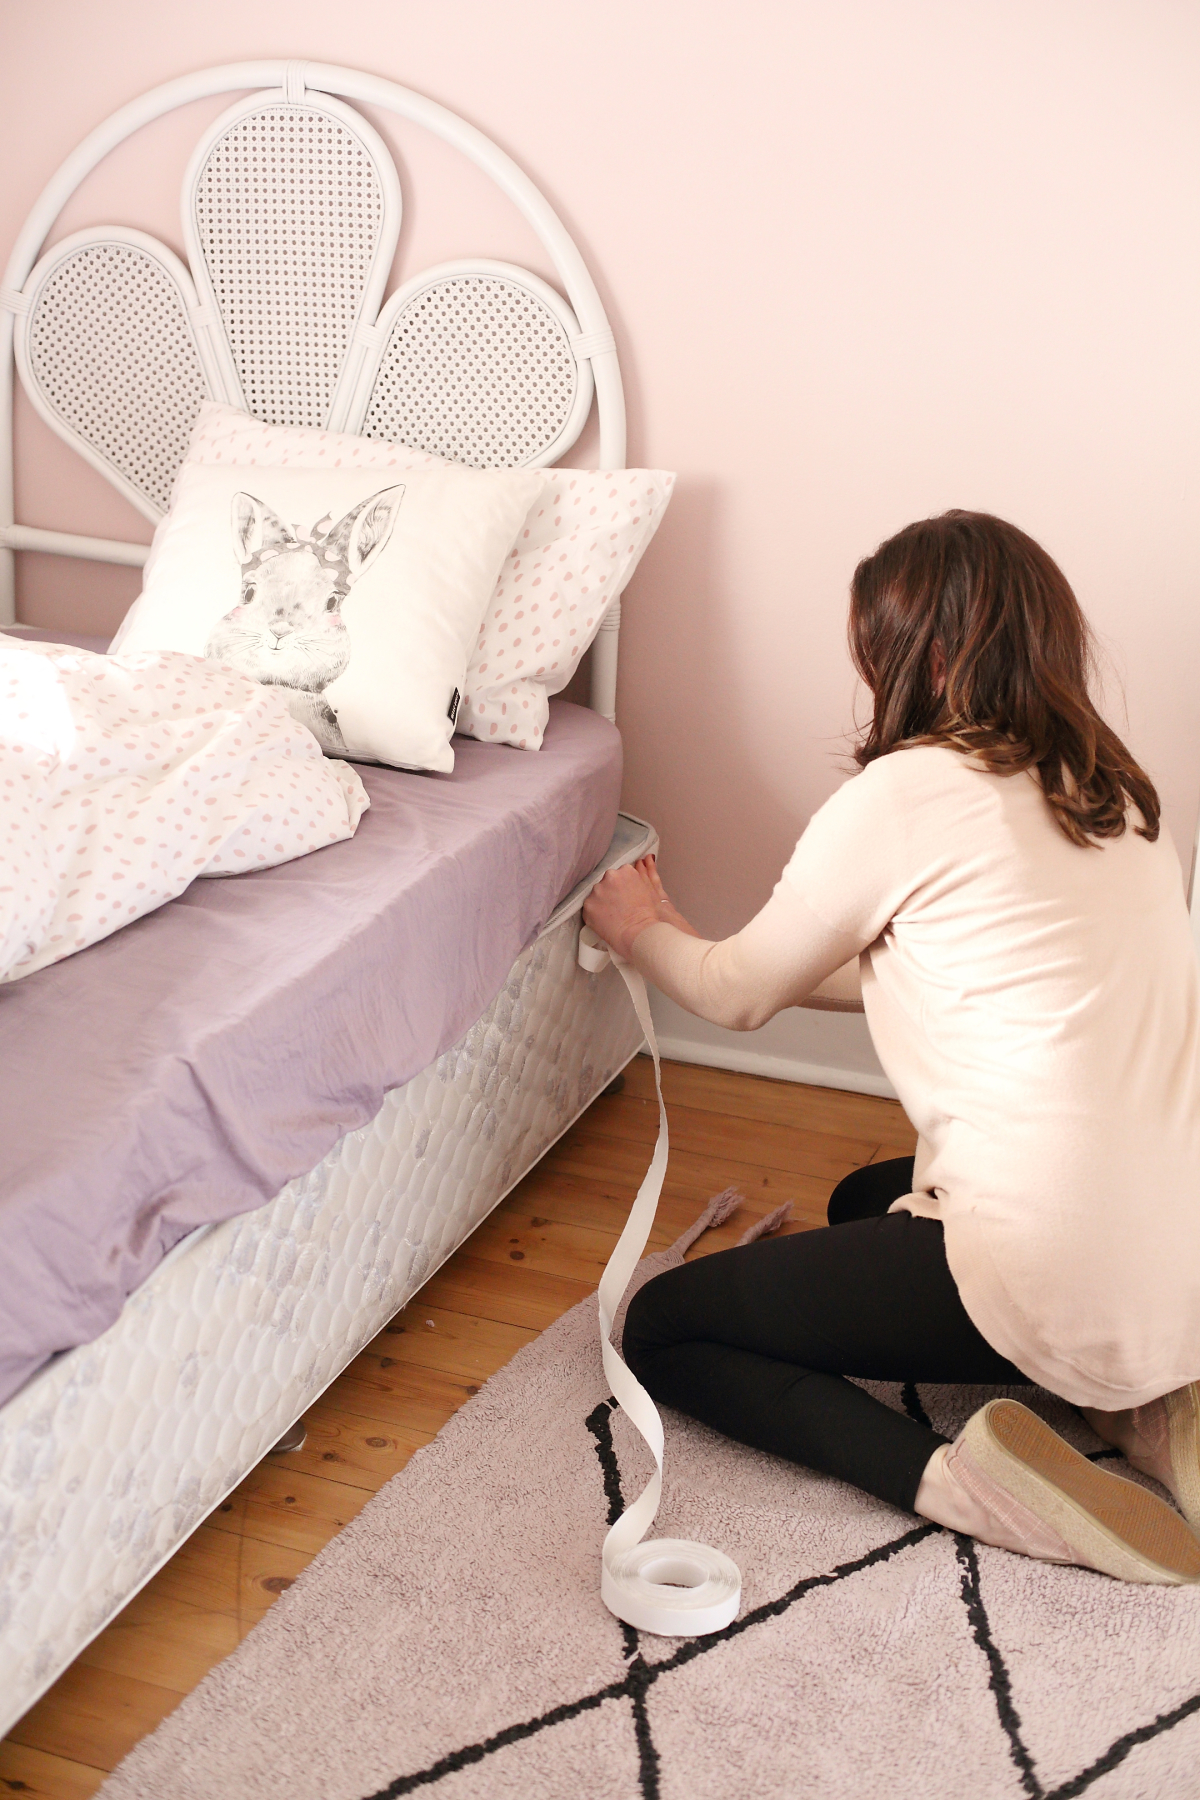
- Using the glue of the velcro (if self-adhesive) or a staple gun, attach the velcro to the top side of the mattress base.
- Attach your frill to the base of the bed using the velcro strips.
Mattress Sizes Dimensions (in cm) Single bed 92 x 118cm Three Quarter bed 107cm X 118cm Double bed 137cm X 118cm Queen bed 152cm X 118cm King bed 183cm X 118cm 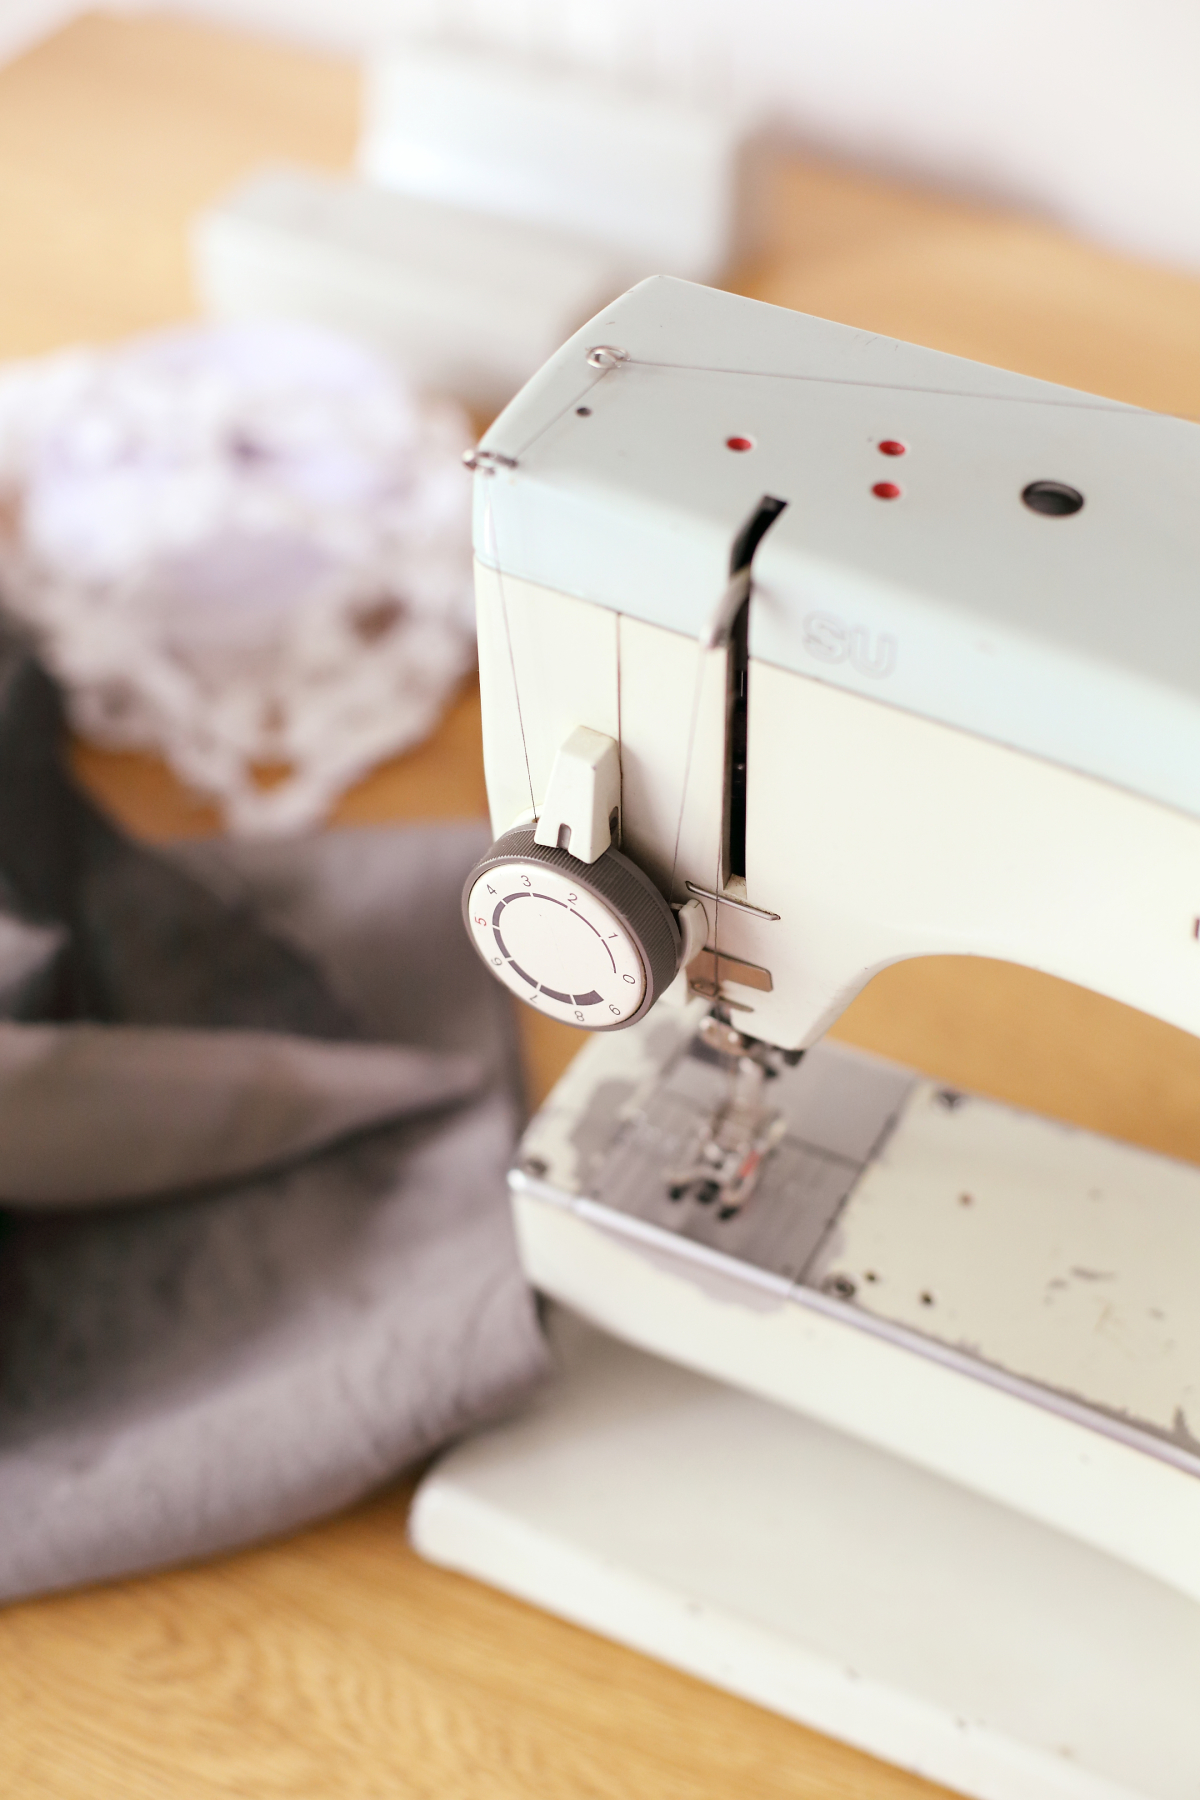
I would LOVE to hear what you think of this DIY! Please do leave me with a comment below! Happy sewing!
Images taken by Hello Love Photography.
Let's get social
Instagram: @lovilee_za
Twitter: @lovilee_za
Facebook: @lovileeblog
or subscribe to never miss out on any new articles in this link.


Comments are closed.